When a lid starts to sit unevenly
Lid crimping usually looks straightforward until the closure starts to wander. A light offset at the nest, a weak clamp or a stroke that runs too deep can leave one side tight and the opposite side loose. On a line making closures for tubs, cans, cartons, trays or formed pack ends, the press has to hold the part still while the profile forms evenly all the way round.
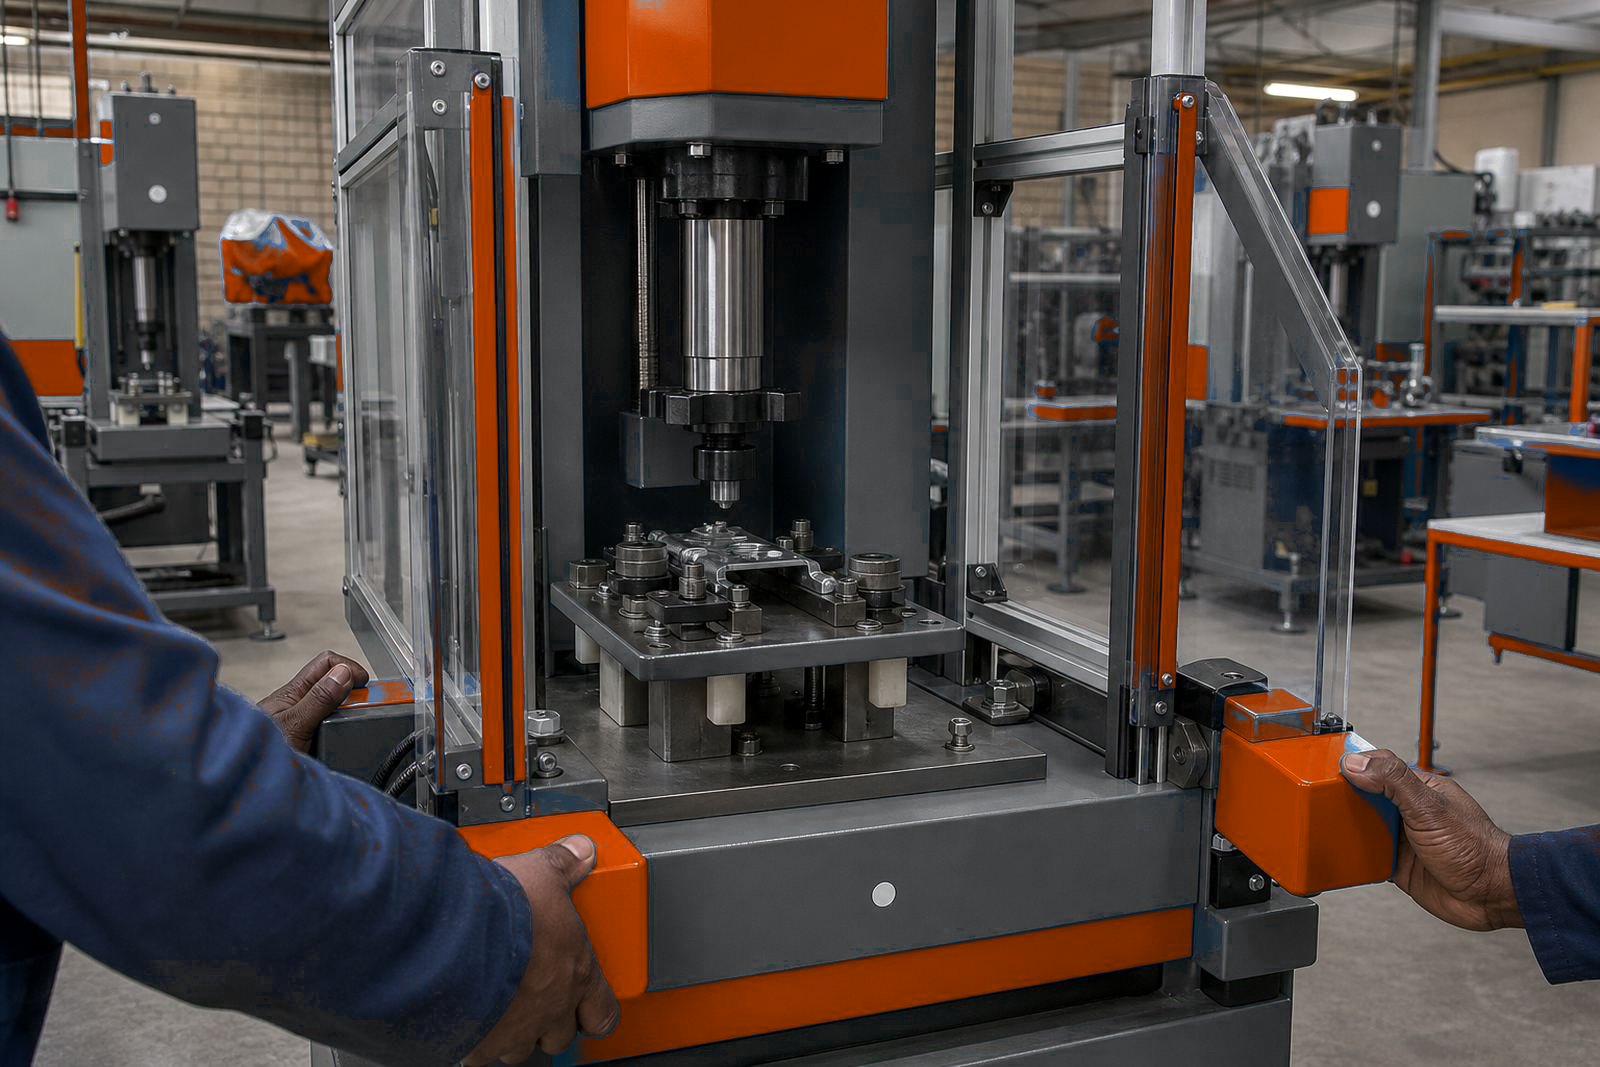
That is where a multi-station pneumatic press earns its place. One station may load the lid, another forms the edge, a third checks the finish and a fourth clears the part. The press frame, cylinders and tooling all need to work as one set, otherwise the crimp line starts drifting and operators begin adjusting by feel.
- Stable nests keep the lid seated square before the stroke starts.
- Matched tooling profiles form the edge without pinching the panel.
- Air pressure and stroke length must suit the material thickness.
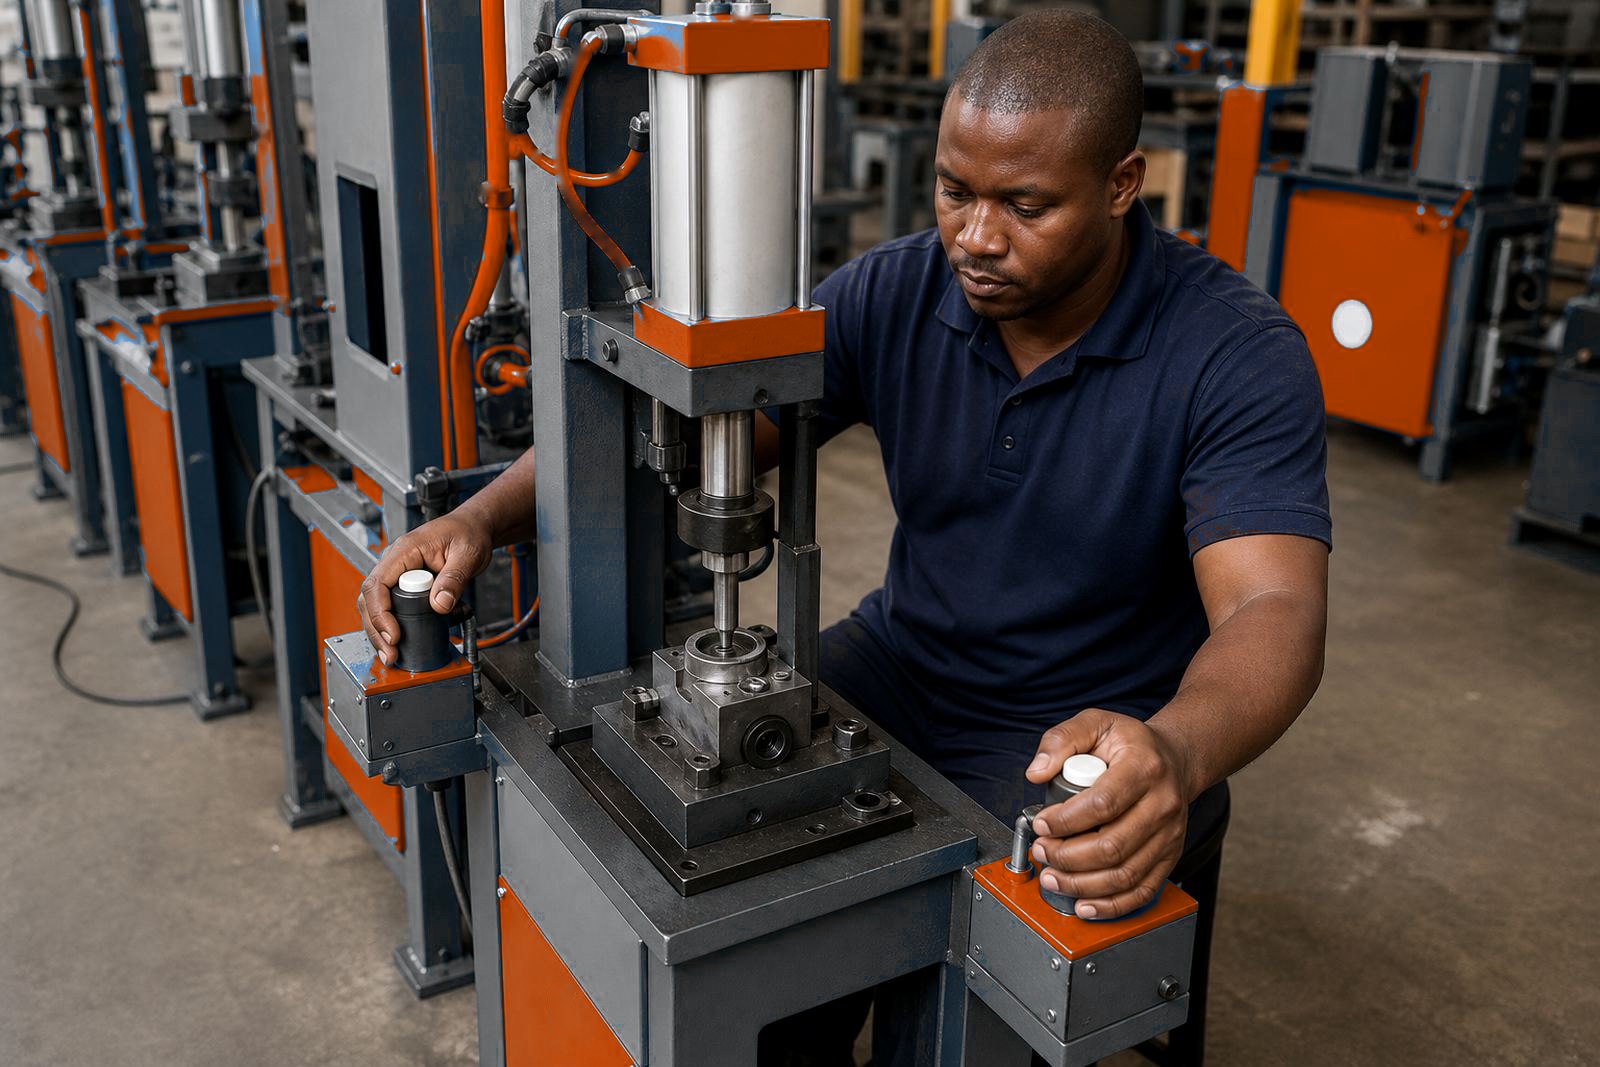
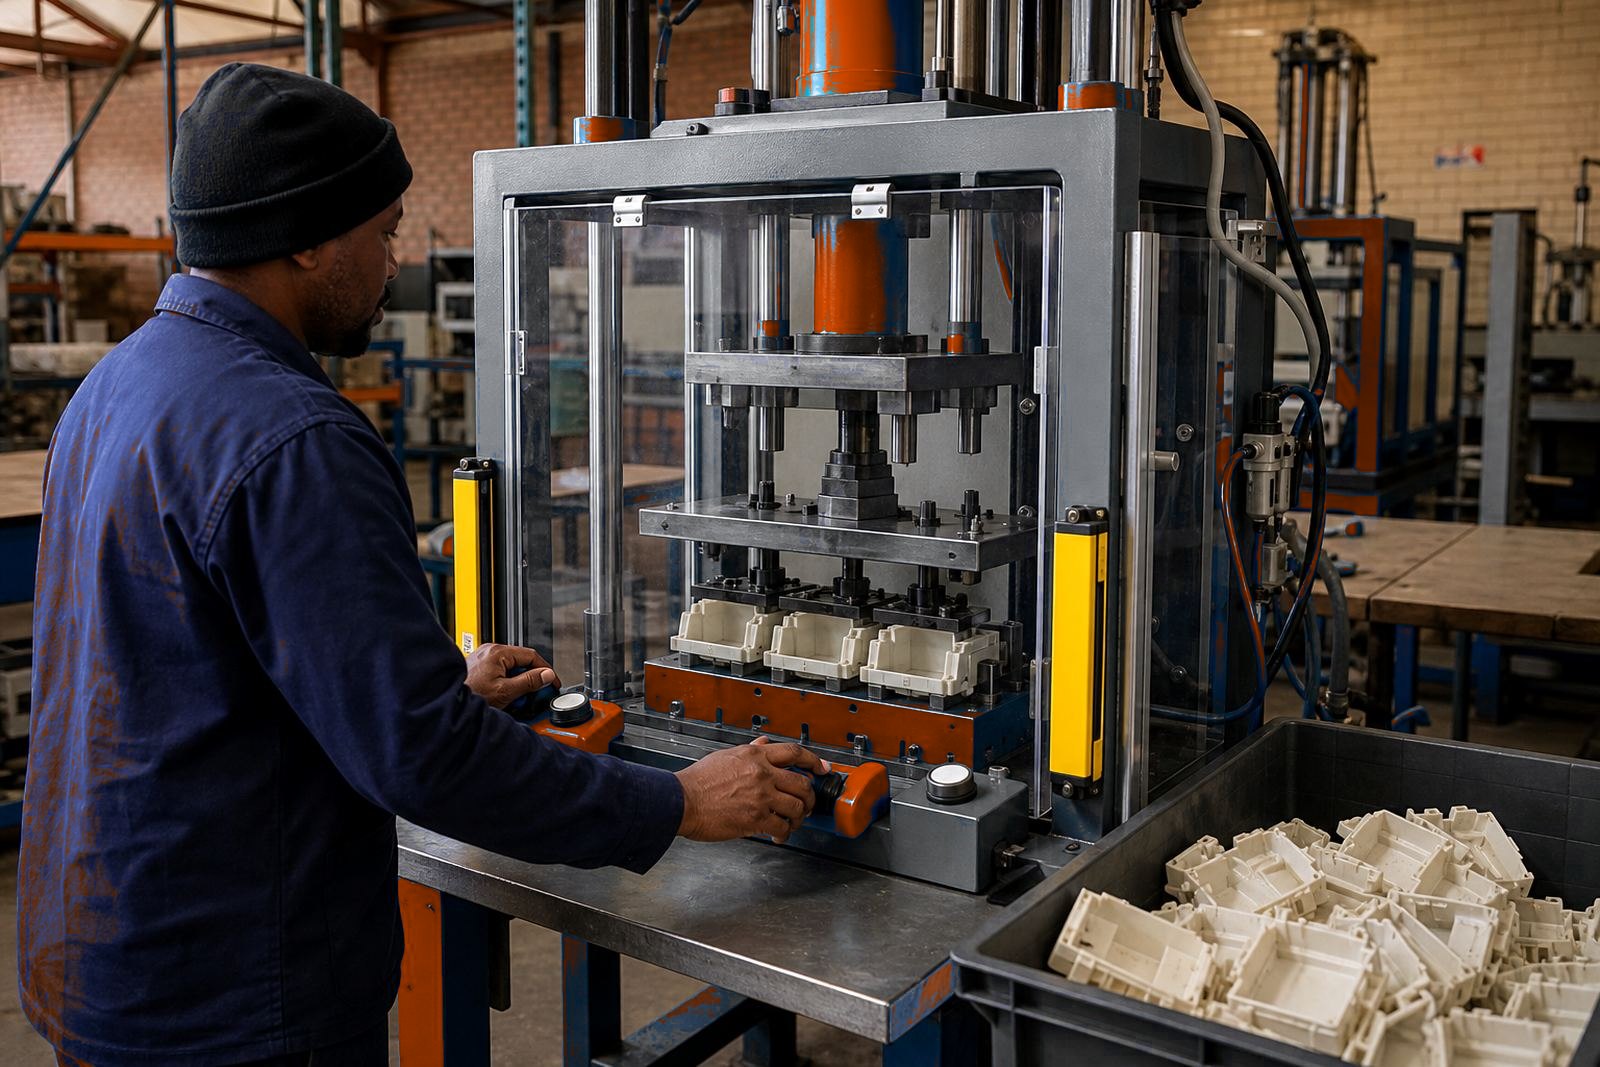
- Two-hand controls and light curtains help keep the operator clear of the closing zone.
Typical equipment around a lid crimping station
A practical setup usually starts with a rigid frame, guided cylinders and a tooling face shaped for the lid profile. Depending on the part, the station may crimp a rolled rim, press a retaining lip, secure a cap, or finish a pack seal with repeatable pressure. For softer materials the tooling face needs a broad contact area; for tighter closures the geometry becomes more exact and the holding nest matters more.
Many lid jobs also need a fixture that centres the part before the press cycle begins. If the part moves even a few millimetres the crimp line can lean and the finished edge may not sit flush. For this reason we look at the nesting surface, guide travel, air line layout and the way the operator loads and removes the part.
- Pneumatic cylinders sized for the force needed at the working stroke.
- Two-hand control buttons or guarded start logic for safer cycling.
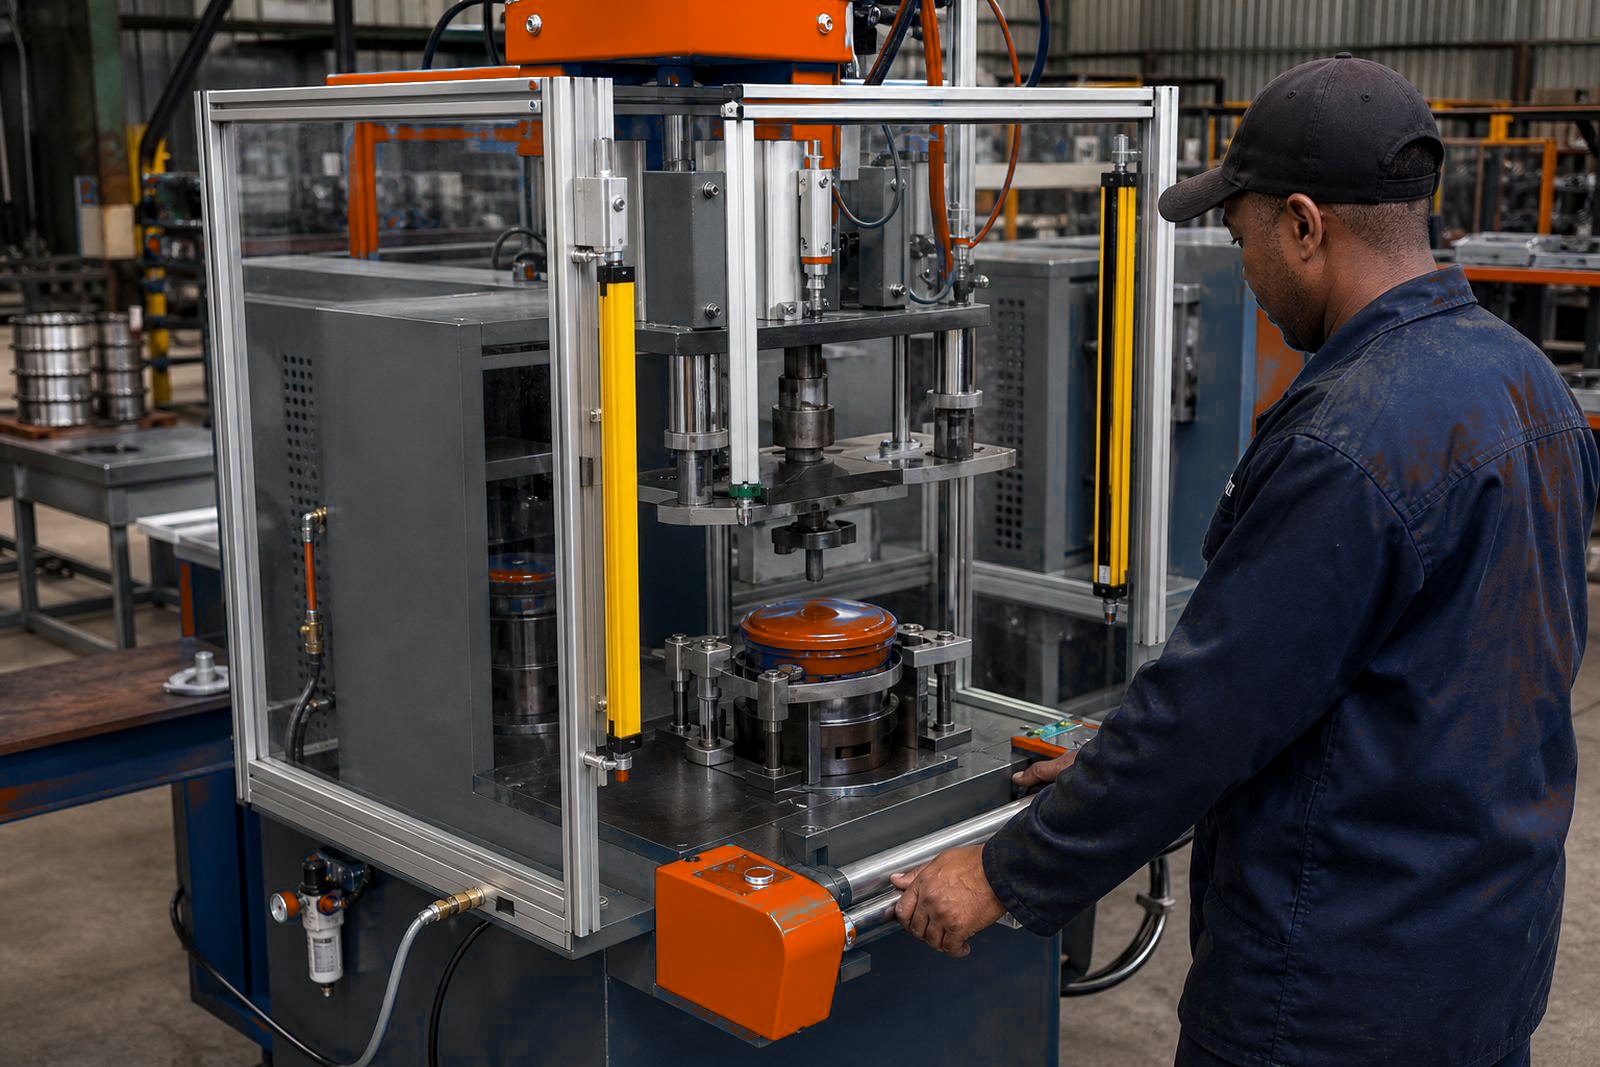
- Light curtain integration where the station opens to the front.
- Custom tooling inserts for different diameters, depths or edge forms.
Planning the line before steel gets cut
Lid crimping lines work better when the layout is planned around the part path, not only the press itself. The load position, transfer point and discharge space need to allow quick handling without the operator stretching across moving parts. In factories around Isando, Kempton Park and Boksburg, floor space is often tight, so the station sequence must be compact but still easy to service.
We usually look at air supply pressure, cylinder count, stroke setting and the way the tooling is changed over. If the lid range is broad, a single nest is rarely enough. A better approach is often a changeable tooling set with clear location points, so the press can run more than one closure without forcing a full rebuild.
- Set the infeed and outfeed at a height that lets operators work comfortably.
- Allow room for tool access, guard opening and cleaning.
- Route the air lines neatly so they do not snag during service.
- Leave space for gauges, switches and inspection checks near the station.
Common faults that show up on the shop floor
Most lid crimping problems are not mysterious. They usually come from inconsistent nesting, poor stroke setting or tooling that has worn unevenly. A press can still cycle cleanly while the product slowly drifts out of tolerance, so the issue only becomes obvious when lids no longer seal evenly or the edge finish looks patchy.
Another common problem is over forcing the closure. Extra pressure does not always improve the result. In some materials it creates a crushed edge, a distorted panel or a mark that shows up later during packing. That is why we set the stroke and pressure to the job rather than pushing the cylinder harder and hoping for the best.
- Check for part movement before the crimp profile reaches full contact.
- Watch for uneven wear on the nest or forming face.
- Confirm that the tooling matches the actual lid dimensions.
- Review operator loading position if the part enters crooked.
Guarding, controls and training that suit production
For lid crimping work, safety has to sit close to the way the cycle is run. Two-hand controls are common where the operator is close to the tooling. Light curtains suit stations that need a front opening for loading and unloading, but only when the part presentation is stable and the interruption of the beam cannot be bypassed by poor practice. Guarding should protect the closing zone without making daily cleaning and inspection awkward.
Operator training is just as important as the steelwork. A new team member needs to know where the part should seat, how to recognise a bad crimp, what changes mean the tooling needs attention, and how to stop the press if something looks wrong. On busy lines, that practical step-by-step knowledge keeps the output steadier than a long manual left in the office.
- Fit control logic that suits the speed of the station.
- Train operators to spot edge marks, tilt and incomplete closure.
- Set a clear routine for tool changes and start-up checks.
- Match guarding to the actual access points used on the line.
Budget ranges for lid crimping projects
Budget depends on the number of stations, the tooling complexity, the guarding and whether the press forms one closure or several related operations. A dedicated lid crimping station with basic controls can sit at the lower end of the price range, while a multi-station build with custom nests, light curtains, two-hand controls and commissioning is priced higher. Site work in Gauteng, KwaZulu-Natal and the Eastern Cape can also shift the total once installation and transport are included.
As a working guide, smaller lid crimping stations may start from about R180 000 to R350 000. More involved multi-station systems with custom tooling, change parts and line integration often move into the R450 000 to R950 000 range. Complex pack sealing or multi-part assembly layouts can sit above that depending on stroke demands, guarding design and the amount of tooling changeover built into the job.
The best value usually comes from getting the nest, stroke and pressure right before fabrication starts. That saves rework and keeps the closure consistent when the line is running under real factory conditions.
What MultiPress covers on lid crimping jobs
We build multi-station pneumatic presses for lid closure work that needs even pressure, stable location, custom tooling, guarding and commissioning. The team handles custom tooling, fixture design, guarding builds, light curtain integration, two hand controls, site installation, air line setup, stroke setting, press commissioning, operator training, tooling changes and production handover.
Projects are managed from Isando, with commissioning support across Johannesburg, Pretoria, Durban, Gqeberha and East London. That matters on lid jobs because the machine is only part of the solution. The tooling, the nest, the air supply and the operator routine all need to match the product or the closure starts to drift after a few shifts.
- Custom tooling for matched crimp profiles.
- Fixture design for steady part location.
- Guarding and control systems for safe cycling.
- Commissioning support and operator training on site.