

Picking the press layout for the job
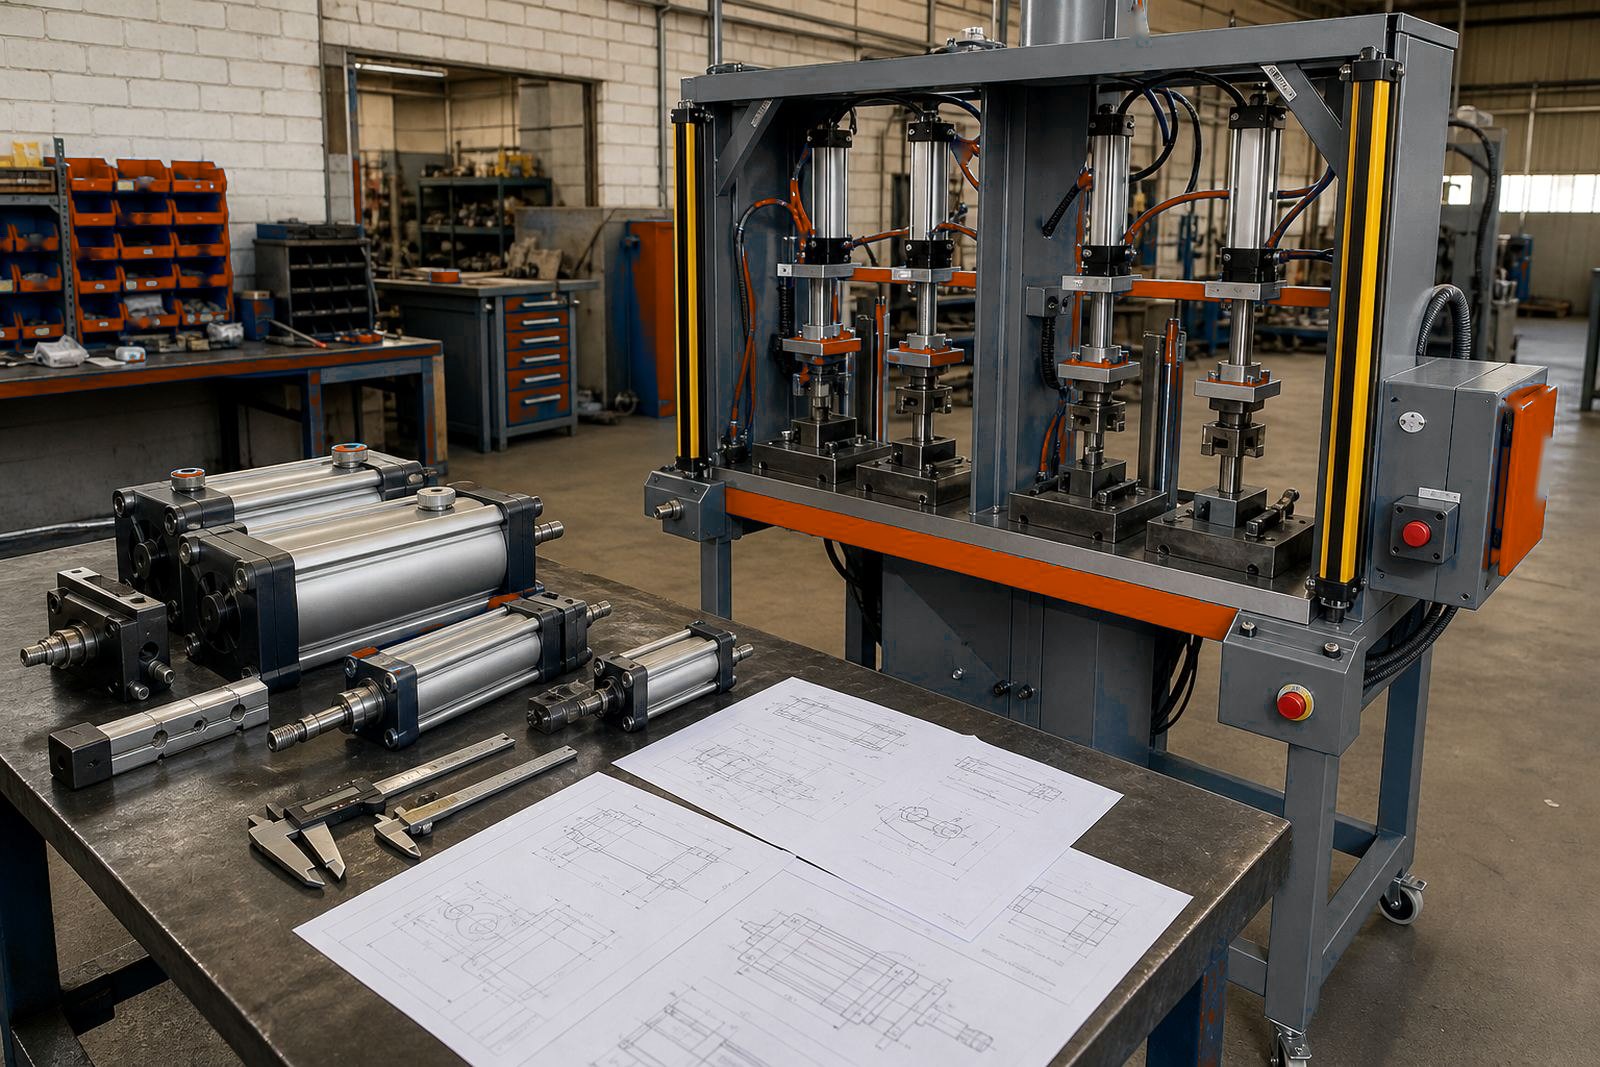
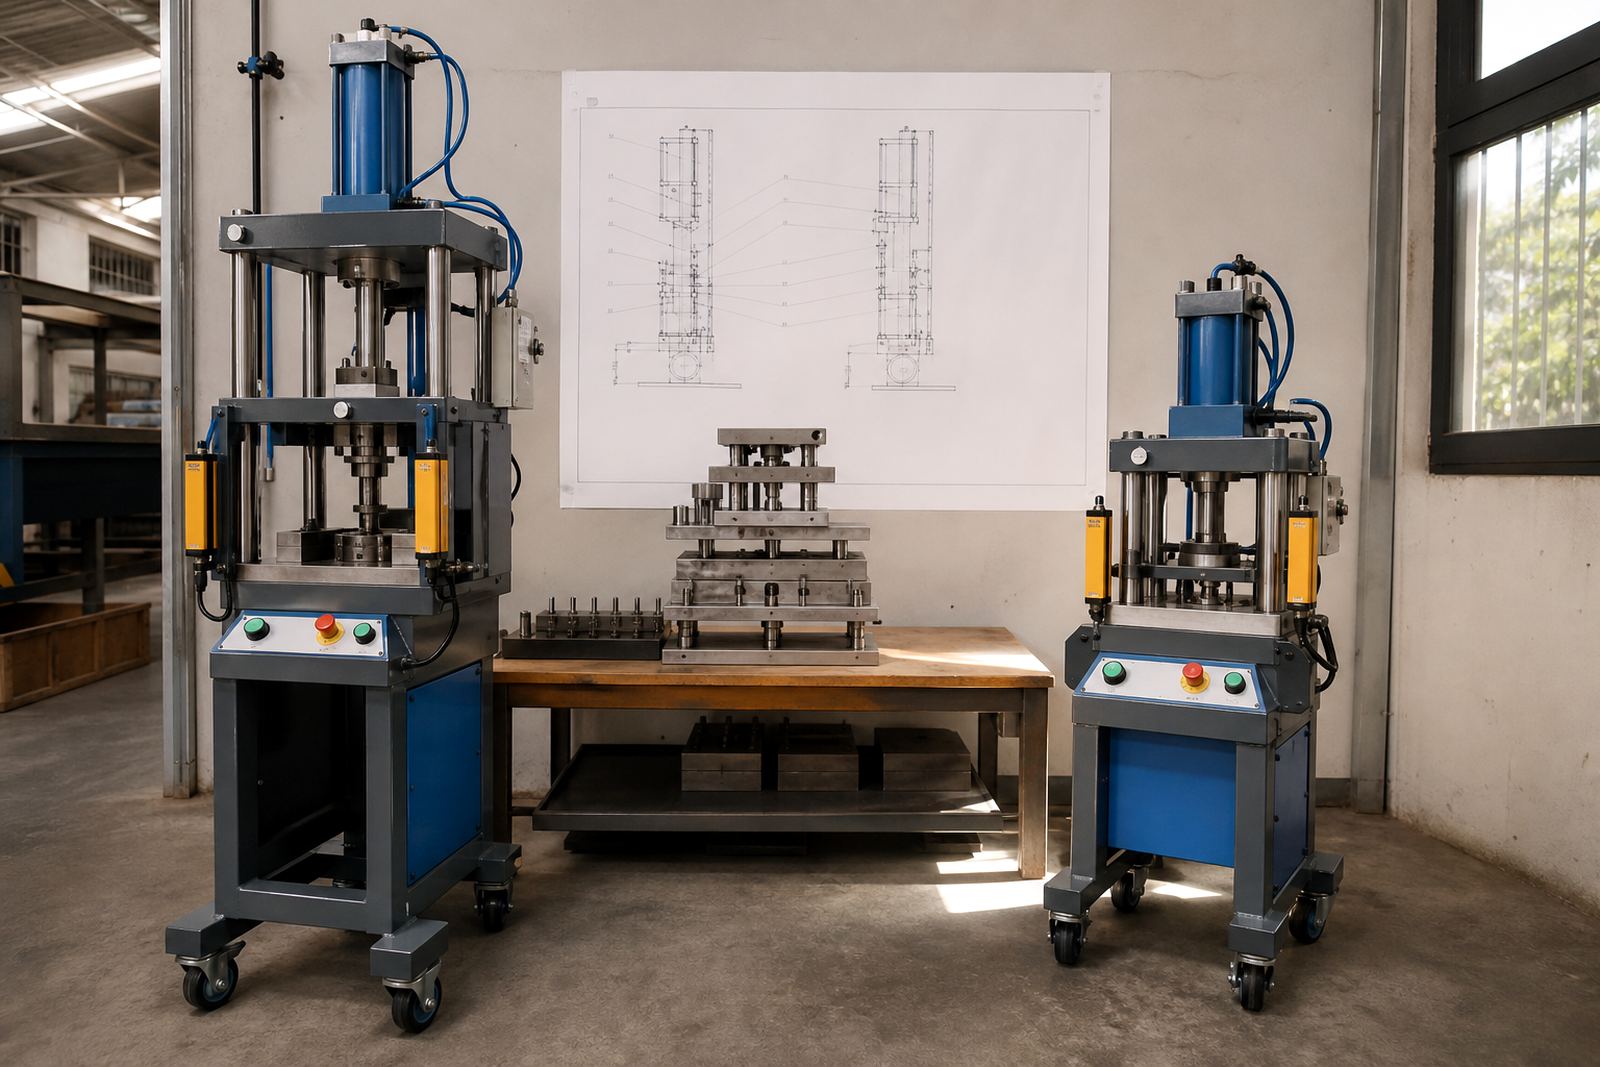
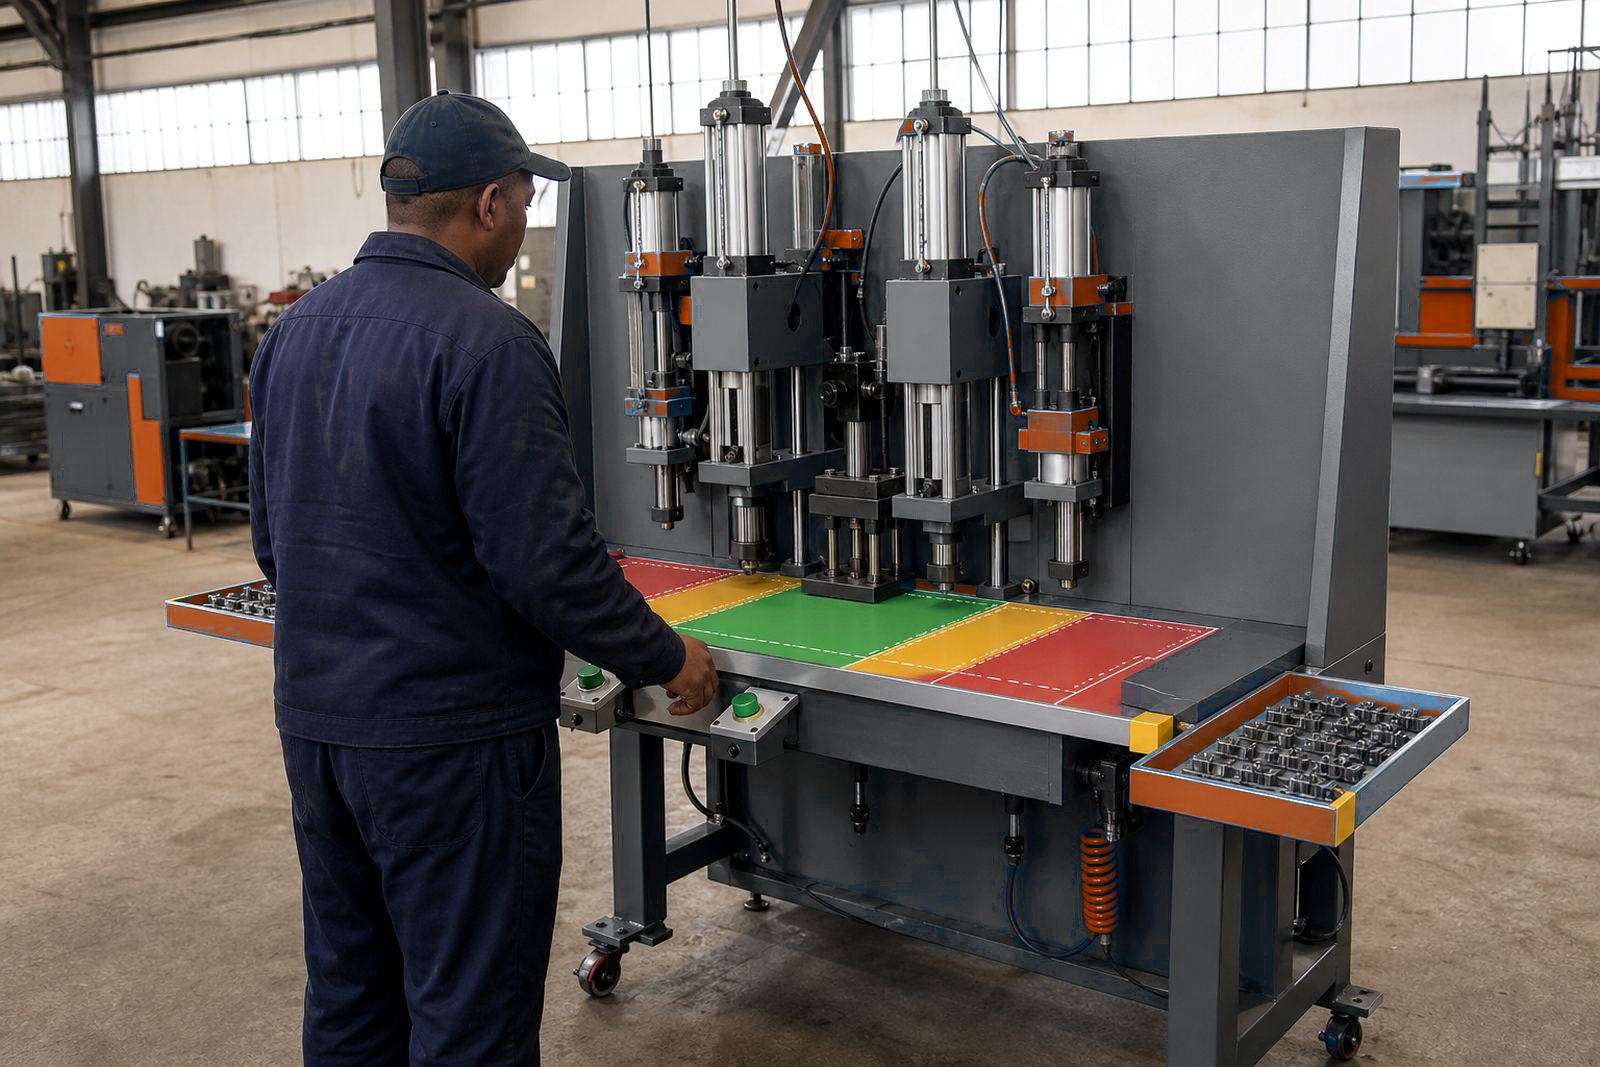
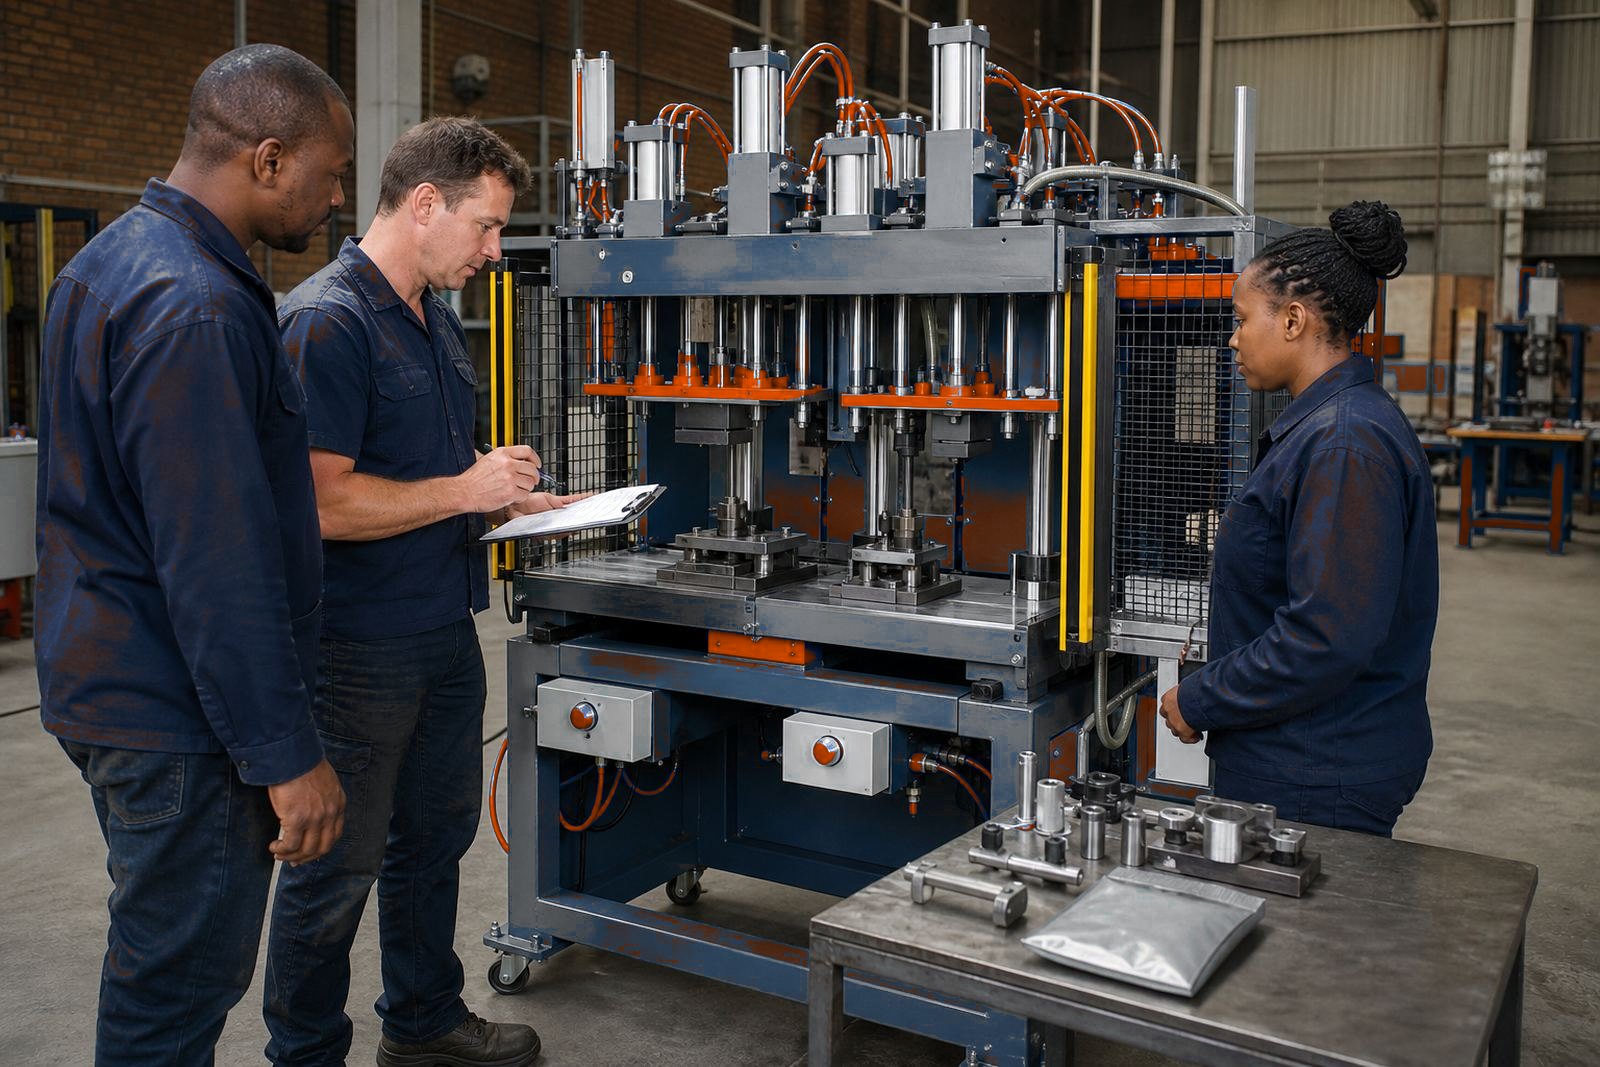
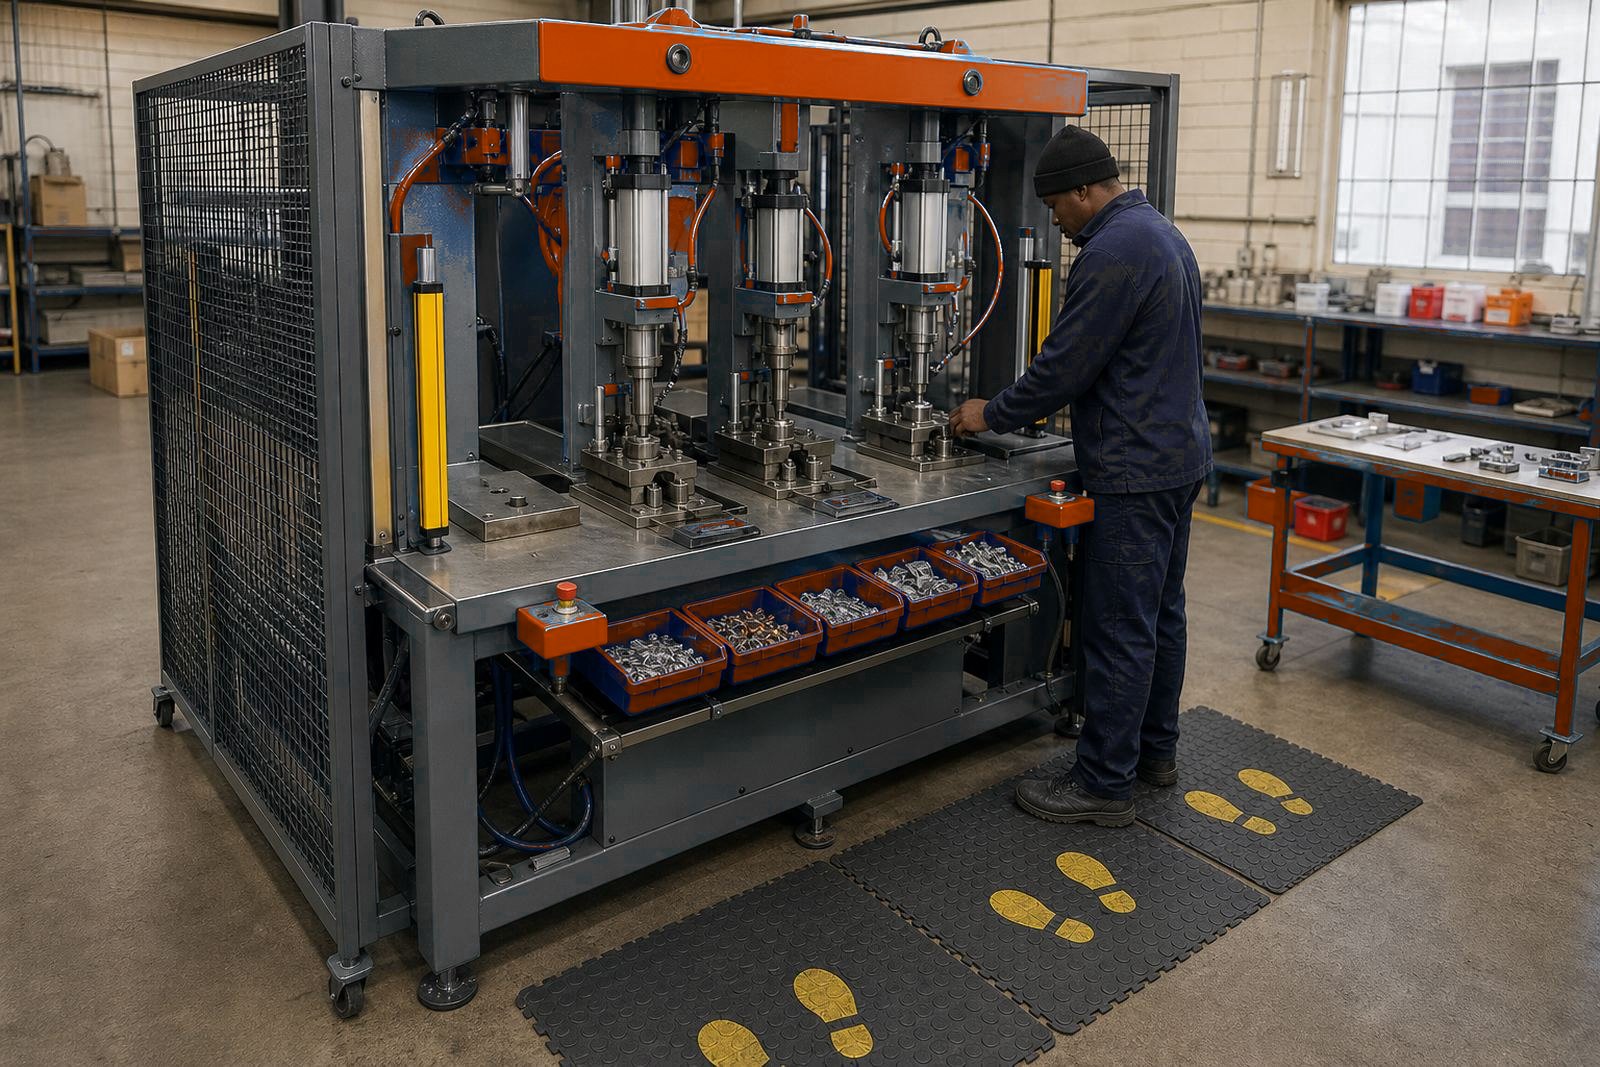
A pneumatic press is only useful when the station count, cylinder size and stroke suit the part on the table. Single-station units suit one operation at a time, while multi-station presses help when assembly, crimping, riveting, staking and pack sealing must move in a fixed sequence.
Air pressure, ram travel and tooling height all need to work together. If the stroke is too short, the part will not seat fully; if it is too long, cycle control gets messy and the tool can take unnecessary wear.
- Match the station count to the process flow, not only the daily output target.
- Check whether the part needs one operation or several steps in one setup.
- Set the stroke around the tool stack and the job height for the job.
Guarding, two-hand controls and safe access
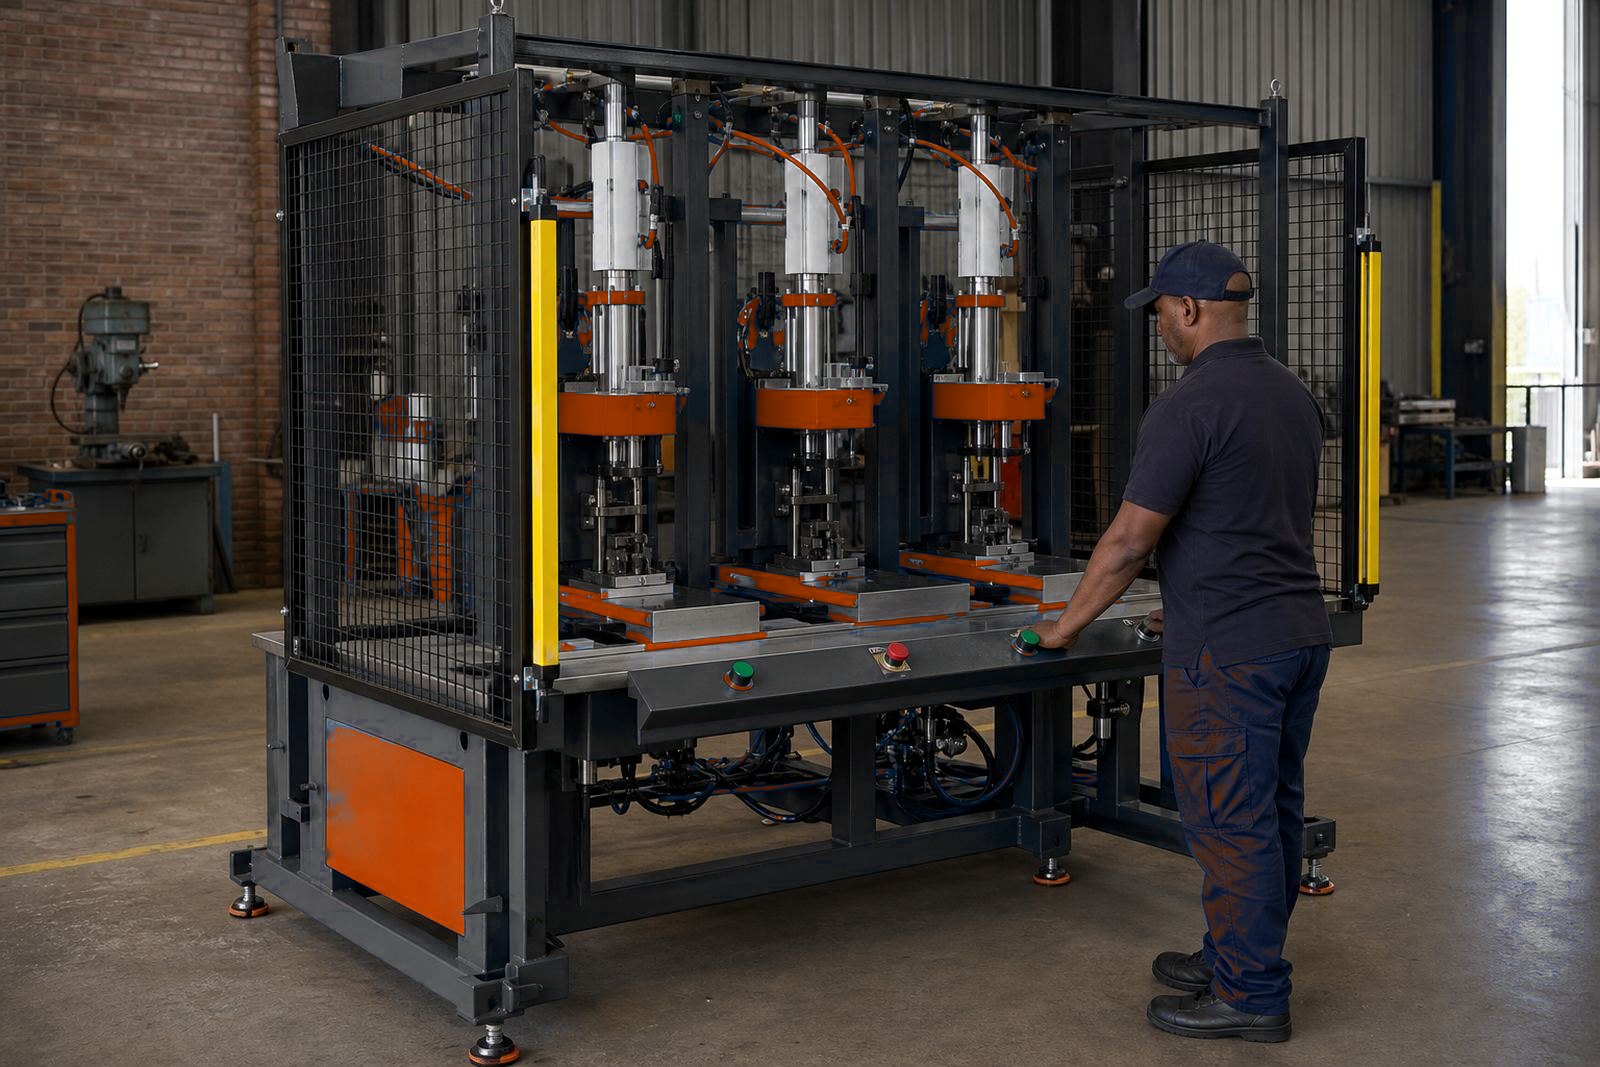
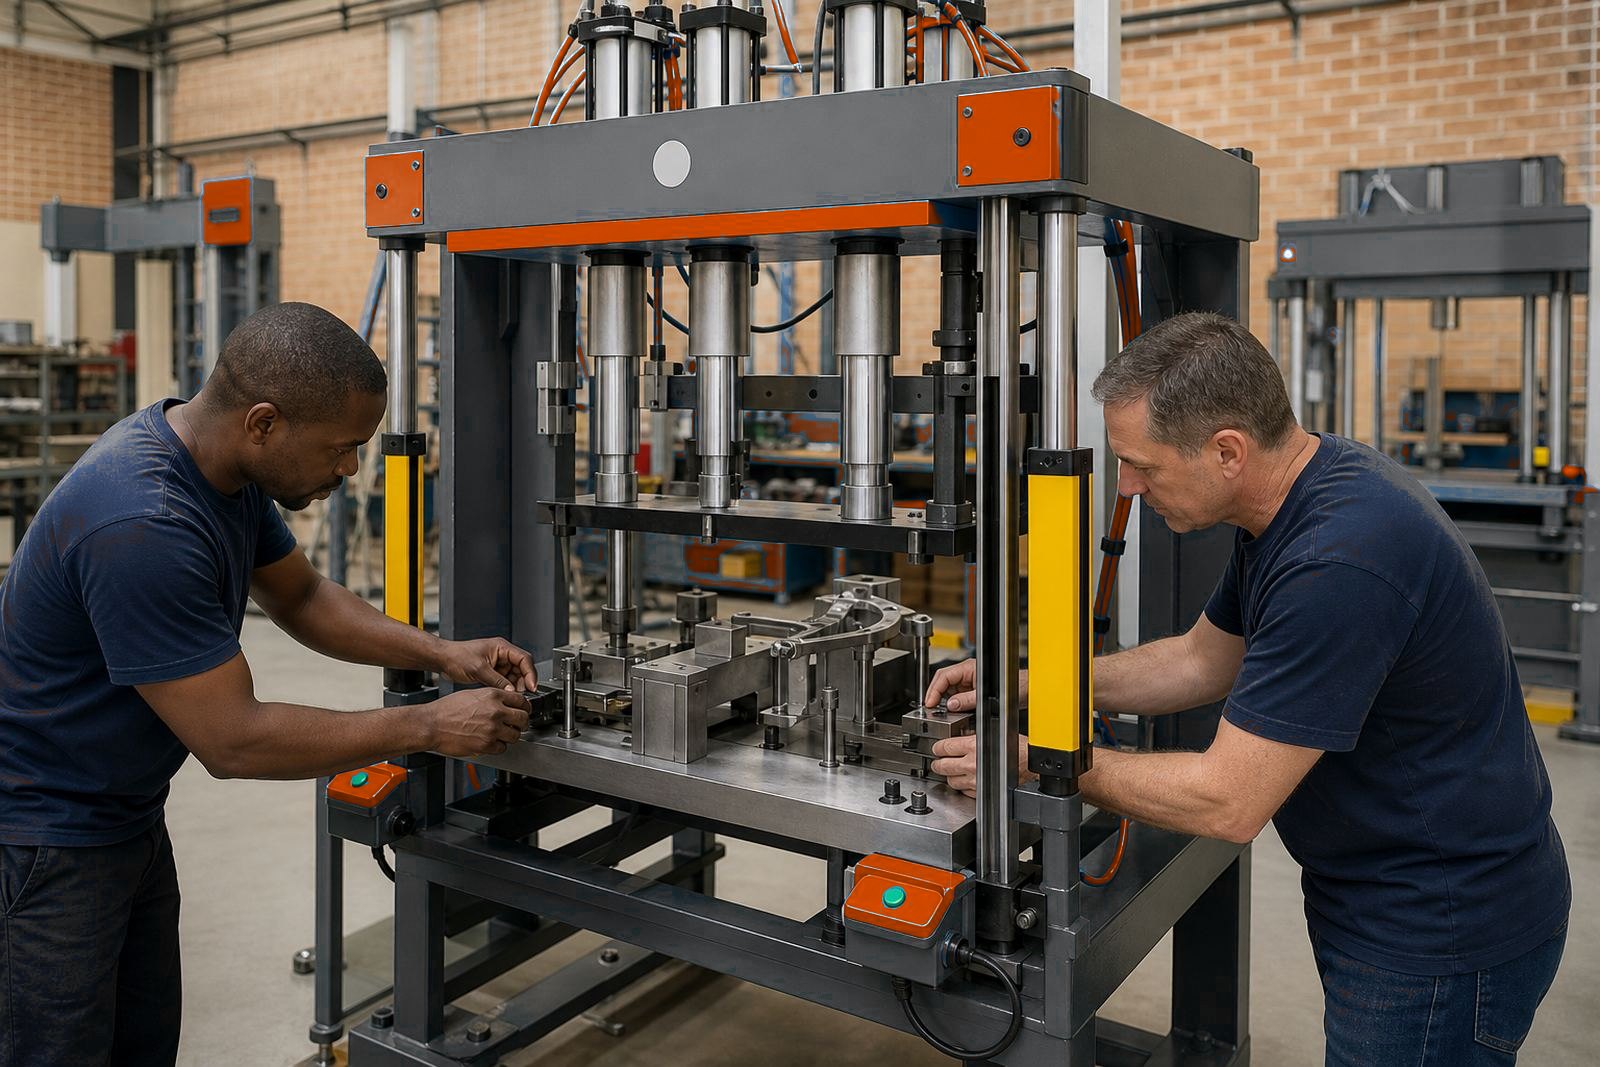
Safety features belong in the machine spec. Two-hand controls keep the operator’s hands out of the working area during the cycle, while light curtains are often used where access is needed for loading or inspection.
Guarding should suit the way the team actually works at the bench or line. If the guard blocks tool changes or routine checks, people tend to work around it, and that creates its own problems.
- Use fixed guarding where the cycle is fully contained.
- Use light curtains where access and visibility are needed together.
- Check reach, hand position and part loading height before finalising the frame.
Tooling that holds the part properly
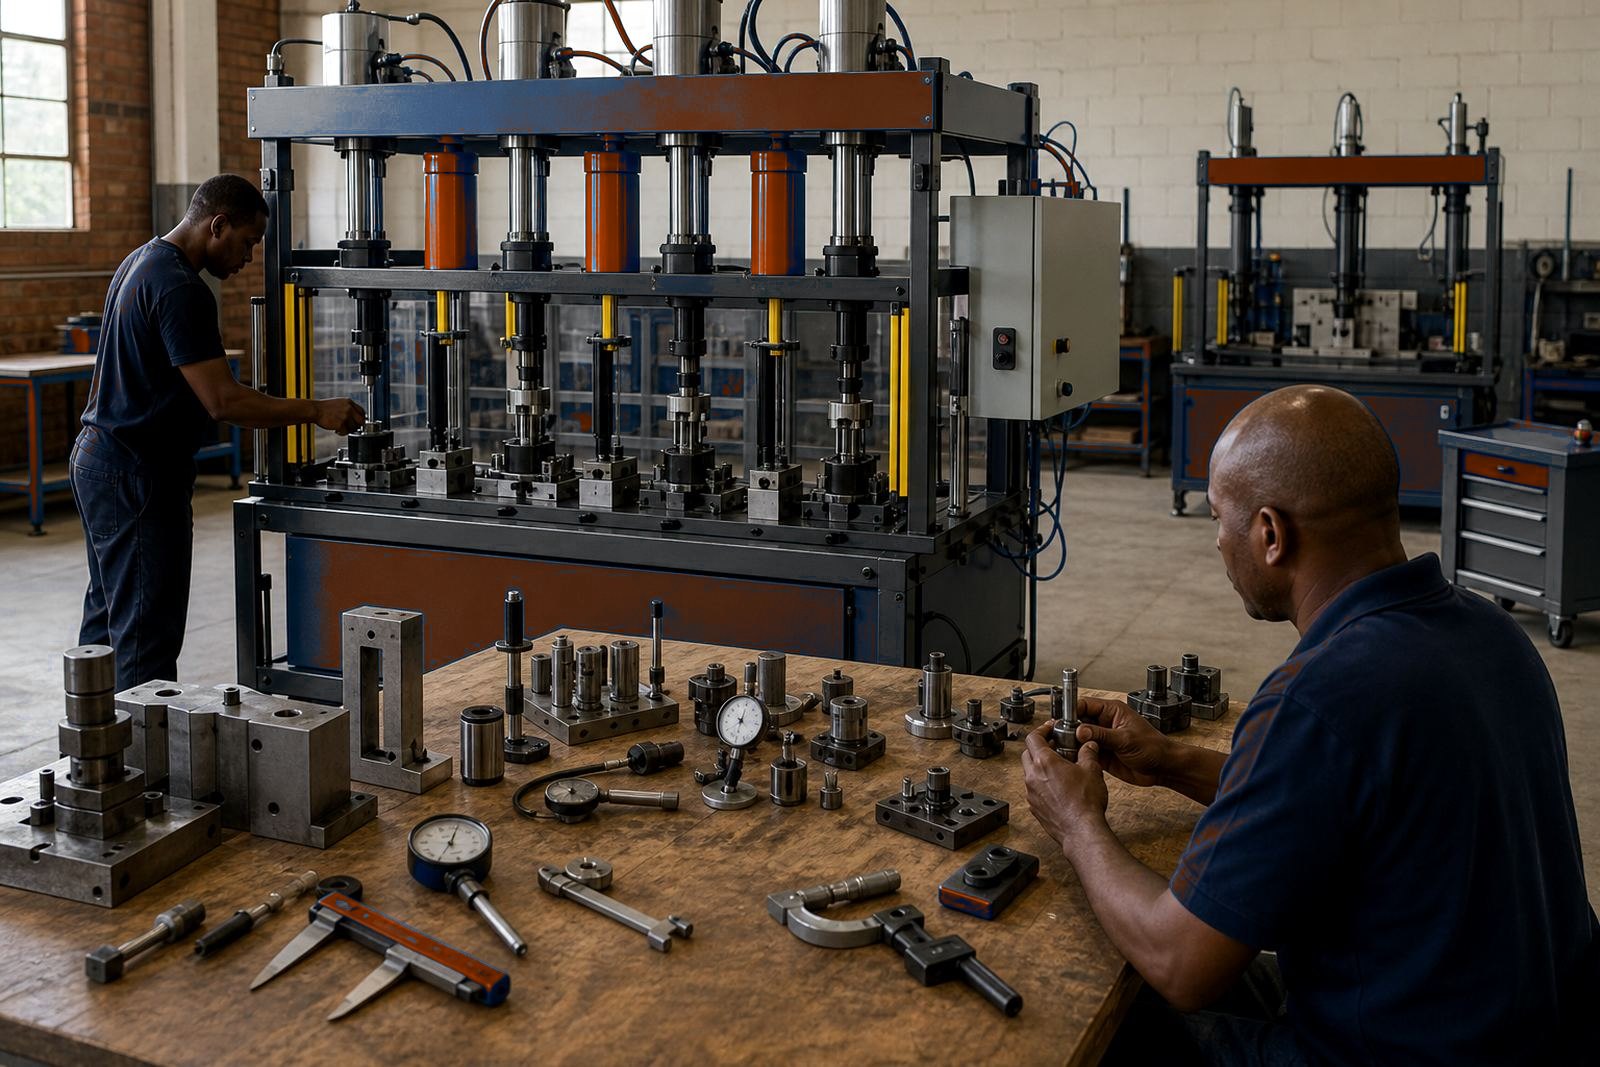
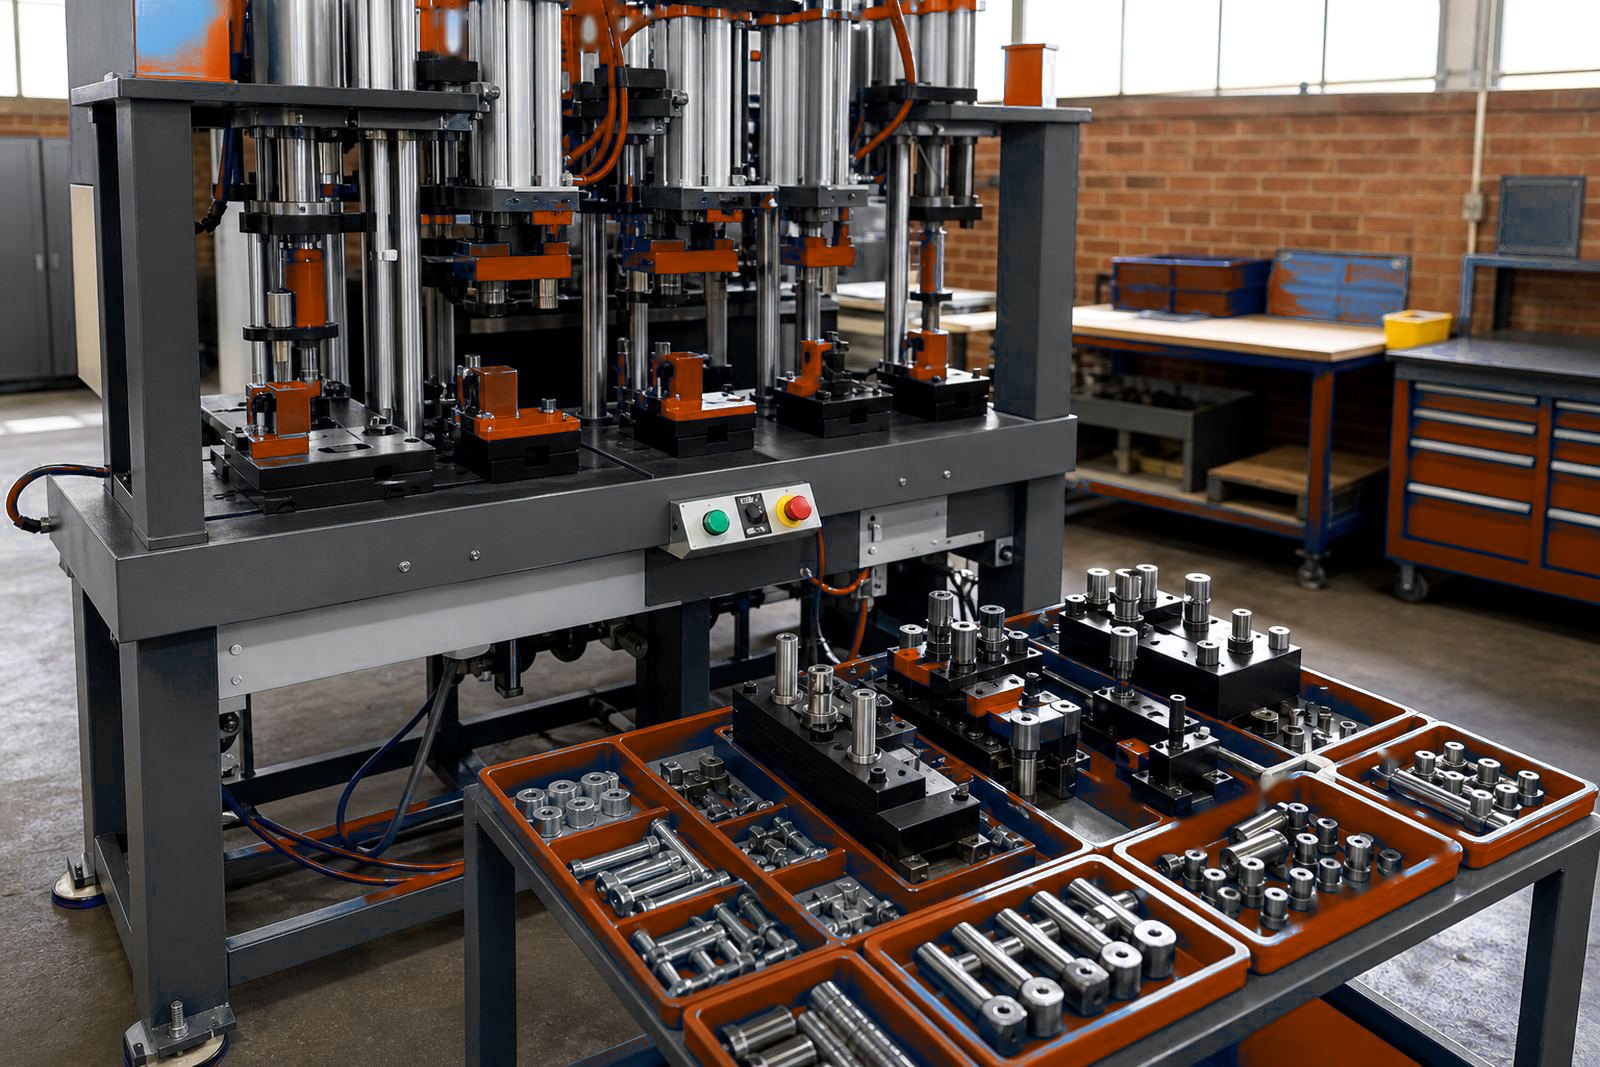
Tooling decides how repeatable the press will be from shift to shift. For crimping, riveting and staking, the part must sit square in the fixture so the load goes where it should. For pack sealing, the tool face, pressure and dwell all matter.
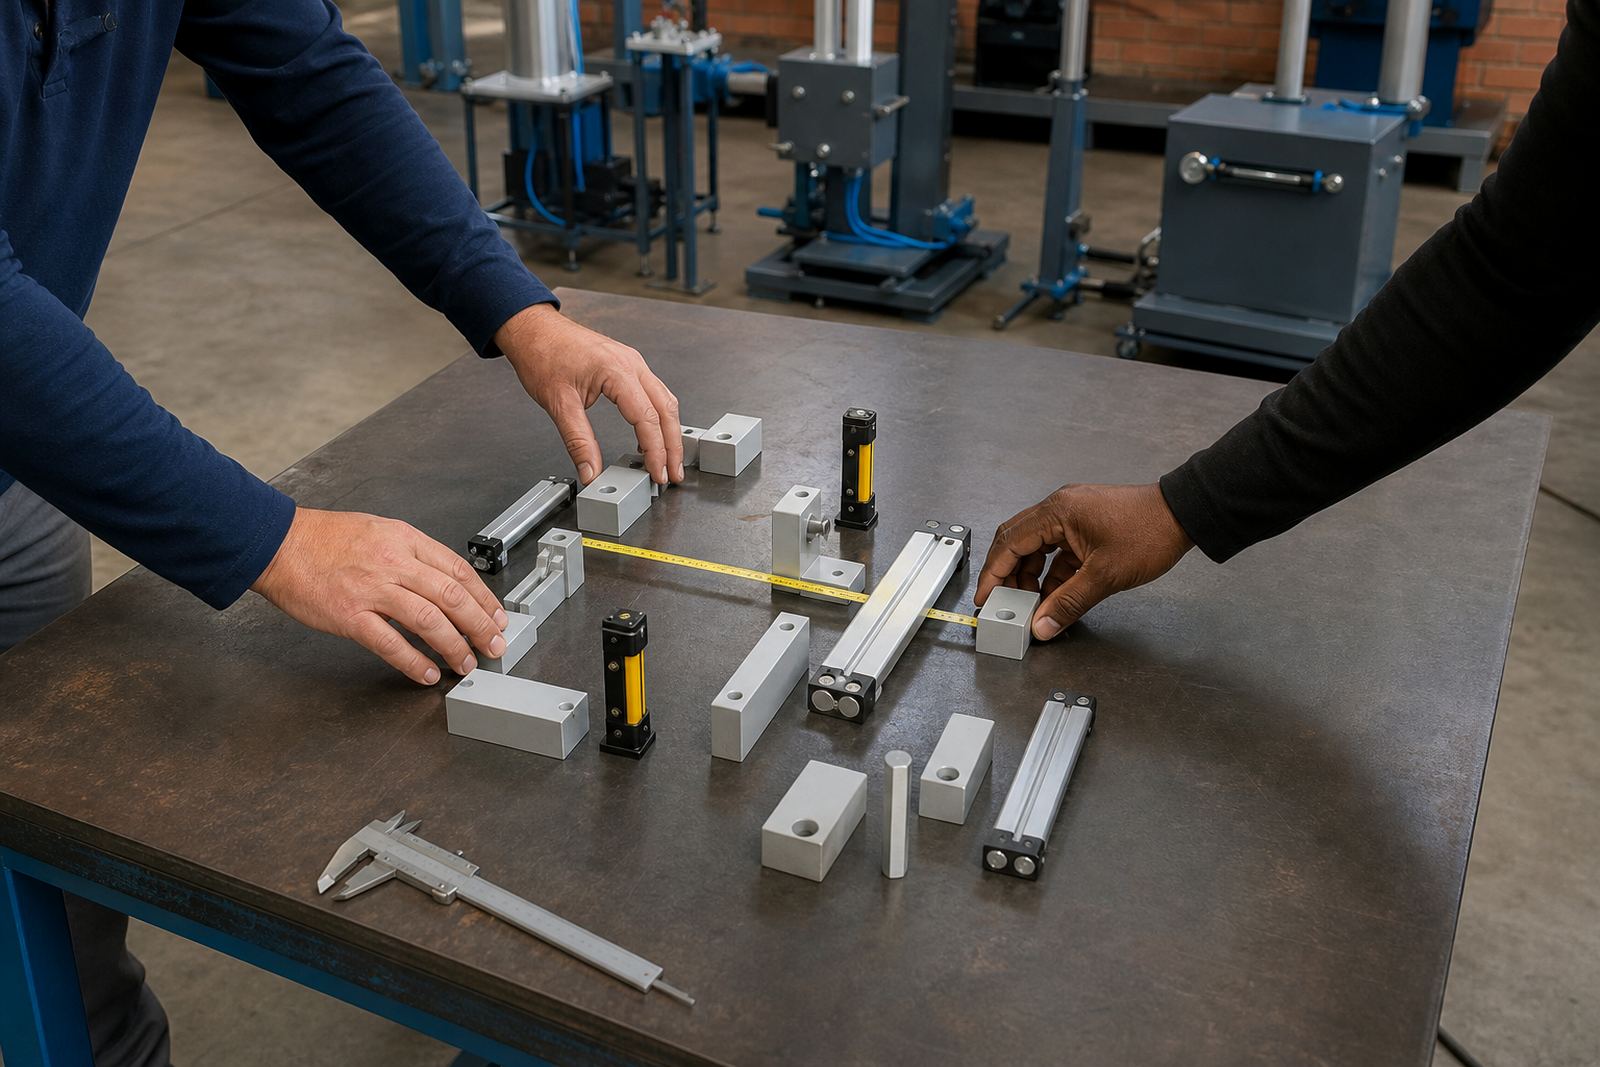
Custom tooling can include locating pins, nests, formers and change parts for different sizes. Good fixture design saves time at changeover and reduces the small errors that show up later as rejects or hand rework.
The tooling designer also has to think about wear, cleaning and access. On South African factory floors, dust, oil and warm coastal air can all affect how a fixture behaves over time.
Air line setup and plant pressure
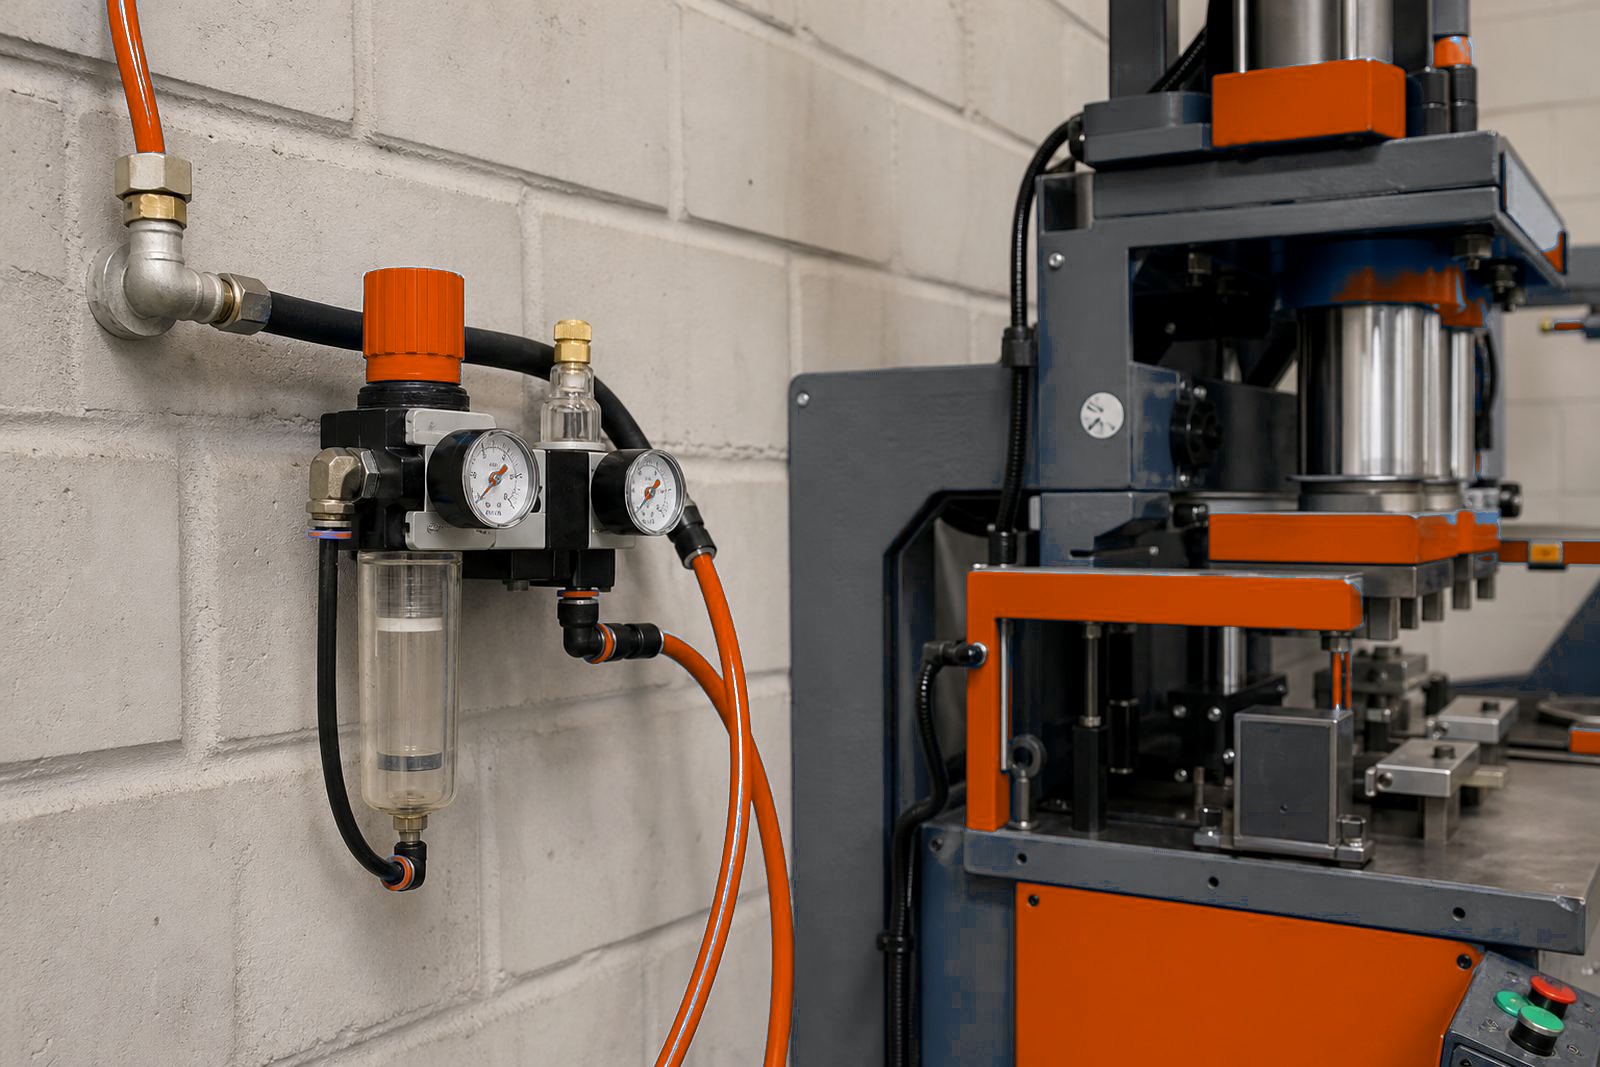
Pneumatic presses depend on clean, stable air. The line must support the required pressure and flow, with fittings, filtration and drain points placed sensibly around the machine. Poor air supply often shows up as slow cycling, weak clamping or uneven stroke performance.
Air line setup is usually easier when the route is planned with the workshop layout in mind. Long runs, tight bends and undersized pipework can all reduce performance, especially on lines that work through the day.
- Confirm the available plant air pressure before finalising cylinder sizing.
- Allow for filtration and water removal where the air carries moisture.
- Keep line routing neat so service work does not become awkward later.
Commissioning on the shop floor
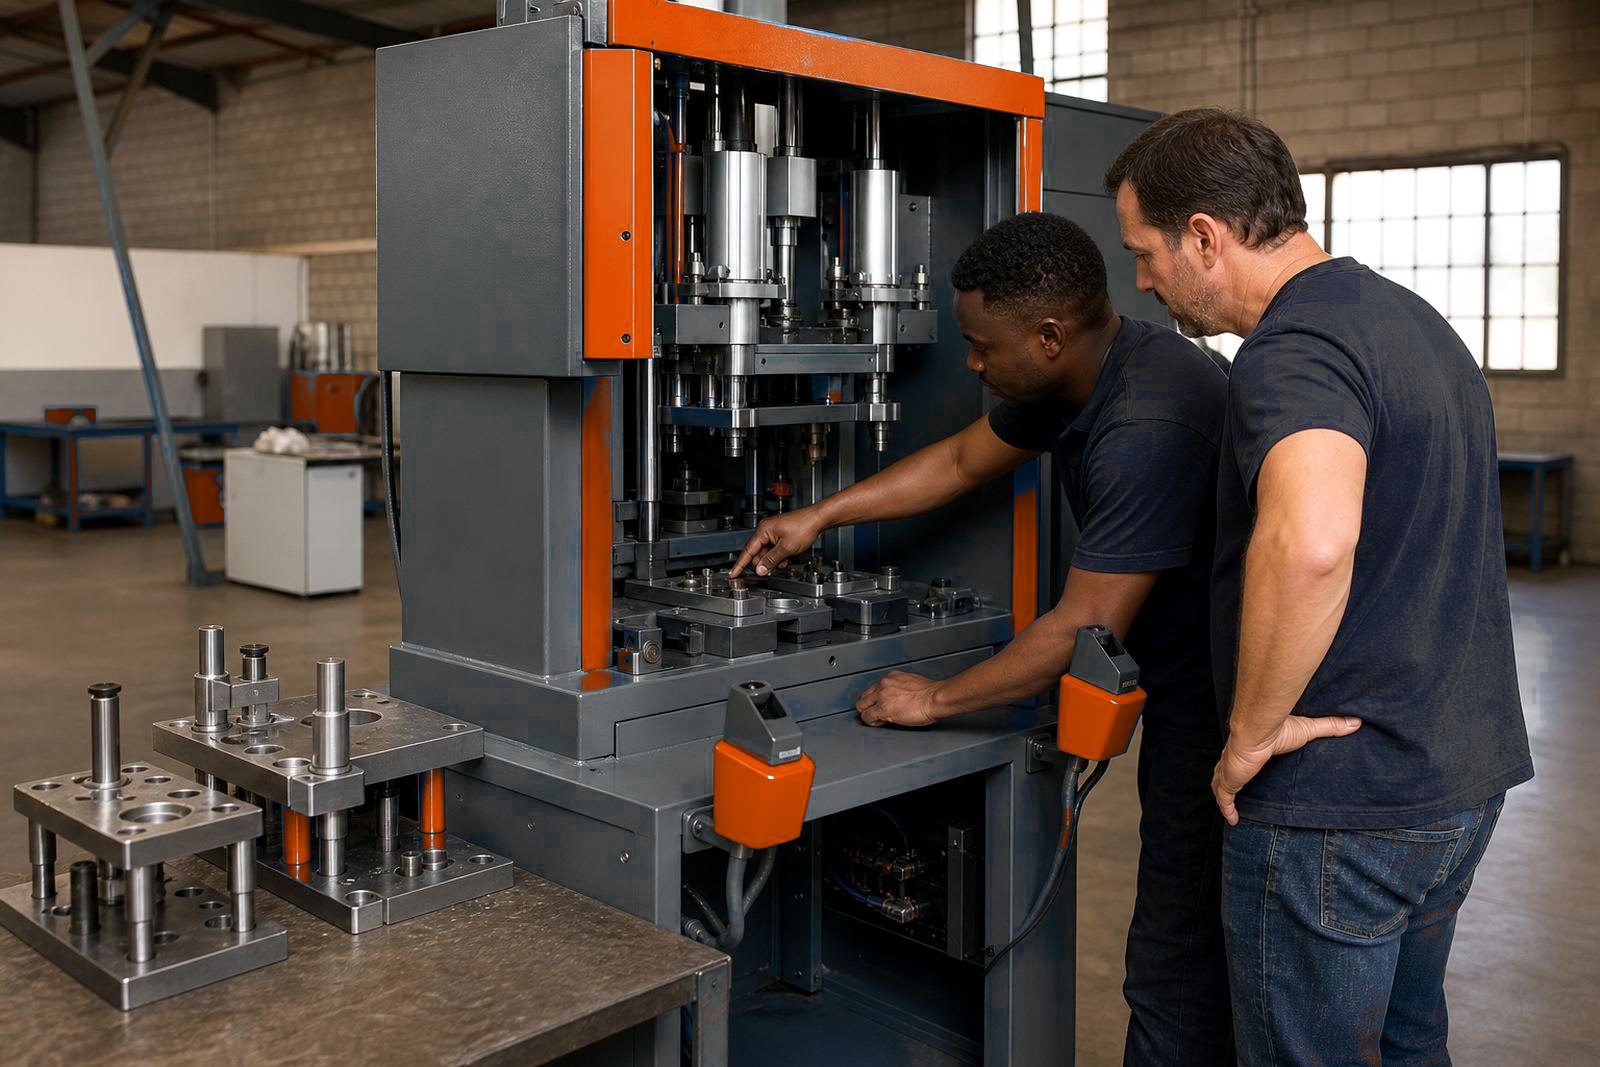
Commissioning links the design to the real production line. The machine is set, cycled and tested with the actual tooling, then stroke setting, pressure settings and part presentation are adjusted until the process settles into a workable pattern.
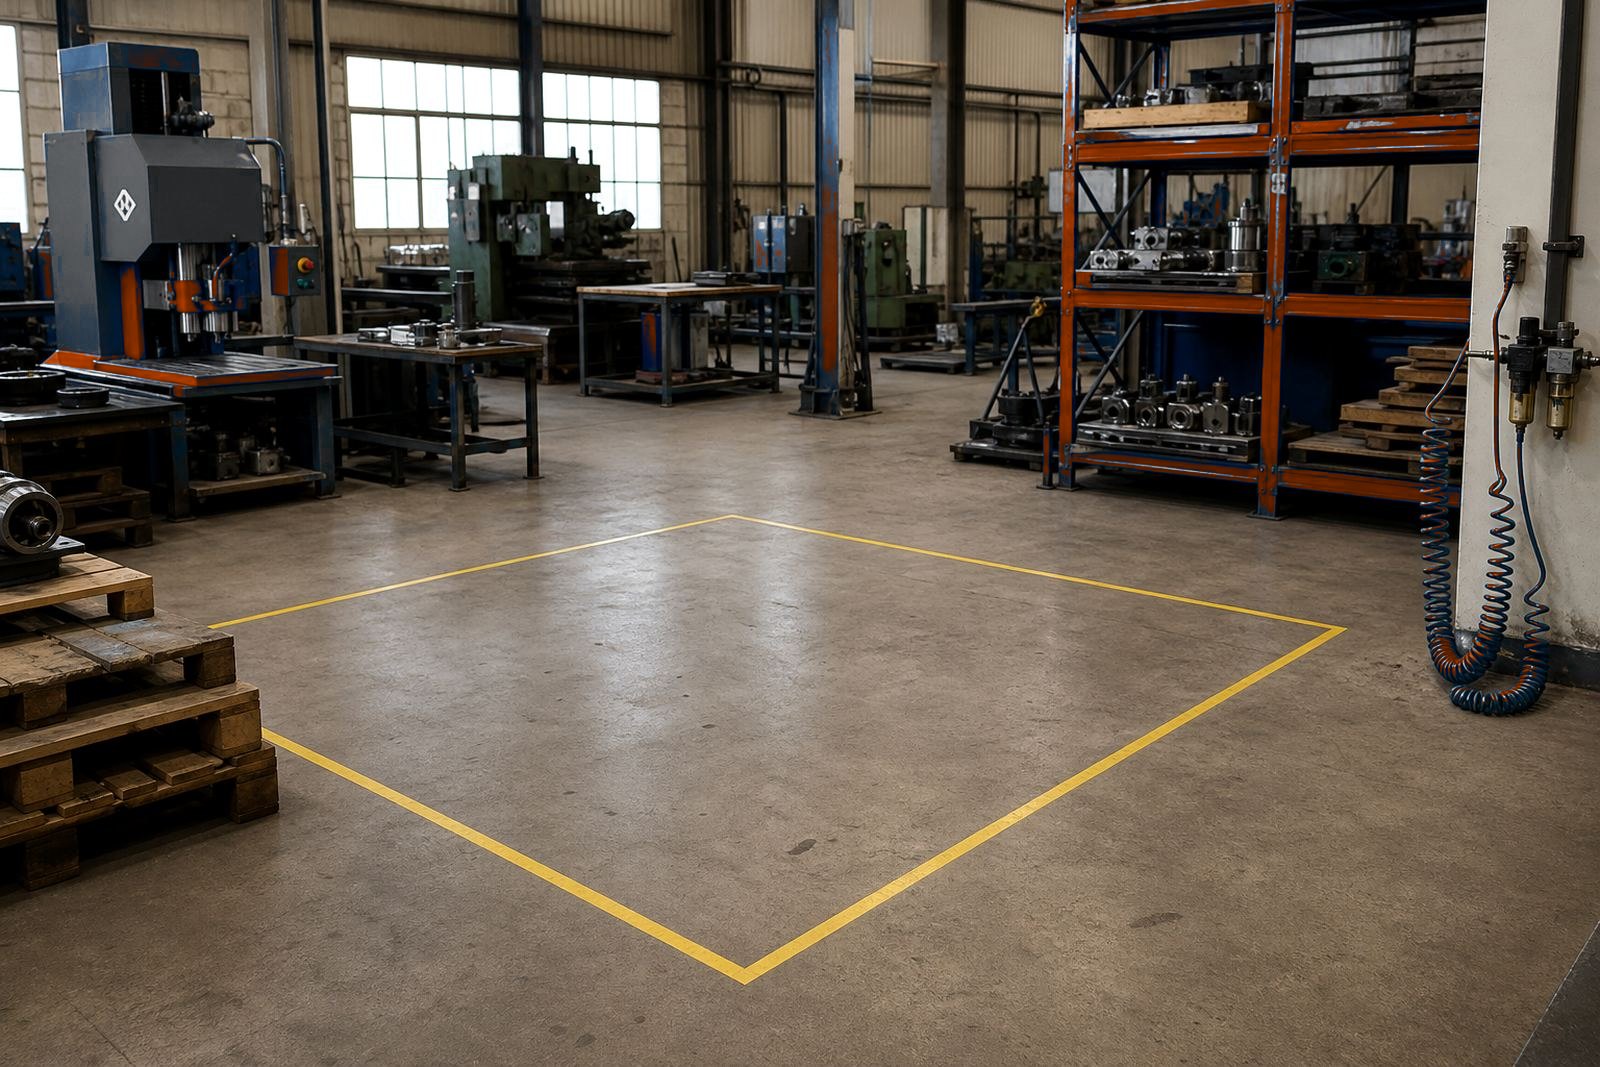
On-site work also checks guarding, controls, part removal and handover notes. If the machine is moving to Johannesburg, Pretoria, Durban, Gqeberha or East London, the same basic checks still apply, but each site has its own floor space, power points and line flow to manage.
Commissioning should leave the team with a press that behaves the same way from one operator to the next, not only during the first trial run.
Training that fits the daily shift pattern
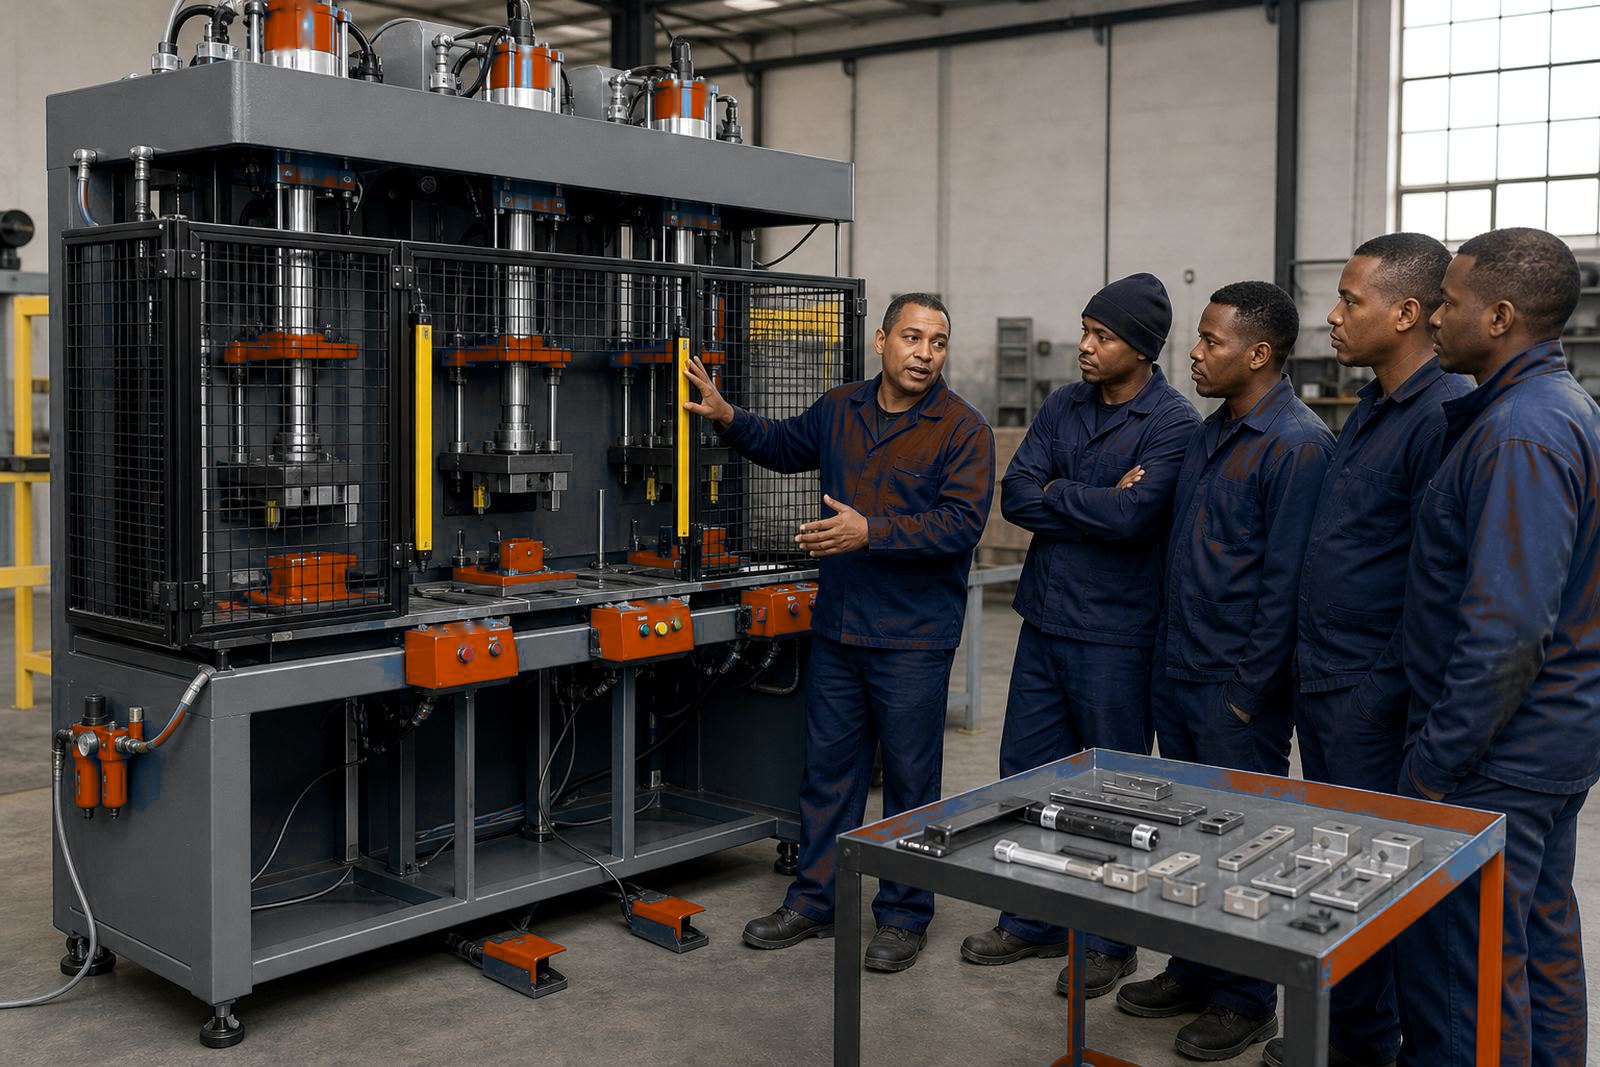
Operator training matters because the machine is only one part of the process. The team needs to know how to load parts, watch the cycle, check the tool, clear jams and spot early signs of wear before a small issue becomes a production halt.
Training also helps with tooling changes and basic daily checks. When a press line uses several stations, the team has to understand which steps belong to setup, which belong to running, and which need the foreman or technician.
- Teach loading position, cycle start and part removal in the same sequence every time.
- Show the team how to recognise drift in pressure, stroke or alignment.
- Explain the handover steps clearly when a shift changes over.
Planning the full press project
Compare tooling changes, guarding, installation and production handover early so the brief is clear before metal is cut and parts are made.
MultiPress builds multi-station pneumatic presses from Isando, Ekurhuleni, for factory sites across South Africa, with planning that fits the product, the floor and the people running it.