Where plastic stud staking usually starts to fail
Plastic studs, pins, bosses and small formed features need a steady press cycle and tooling that lands square. When the support surface is off by a few millimetres, the head can lean, craze the plastic, or leave a weak joint that looks acceptable but loosens in service. That is common on covers, trim parts, appliance housings and light assemblies where several stake points sit close together.
A good staking station keeps the part flat, holds it in the same place every cycle and gives the operator enough control to repeat the same forming action across a shift. Pneumatic presses are a strong fit for this work because the stroke, pressure and clamp sequence can be set for the material rather than forced into one rough setting for every part.
In Isando and the wider Ekurhuleni manufacturing area, many shops still run plastic staking beside crimping and riveting jobs on the same line. That calls for a machine that can change tooling without a long rebuild and still keep the part support firm where the feature is being formed.
What a staking station normally needs on the floor
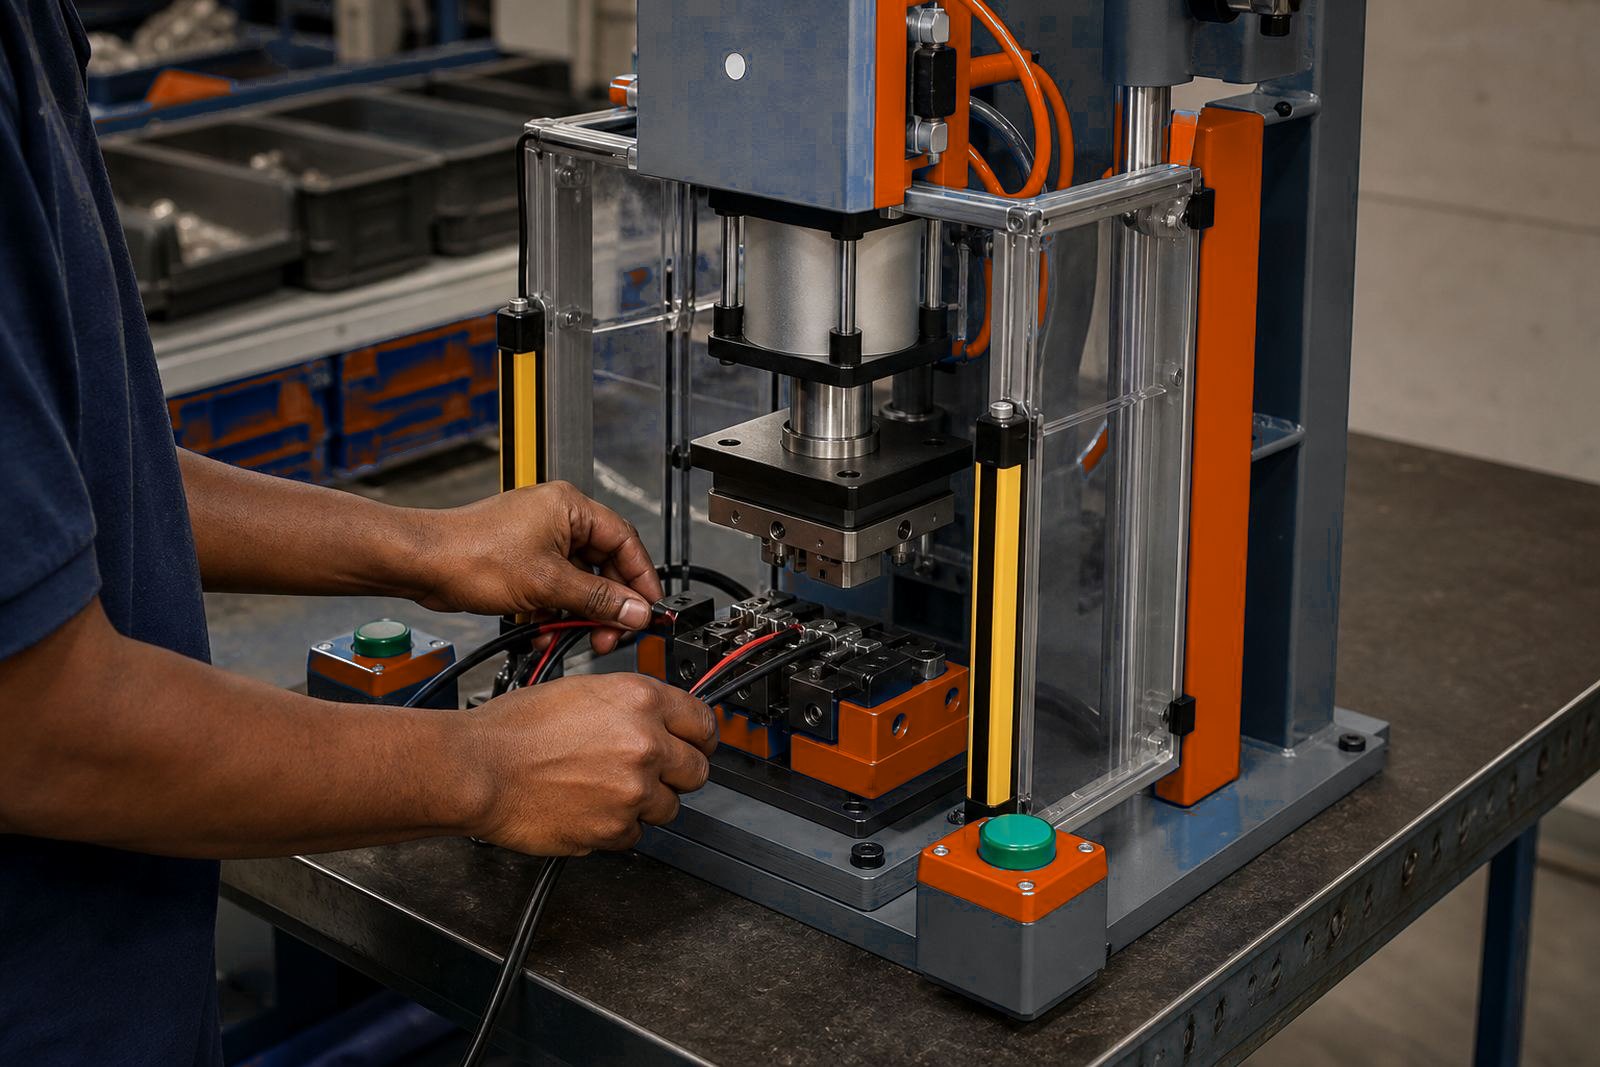
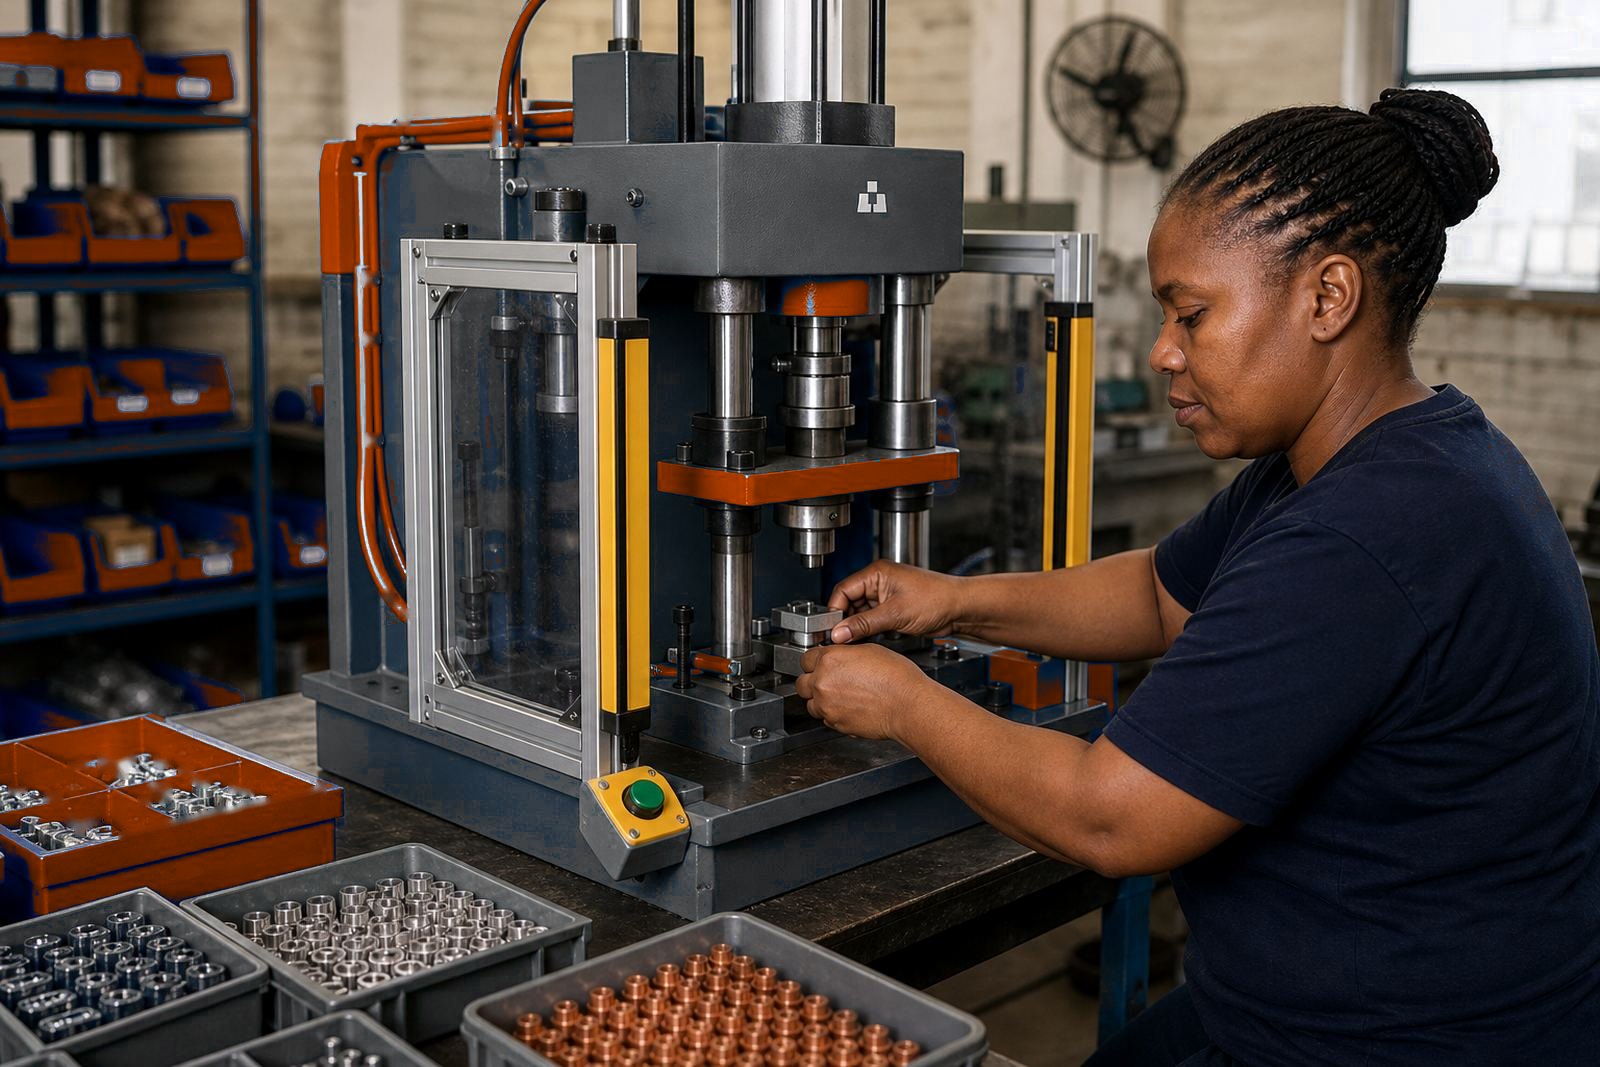
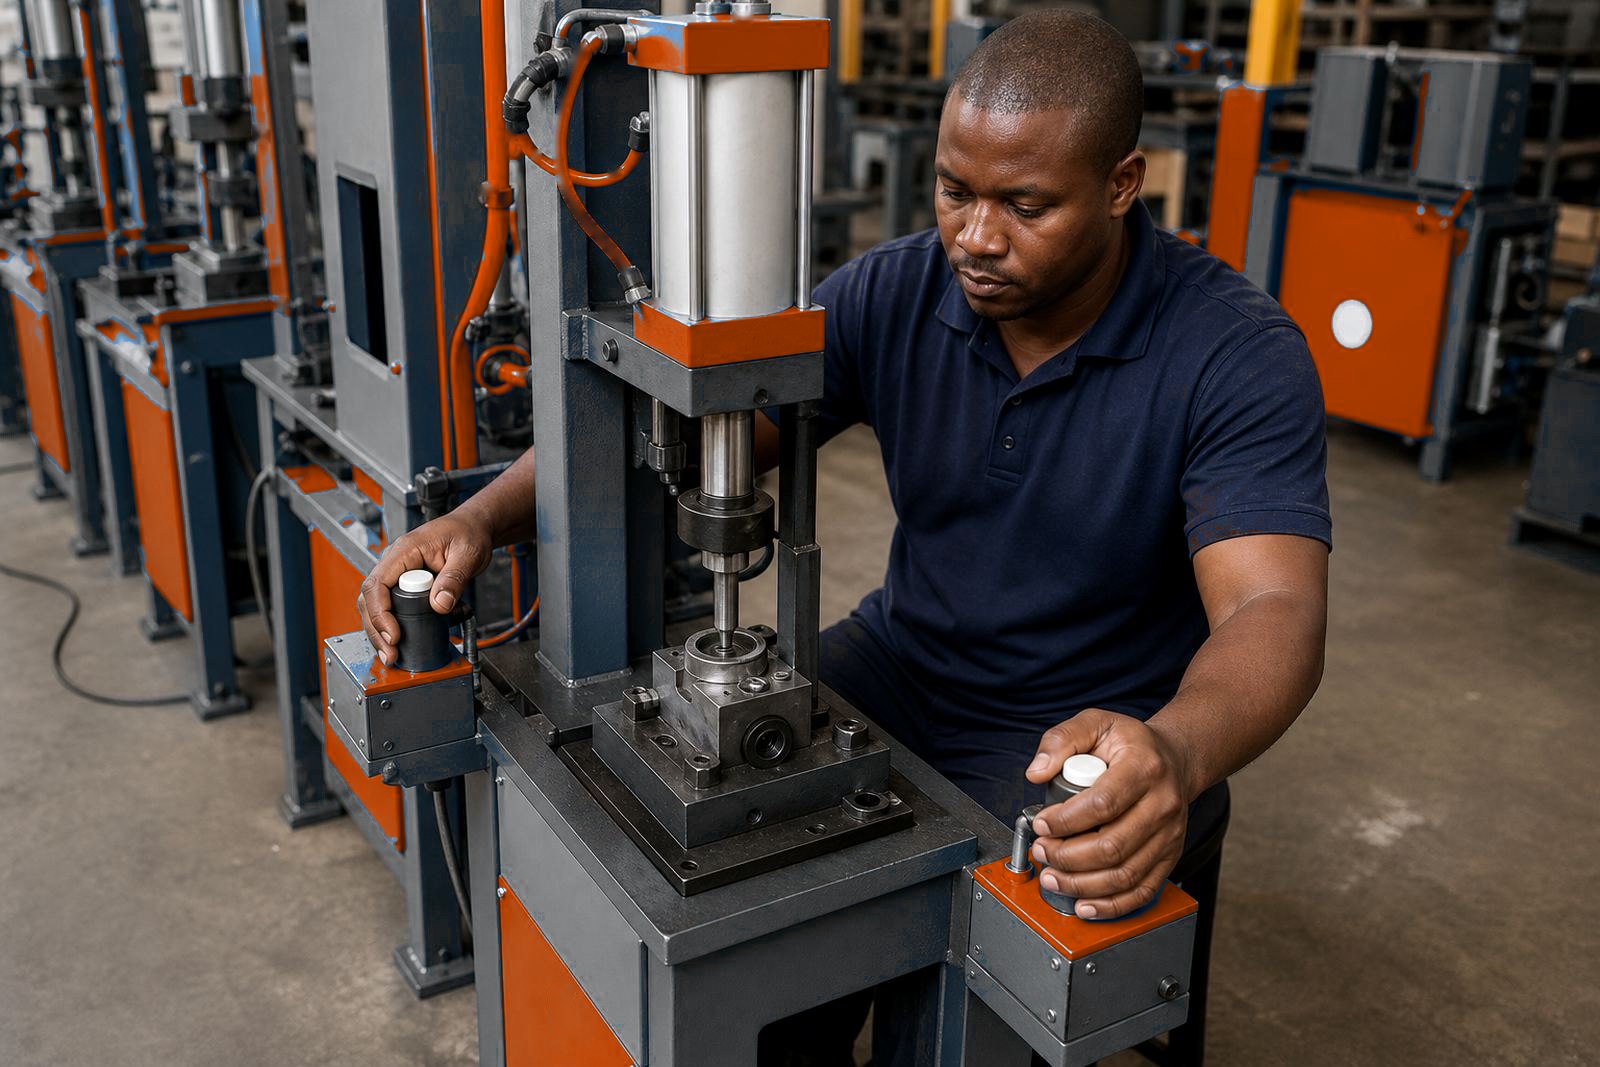
A practical plastic stud staking set-up often includes a single or multi-station pneumatic press, a lower nest or fixture, a shaped staking tool, pressure control and a safe start arrangement. For repeat work, the tool face must suit the stud shape and the support nest must hold the workpiece without marking the visible side.
- Pneumatic cylinders sized for the press force and working stroke
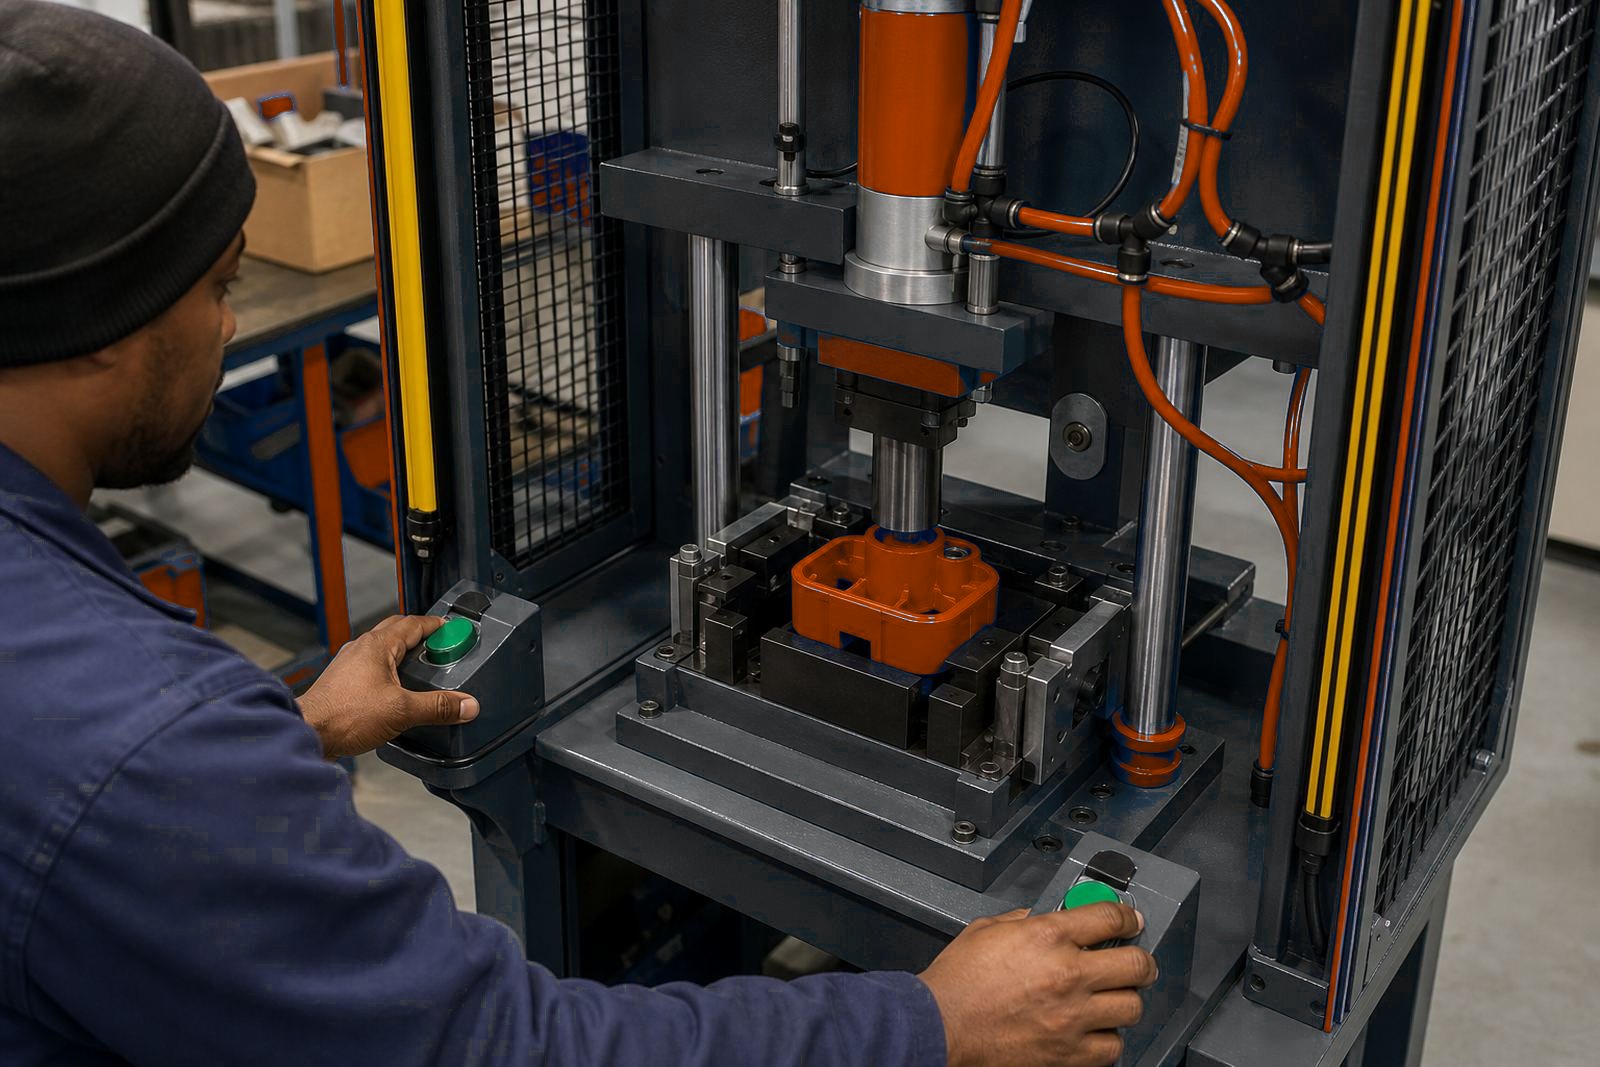
- Two-hand controls or another guarded start method
- Light curtains where the loading area stays open between cycles
- Fixture plates, locating pins and part stops for consistent placement
- Tooling inserts for different stud diameters, heights or head forms
- Air line setup with clean, dry air and stable pressure
Many staking jobs also benefit from adjustable stroke setting. Too much stroke can flatten the feature past the point the moulding can take. Too little stroke leaves a loose or uneven head. The right setting depends on the plastic grade, the size of the formed feature and the amount of support under the part.
How the layout affects part quality
Plastic staking is not only about the press. The layout matters just as much because the operator must place the part quickly and still keep it square to the tool. If the nest is too high, too low or awkward to load, the part moves during the cycle and the stake does not form evenly.
For multi-station work, the stations should be planned around the sequence on the line. One station may suit a shallow stake on a thin cover, while the next needs a longer stroke and firmer hold-down for a deeper feature. That is where custom tooling and fixture design save time, because each station can be matched to the actual part and staking task, instead of using one set-up for different components.
We also check access around the machine. Operators need a clear load side, space for trays or bins, and a practical route for finished parts. If the station sits beside other presses, the guarding must still let the team load safely without stretching across moving equipment.
Typical mistakes that show up on plastic studs
Most staking faults come from setup rather than from the press frame itself. A hard push with the wrong tool shape can leave whitening around the stud, while loose support can let the part flex and pull the formed head off centre. Both problems are common when a station is copied from another job without checking the actual material.
- Using a tooling face that is too sharp for the plastic
- Running too much air pressure for a small feature
- Leaving the nest unsupported under thin ribs or corners
- Skipping stroke setting after a tooling change
- Relying on operator feel instead of a fixed setup
- Loading parts with slight twist or poor edge location
Another mistake is treating a staking job like a one-tool answer for every component. Plastic thickness, stud height and heat history change how the feature behaves. A station that works on a rigid housing may not suit a softer moulding or a part with fine decorative surfaces nearby.
Guarding and control for repeat assembly work
Because staking stations are used repeatedly through the day, control equipment must suit the pace of the line and the safety arrangement around it. Two-hand controls are useful where the operator stands at the press and loads by hand. Light curtains suit stations where loading is more open and the part is larger or awkward to place.
We also check the air supply closely. Clean, dry compressed air helps the cylinder move consistently and avoids sticky motion that can make a press feel uneven from one cycle to the next. In humid coastal conditions, this becomes even more important because moisture in the line can change the feel of the stroke and shorten the life of the tooling surfaces.
During commissioning, the stroke, pressure, tool alignment and hand position are checked together. The aim is a station that forms the stud cleanly without making the operator work around the machine. Training then covers loading sequence, part checks, tooling changes and the signs that the station has drifted out of setting.
Budget ranges in Rand for a plastic staking station
Costs move with station count, part size, guarding and tooling complexity. A straightforward single-station pneumatic press for plastic stud staking sits at a lower level than a multi-station machine with interchangeable nests, light curtains and special tooling for several part types.
For planning purposes, a basic custom staking station can start in the tens of thousands of Rand, while a larger multi-station press with guarding, tooling and commissioning can rise into the mid to higher hundreds of thousands of Rand. If the line needs fixture design, air line setup, production handover and operator training, those items should be allowed for separately in the project plan.
Simple tooling changes may keep the budget modest. Harder jobs, such as mixed part families or stations that must run both staking and light assembly work, usually ask for more development time and more careful setup. That is where early part samples and clear drawings help keep the project on track.
The job details we ask for before building
Before a plastic stud staking station is built, the part and the cycle must be understood clearly. We look at stud size, material type, where the stake sits on the part, how many points are formed per cycle and whether the same press also handles crimping, riveting or pack sealing work on the line.
- Part drawings or sample components
- Target cycle sequence and station count
- Preferred loading direction and operator side
- Any guarding or access restrictions on the floor
- Air supply details and available line pressure
- Whether tooling must change for other components
That information helps the workshop shape the press frame, cylinder size, tooling inserts and control arrangement so the station suits the work instead of fighting it. For South African factories in Johannesburg, Pretoria, Durban, Gqeberha and East London, that practical fit matters because one press often needs to serve a real production line rather than a single test sample.