Read the part before you read the press
Start with the component itself. Thin walls, uneven surfaces, loose tolerances and soft material can shift under clamp load or under the first touch of the tooling. A part with a flat, rigid base may sit without help, while a curved shell or small bracket often needs a nest, side stop or locating pin to hold position through the stroke.
Look at the feature being formed. Crimping, riveting and staking all put force into a narrow area, so the load can pull the part sideways if the support is weak. Pack sealing work often needs steadier presentation too, because the seal line must stay in the same place from cycle to cycle.
Where support becomes necessary
Extra support is usually needed when the part can rock, twist or spring back as soon as pressure is applied. Long parts with a small contact area are common troublemakers. So are lightweight pieces that deform before the punch reaches full stroke. If the component can move more than a few millimetres by hand, it will often move under air pressure too.
- Check whether the part sits flat without hand pressure.
- See if any edge hangs in the air.
- Watch for rotation around a single locating point.
- Note any surface that dents before the cycle starts.
- Confirm that the formed zone stays clear of the support points.
Clamps, nests and guided location do different jobs
A clamp holds the component down. A nest carries the shape of the part and stops sideways movement. Guided location brings the piece into the same position every time, usually with pins, stops or formed pockets. In many stations you need all three, but not always in the same way.
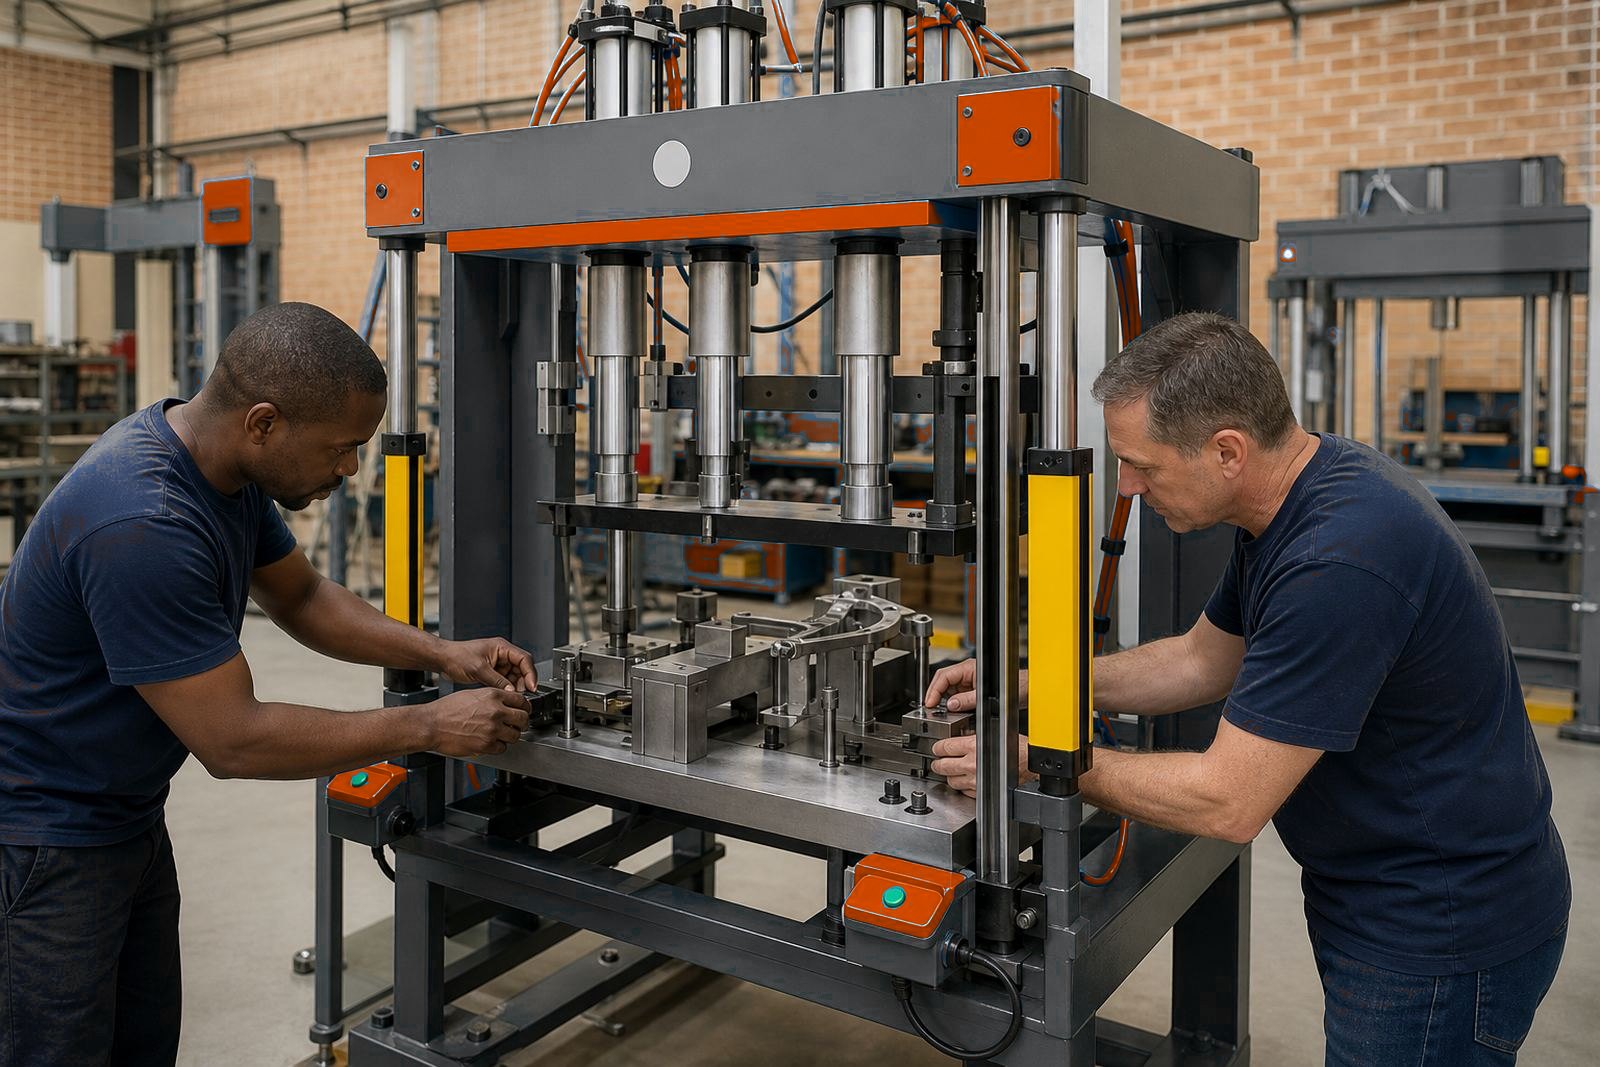
For a press with two-hand controls and a guarded working area, the fixturing still has to do the fine positioning. The operator should place the part, release both hands, and let the tooling close on a known location. If the part is still being corrected as the stroke begins, the setup is asking for trouble.
What to measure before tooling is cut
Measurements guide the fixture design. Start with overall length, width and thickness, then note critical hole positions, flange heights and any formed edge that must stay visible after the cycle. Also check how much the part varies from one batch to another, because a fixture built for a perfect sample may struggle with real incoming material.
- Measure the true locating faces, not only the outer size.
- Record the available clamp lands and safe contact points.
- Mark the areas that must stay clear for punches or dies.
- Note any burrs, weld spatter or sharp edges that can upset seating.
- Confirm whether the part needs bottom support or side restraint.
Signs the current setup is underdoing the work
If the press leaves marks in the wrong place, the fixture may be carrying the wrong load. If the component shifts between stations, the location method is too loose. If the operator has to nudge the part every cycle, the nest is not doing enough of the alignment work. These faults often show up before production starts in earnest, not only after a week on the line.
Air pressure and stroke setting matter too. A good fixture can be spoiled by too much stroke travel or by a clamp force that flattens the part before the intended forming point. The best setup gives the tooling a steady target and keeps the part in one repeatable position from the first station to the last.
Practical checklist for an early review
Check this before you commit to a fixture layout. It helps separate parts that need only a simple stop from parts that need guided location, clamping and special tooling. Keep notes beside the sample part and carry those notes through the press design and commissioning stages.
- Does the part sit consistently on a flat surface?
- Will gravity shift the component when the operator lets go?
- Is there enough material for a clamp to grip safely?
- Do the process forces push the part sideways?
- Can the operator load the part without forcing it into place?
- Will the formed feature still be accessible after location?
If the answers keep pointing to movement, the fixture needs more than a resting surface. That is the point where custom tooling, guarding, light curtain protection and careful stroke setting work together around the press.