Start with the load point, not the full travel
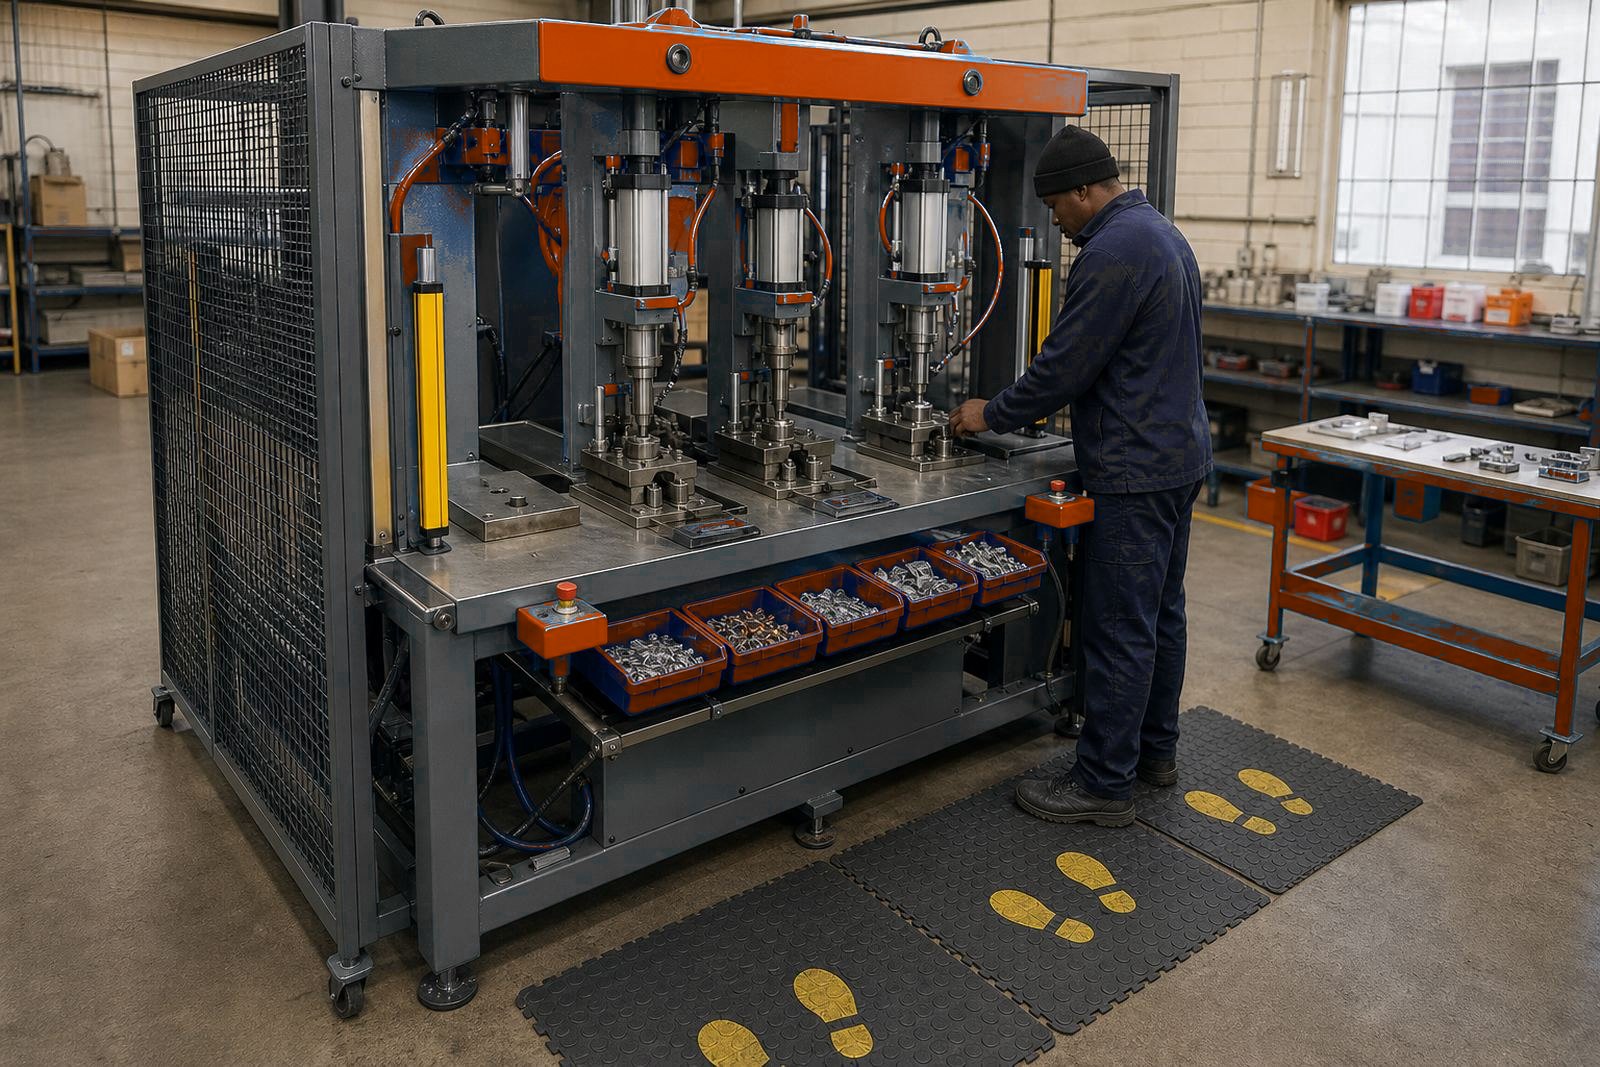
A stroke should not be guessed from the tallest part on the drawing alone. Look at the loading position, the free space above the fixture, and the point where the tooling must finish its work. In a multi-station press line, those three points often differ from one station to the next, so each station needs its own check.
Measure from the upper tool face to the finished contact point, then allow for part placement, clamp movement and any guard or light curtain clearances around the opening. If the operator has to reach deep into the station, the usable opening may be less than the actual mechanical travel.
- Measure the part in its loaded position, not only on the bench.
- Check the highest point of the fixture and any locator pins.
- Leave room for fingers, hands and loading aids at entry.
- Confirm that the ram can finish contact without bottoming out hard.
Watch the difference between clearance and working stroke
Clearance is the open space needed to place and remove the part. Working stroke is the distance the cylinder uses to do the job. A station can have enough total travel and still be wrong if the tool starts too low or finishes too early. That is why the open height and the set stroke need to match the tooling, not just the machine frame.
On a press with multiple stations, one cylinder may need a short controlled stroke for crimping while another needs a longer stroke for riveting or staking. Pack sealing often wants a short, clean finish, with contact held long enough for the material to set without crushing the pack edge.
- Open height must suit loading and unloading.
- Working stroke must suit the tool motion, not only the part size.
- Short strokes suit shallow forms and seal work.
- Longer strokes suit deeper fixtures and multi-step tooling.
Check part height with the fixture in place
Part height changes once the fixture, locator blocks and stops are fitted. A flat drawing can hide a tall boss, a curled edge or a formed lip that steals clearance. On South African factory floors, this shows up often where parts come from different batches, or where humidity and handling change the way a pack sits in the nest.
Set the stroke only after the full stack is on the station. That means tooling, guards, clamps and any air-operated hold-downs. If the part floats or rocks, the stroke may need a small adjustment and the locating faces may need attention too.
Carry these checks through before final setting:
- Fixture height from the table to the top contact face.
- Part height at the loaded and seated position.
- Any spring-back or formed spring in the workpiece.
- Air cylinder start position and end stop position.
Set final contact without over-driving the job
Final contact is the point where the tool does its real work. On a pneumatic press, too much stroke after contact can bruise the part, flatten a crimp, or damage a rivet head. Too little stroke leaves the joint loose and the seal weak. The right setting is the one that finishes the job with a controlled end point, not extra force for its own sake.
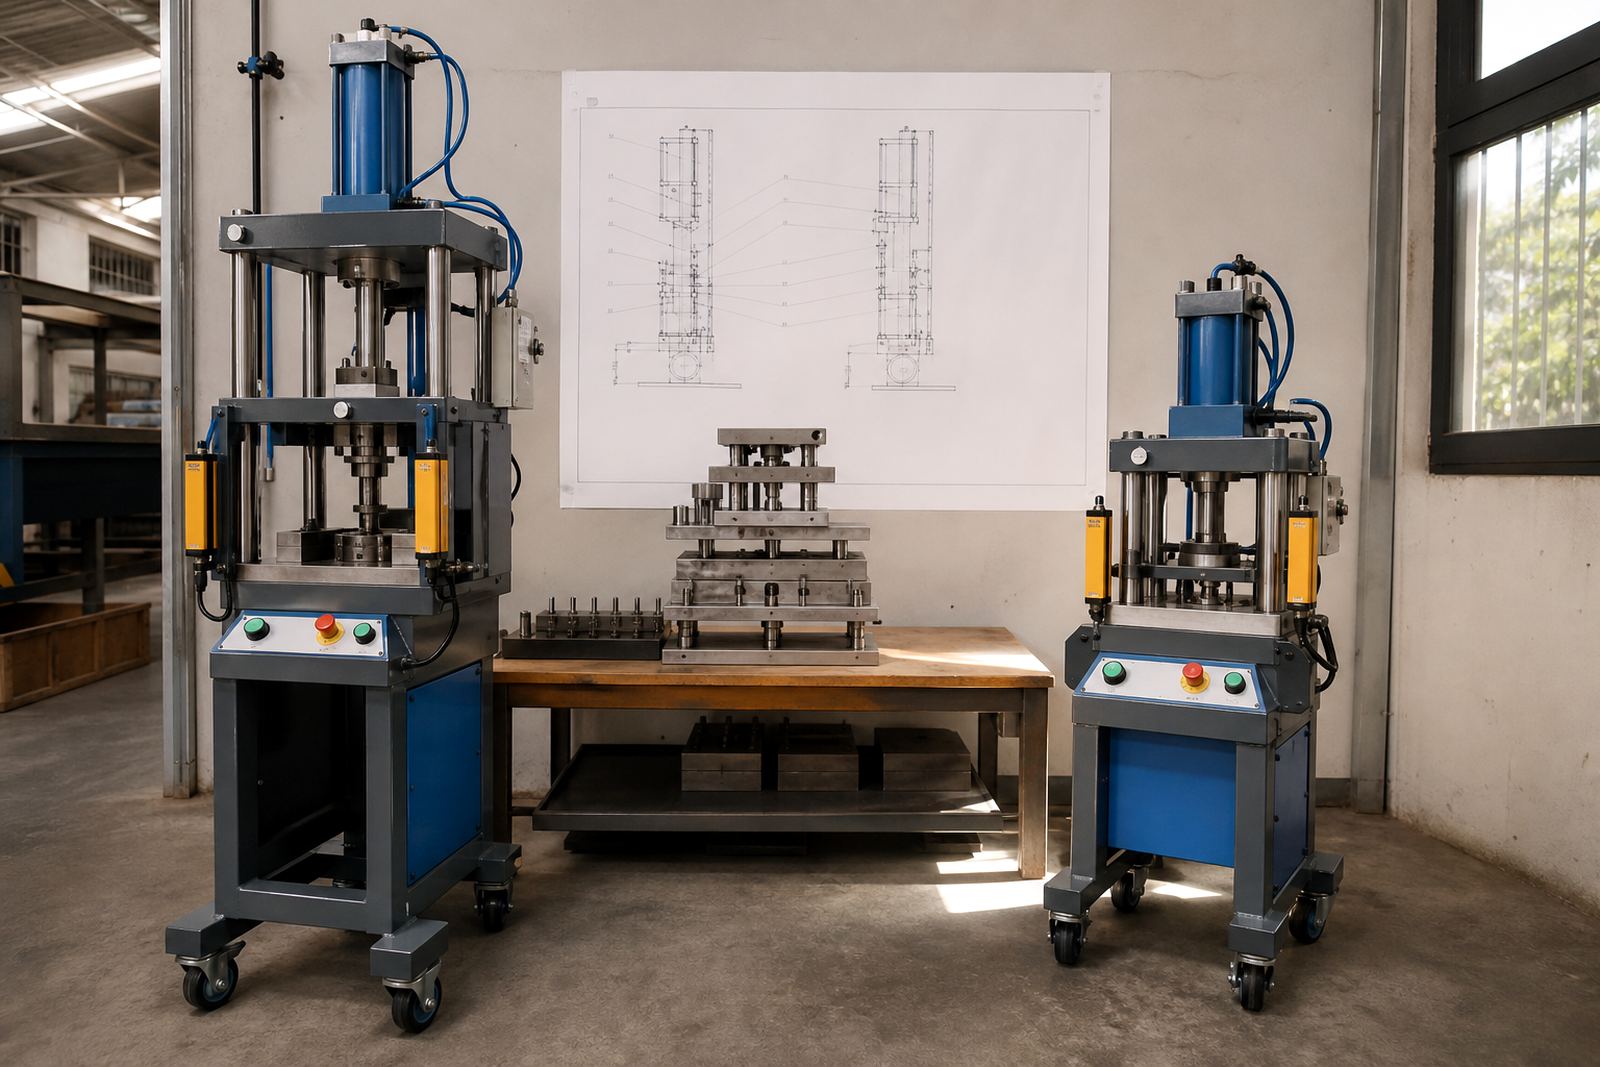
Two-hand controls and light curtains help protect the operator, but they do not fix a bad stroke setting. The tooling still has to stop in the correct position, with enough pressure to form the joint and no extra travel that pulls the ram into the work after the contact point has been reached.
Use air pressure, cylinder size and stroke together
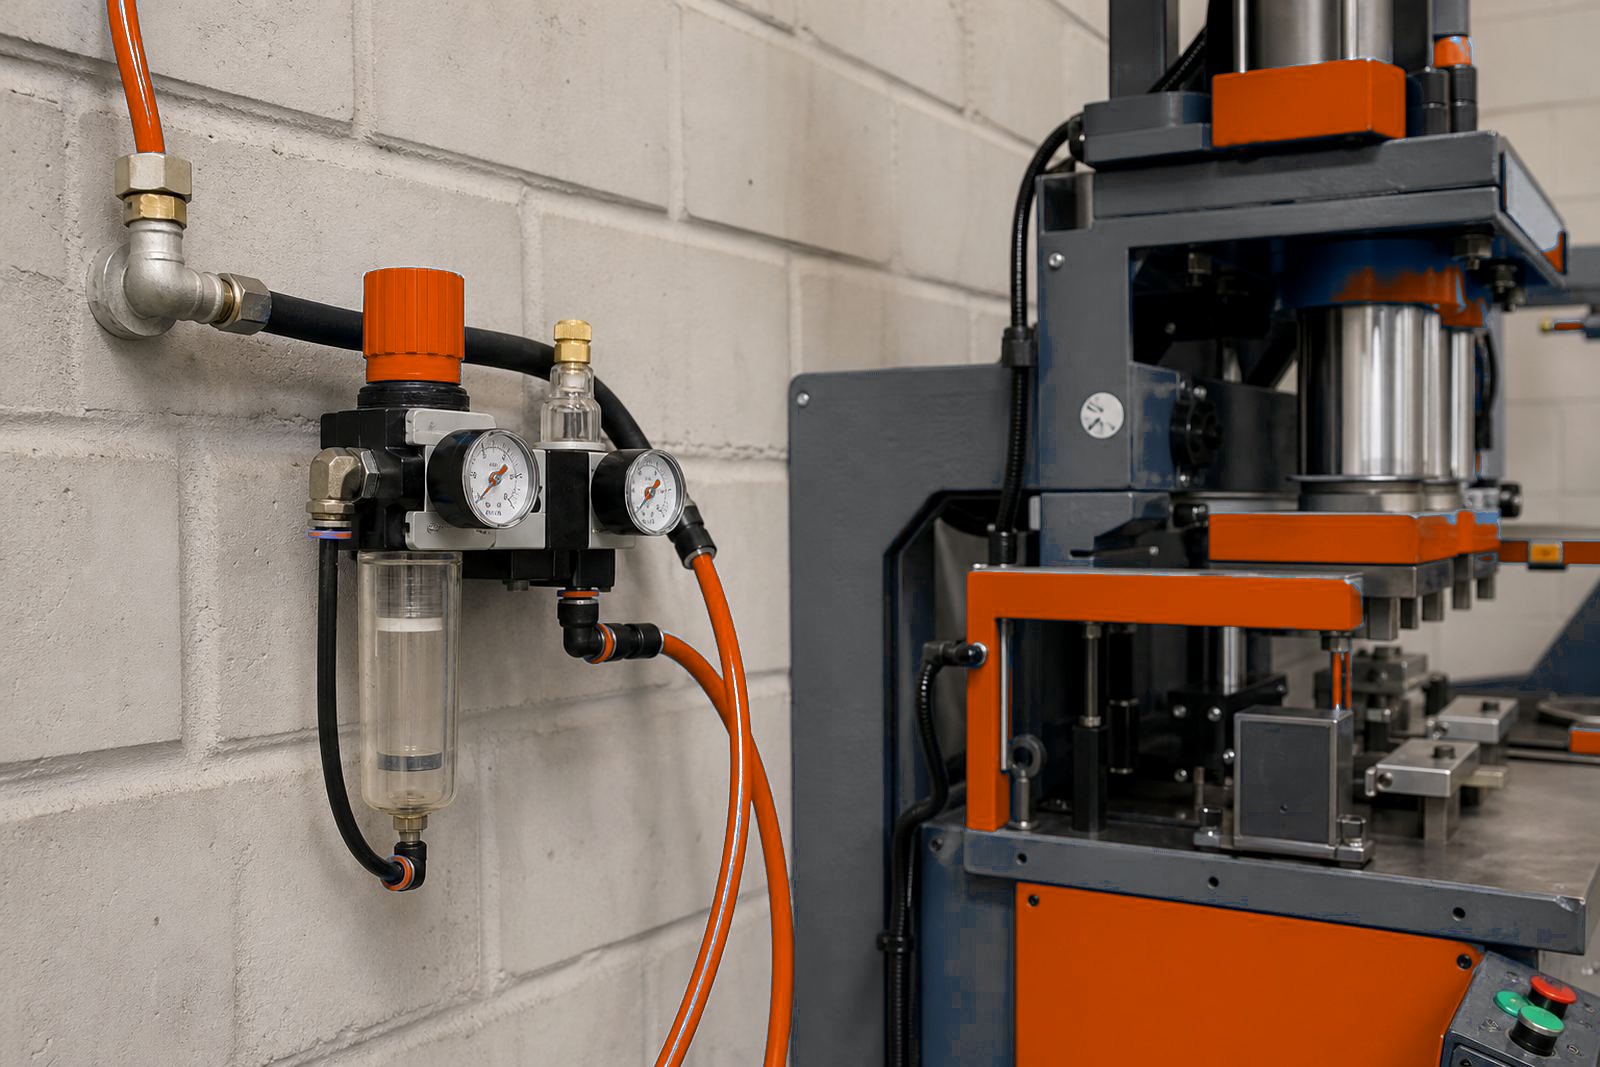
Stroke cannot be set in isolation. Air pressure, cylinder bore and ram area all shape the way the press behaves at the end of travel. A larger cylinder may move a heavier tool set, but it can also make the final contact feel harsh if the stroke is left too long. A smaller cylinder can be smooth yet fail to reach the needed contact force.
For assembly, crimping and riveting, the right setting balances movement with finish. For pack sealing, the finish needs to be neat and even across the full seal line. If the air line drops, water gets into the line, or the regulator drifts, the same stroke can behave differently from shift to shift.
- Set pressure after the tool and part are confirmed.
- Match cylinder size to the duty at the station.
- Check for air leaks before fine setting the stroke.
- Test the end point with sample parts, not only empty cycles.
A simple setting routine for production teams
Good stroke setting is easier when the sequence stays the same. Start with the station at safe open height, place the part, check the tool path, then bring the ram down in controlled steps until the contact point is reached. Note the setting on the job card or station sheet so the next changeover starts from a known point.
When production changes, repeat the check on every station that uses its own tool set. A line can look aligned at the first station and still miss depth on the second. That is where a small slip in setup turns into uneven crimping, poor rivet form, or a pack seal that looks acceptable but does not sit right.
- Confirm the open position before loading parts.
- Run a dry cycle only where the station allows it.
- Check the finished joint or seal under normal light.
- Record the final stroke point for that tool set.