The first walkaround before any cycle begins
A good training session starts with the frame, guards and air system. Operators learn where the cylinders move, how stroke length affects part travel and why air pressure must match the job, not the habit from the last run. On a multi-station press, each station can carry a different tool set, so the operator needs to know which nest, punch or fixture belongs where.
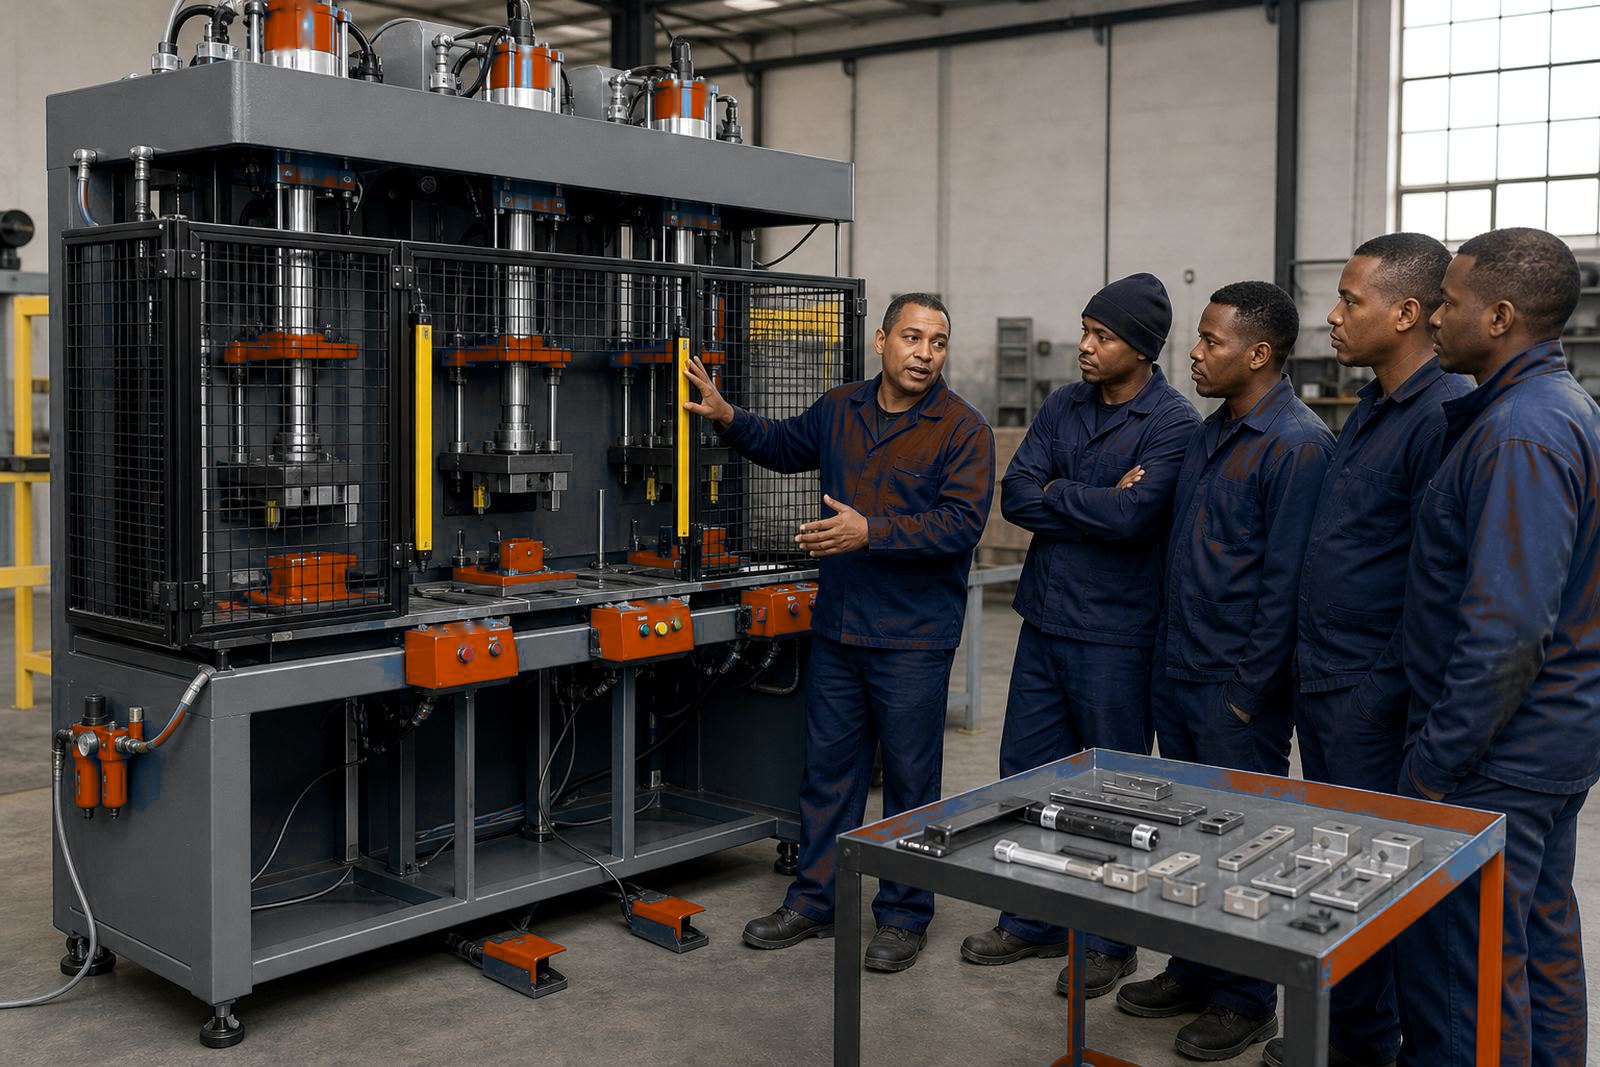
We usually cover the press layout in plain steps: identify the main controls, check the guarding, confirm the two-hand controls and make sure the light curtain zone is clear where fitted. The operator also learns how to spot loose fasteners, worn tooling faces and air leaks before production starts.
- Check the guard gates, panels and interlocks
- Confirm the air supply and regulator setting
- Inspect tooling for wear, misalignment or build-up
- Clear the table, dies and loading area
Controls, two-hand operation and safe cycle timing
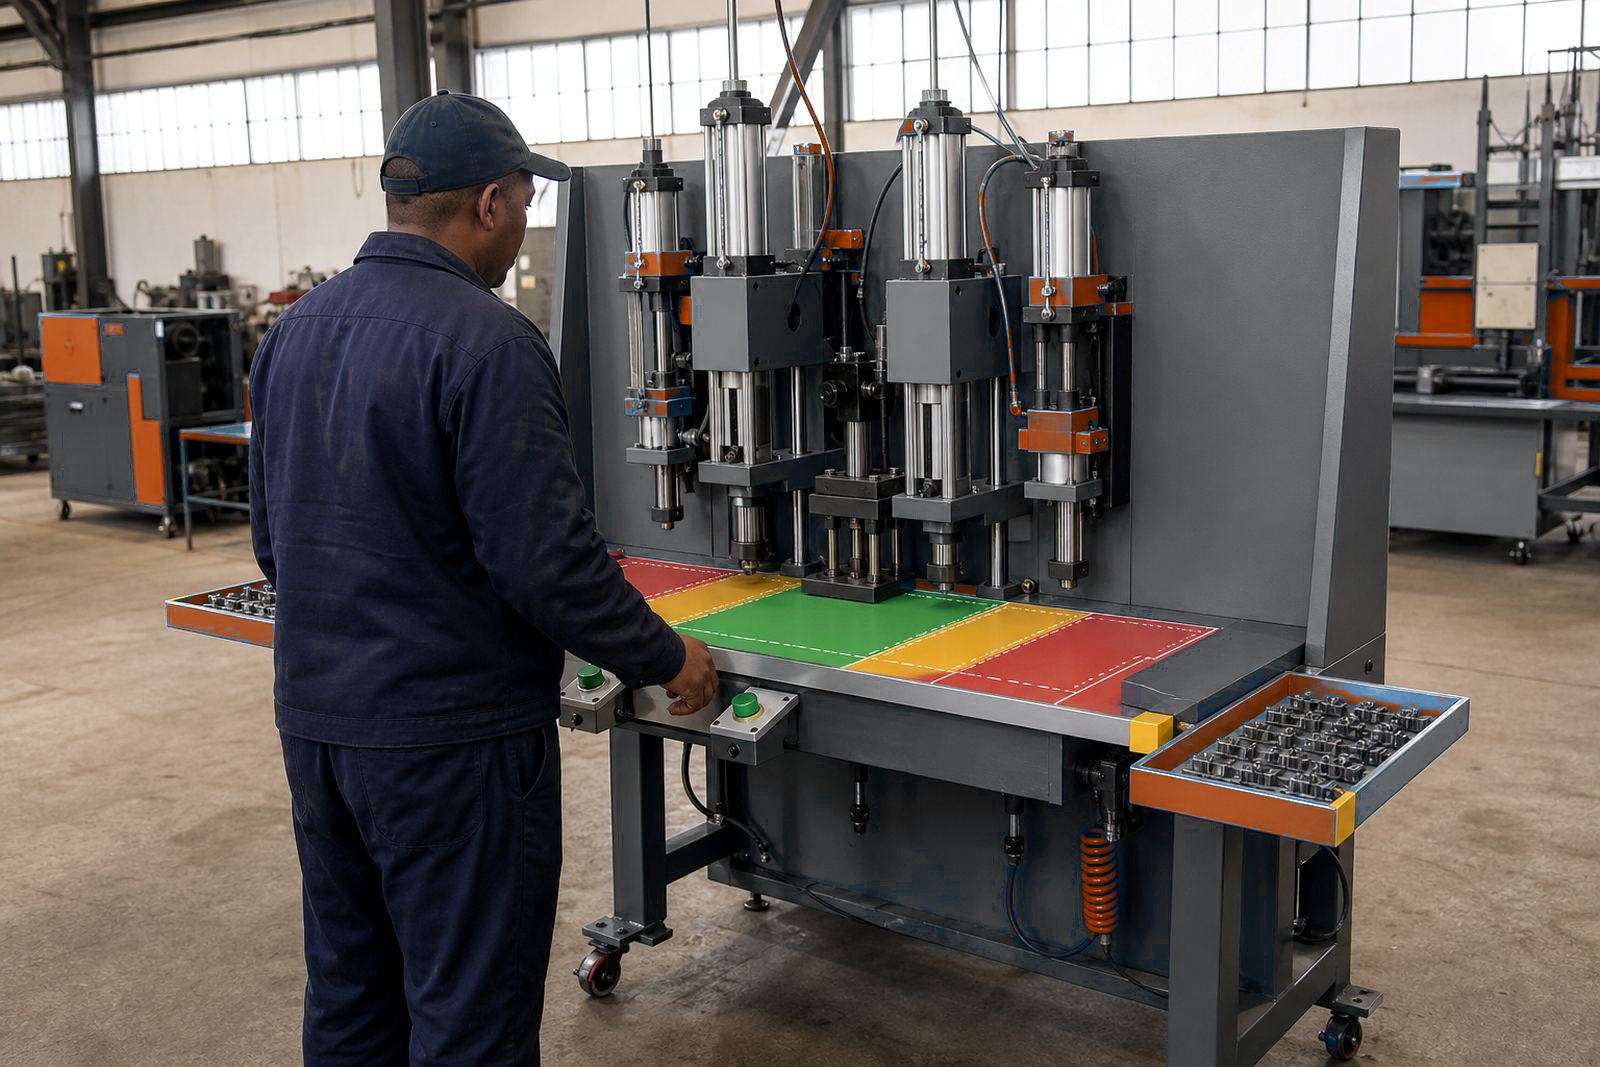
Two-hand controls are there to keep hands out of the working area while the press cycles. Training shows when both buttons must be pressed, what happens if one hand lifts early and how to reset the cycle without rushing back into the zone. If the machine uses a light curtain, the operator needs to understand the beam path and the stop condition when something crosses it.
We also cover pedal use where that is part of the line, though many jobs are better suited to two-hand operation. A practical lesson includes slow cycling, observing the ram movement, and learning the sound of a clean stroke versus a press that is running dry or out of adjustment.
- Use the controls in the correct sequence
- Keep hands clear until the ram fully returns
- Know the stop and reset routine
- Never bypass guards or sensors
Tooling changes and job setup on the floor
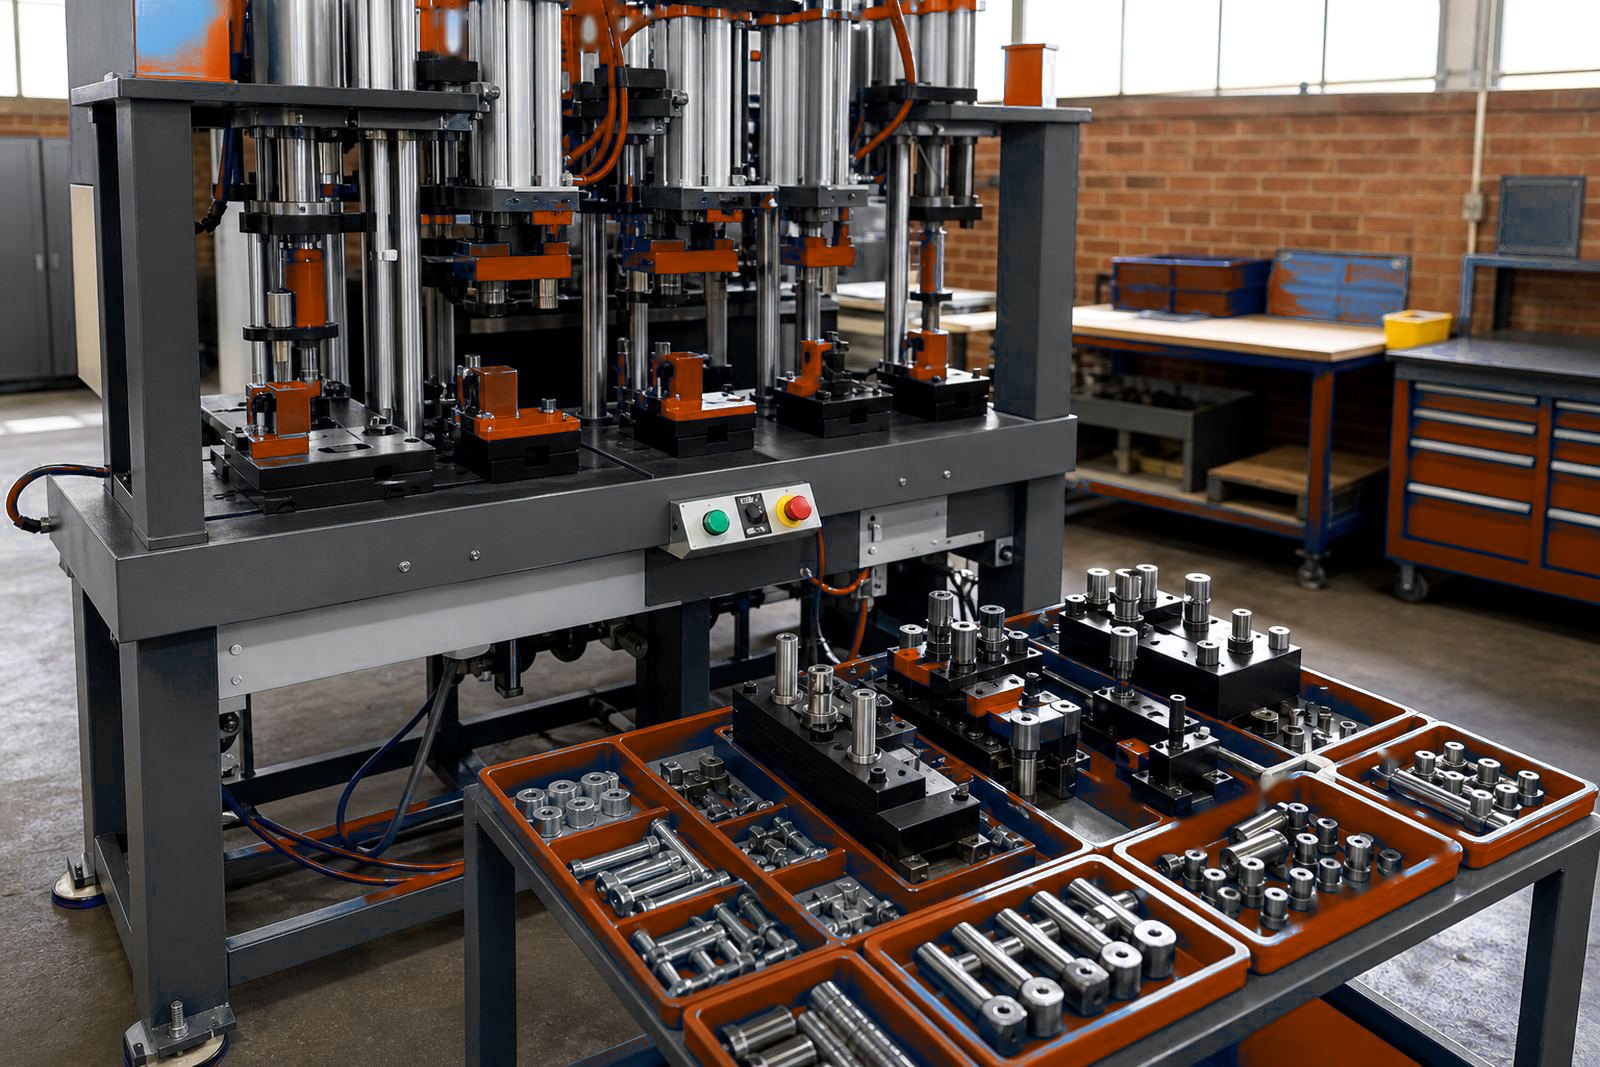
Tooling changes are a big part of production on assembly, crimping, riveting and staking lines. During training, the operator learns how to fit inserts, clamp tooling, align guides and check that the stroke setting matches the part thickness. Small errors here can mark parts, pinch components or leave an incomplete crimp.
There is usually a calm sequence to follow: isolate the press, remove the previous tool, clean the mounting surface, fit the new tooling and cycle slowly before full output begins. On pack sealing jobs, the same discipline matters because heat-free pneumatic sealing still depends on even pressure and a clean closing action.
- Match the tool to the correct station
- Check alignment before clamping down
- Test one part before starting full output
- Record any tool change notes for the shift
Reading parts, spotting faults and stopping early
Operators do not need to be toolmakers, but they must keep a keen eye on alignment and setup. Training covers the signs of poor feed, damaged components, uneven rivets, shallow stakes and crimp marks that sit off centre. If the cycle feels different, sounds different or leaves a part unfinished, the job needs attention before a pile of rejects builds up.
Humidity near the coast can affect stored parts, tooling condition and packaging stock, so teams are shown what to look for on a wet morning or after a long idle spell. We also explain the practical difference between a small adjustment and a fault that needs the foreman or technician to get involved.
- Check part fit before each run starts
- Watch for surface marks and uneven forming
- Separate suspect parts immediately
- Report repeat faults without waiting for a batch to finish
Air lines, pressure checks and stroke control
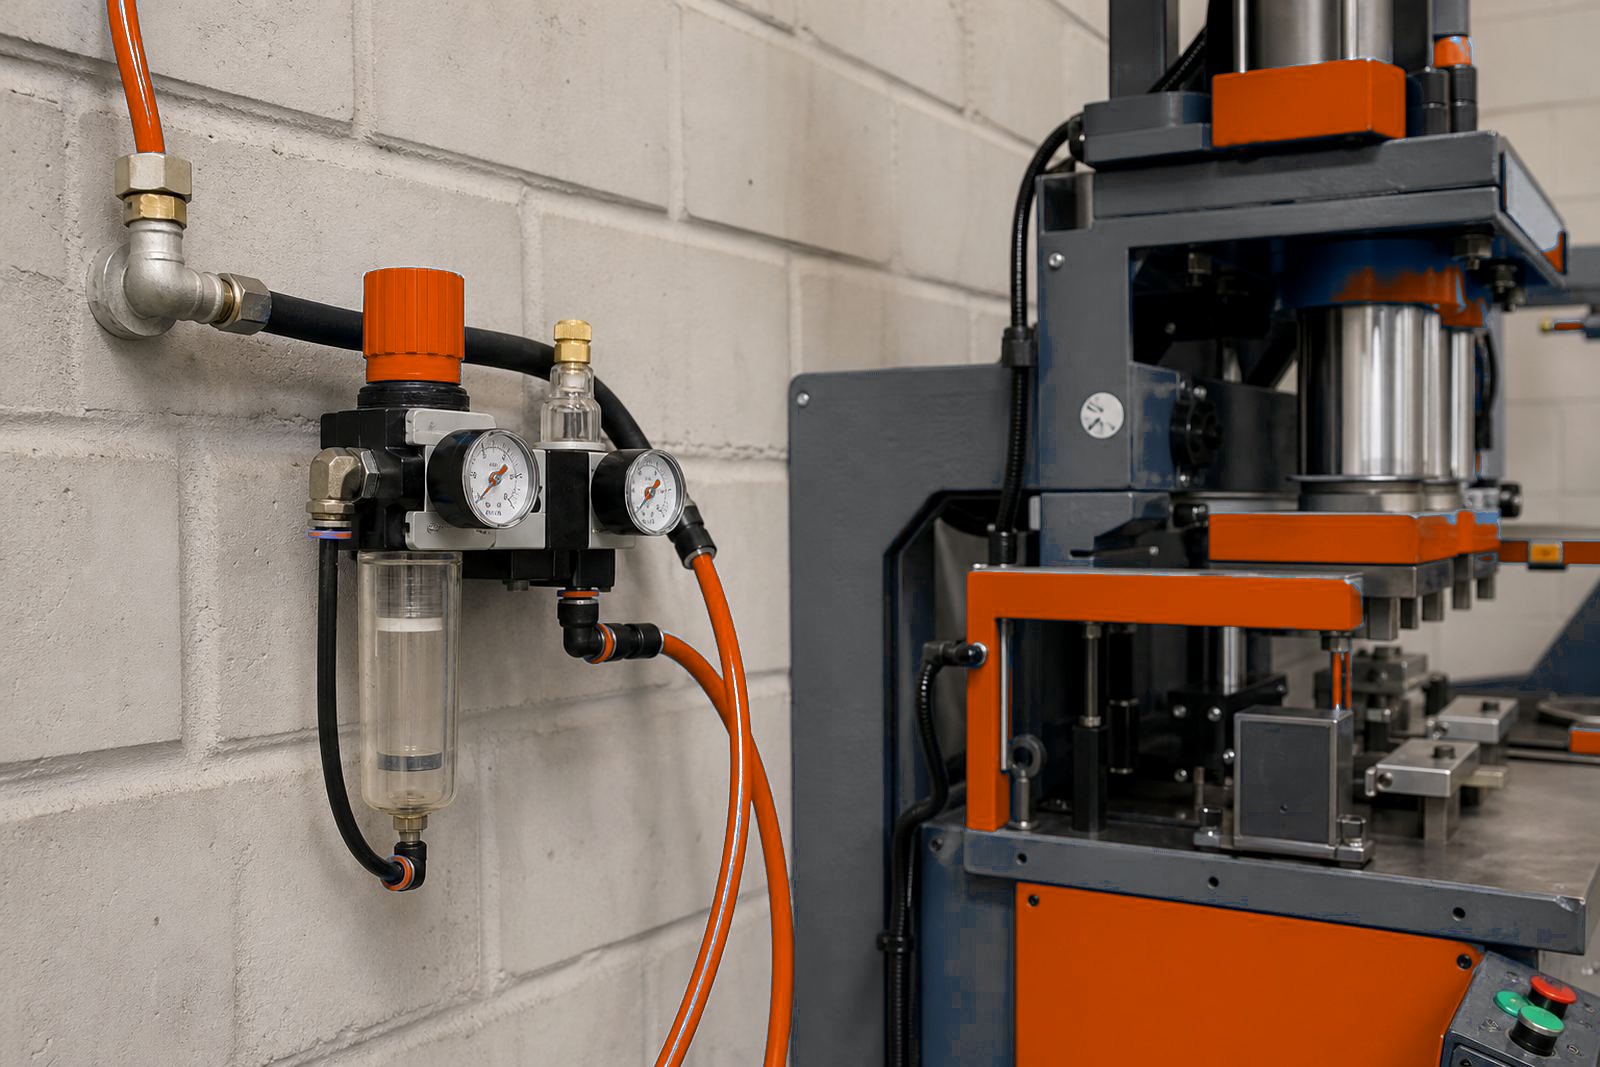
Pneumatic presses depend on clean air and stable settings. Training includes air line setup, drain points, filter checks and the habit of checking pressure before a production run. Too little air gives weak forming, while too much can stress tooling, increase wear and push parts out of tolerance.
Stroke setting matters just as much. Operators learn how stroke length affects closure depth, crimp force and part release. A short stroke can leave a rivet under-formed, while an overlong stroke can crush the part or disturb the stack in a multi-station cycle.
- Confirm line pressure before loading parts
- Check for leaks at fittings and hoses
- Set the stroke for the job
- Recheck settings after any tooling change
What a clean production handover should cover
A clear handover lets the next shift pick up the pneumatic press work with the right setup and no missed detail. The operator should be able to explain the job, the current setting, any tool change made, the part count, and any issue that needs watching. This is where training becomes useful on the floor, because the handover turns a press from a machine into a managed production step.
Our practical sessions also include shutdown care, cleaning around the tooling, storing inserts safely and recording anything that changed during the shift. That makes the next run easier to set, especially on lines that move between assembly, riveting and pack sealing work.
- Note the active job and station setup
- Record pressure and stroke settings
- List faults, stoppages or rejected parts
- Leave the work area clean and clear