Start with the press motion, not the badge on the panel
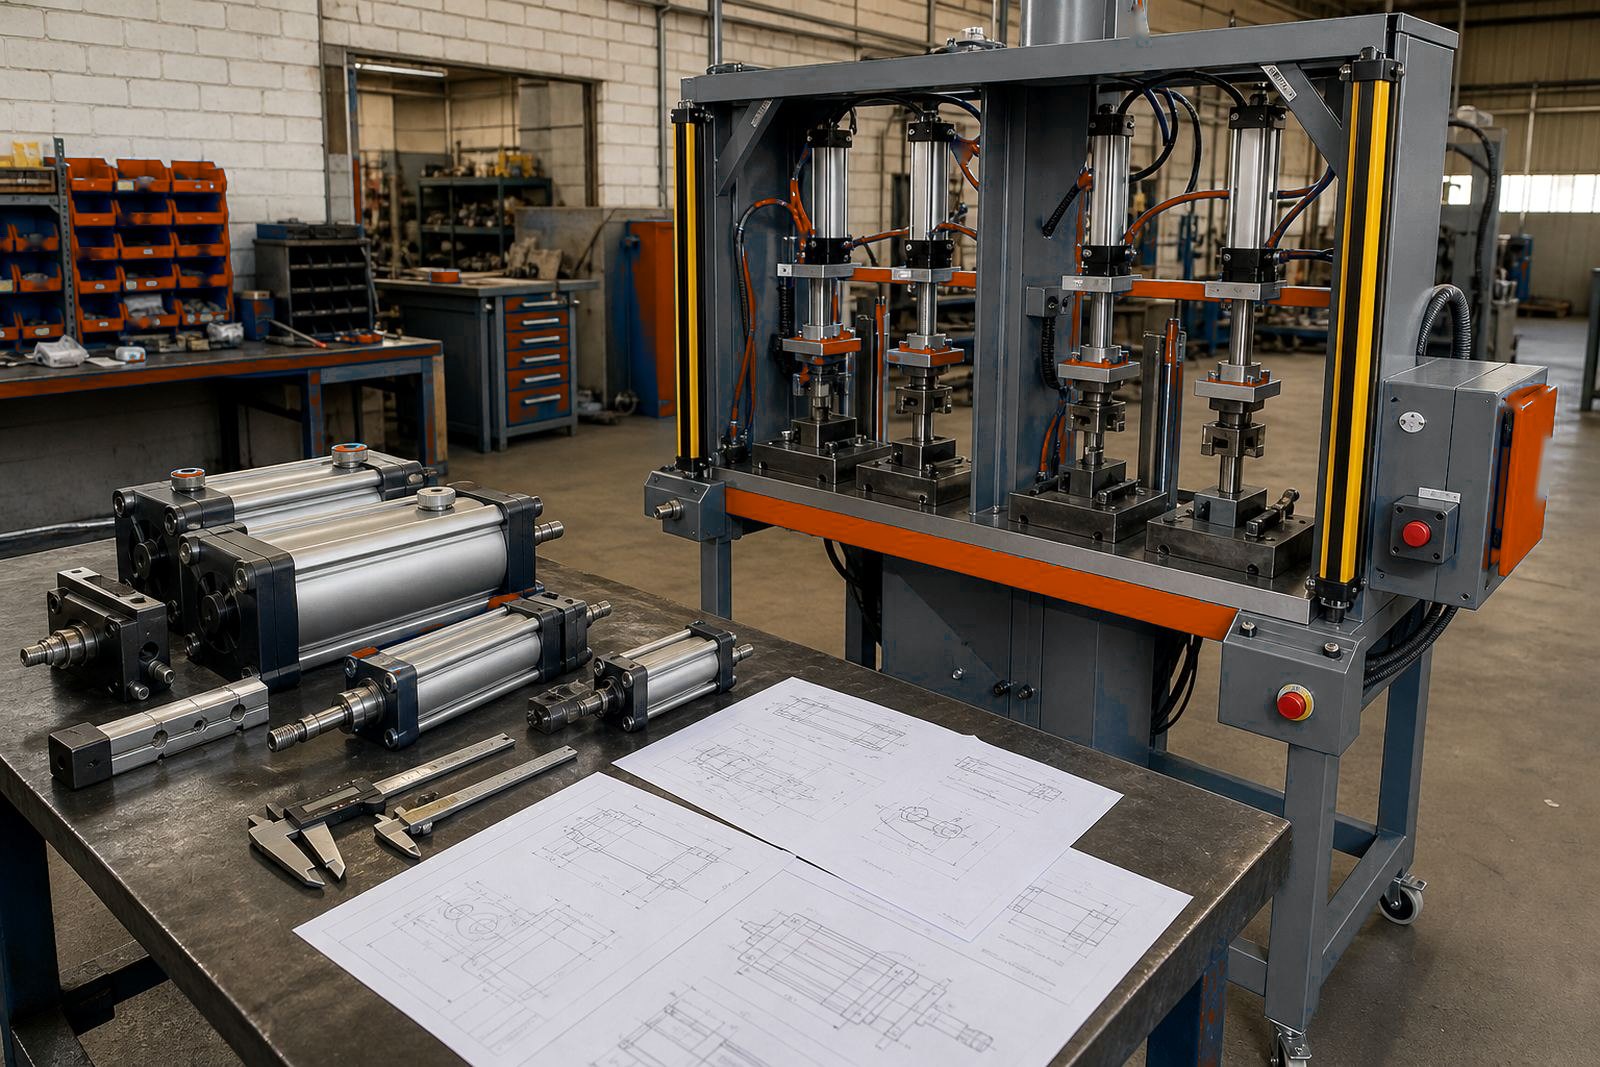
A multi-station pneumatic press can look tidy from the front and still be awkward to run if the safety method fights the job. Start with the stroke length, cylinder size, air pressure, tool reach and the way the operator loads the part. A short-stroke crimping station needs different protection from a deeper riveting station, especially where fingers move close to the tooling.
Guarding, two-hand controls and light curtains all have a place. The right answer depends on whether the operator must stay inside the working zone, whether the part is large or small, and whether the station runs as a single hit or a repeated cycle. On a line with changing tooling, it helps to map the safe hand position before the first bracket is cut.
When fixed guarding is the cleanest fit
Fixed guarding suits stations where the operator does not need open access during the cycle. It is common around repeatable presses for staking, riveting and pack sealing where the feed path is narrow and the tool stays in one position. A well-set guard keeps hands away from the pinch zone, gives the line a clear working edge, and reduces the chance of a casual reach into the stroke.
Guard panels, access doors and inspection windows need to match the job, not just the frame size. If the tooling changeover is frequent, plan for guarded access points that make set-up possible without leaving gaps around the cylinder travel or the die face.
- Use fixed guarding where the operator can load from one side only.
- Keep gaps tight around the tool entry and exit points.
- Check door latches and interlocks on any opening panel.
- Leave enough room for tool changes without forcing hands through the barrier.
Two-hand controls for short, direct cycles
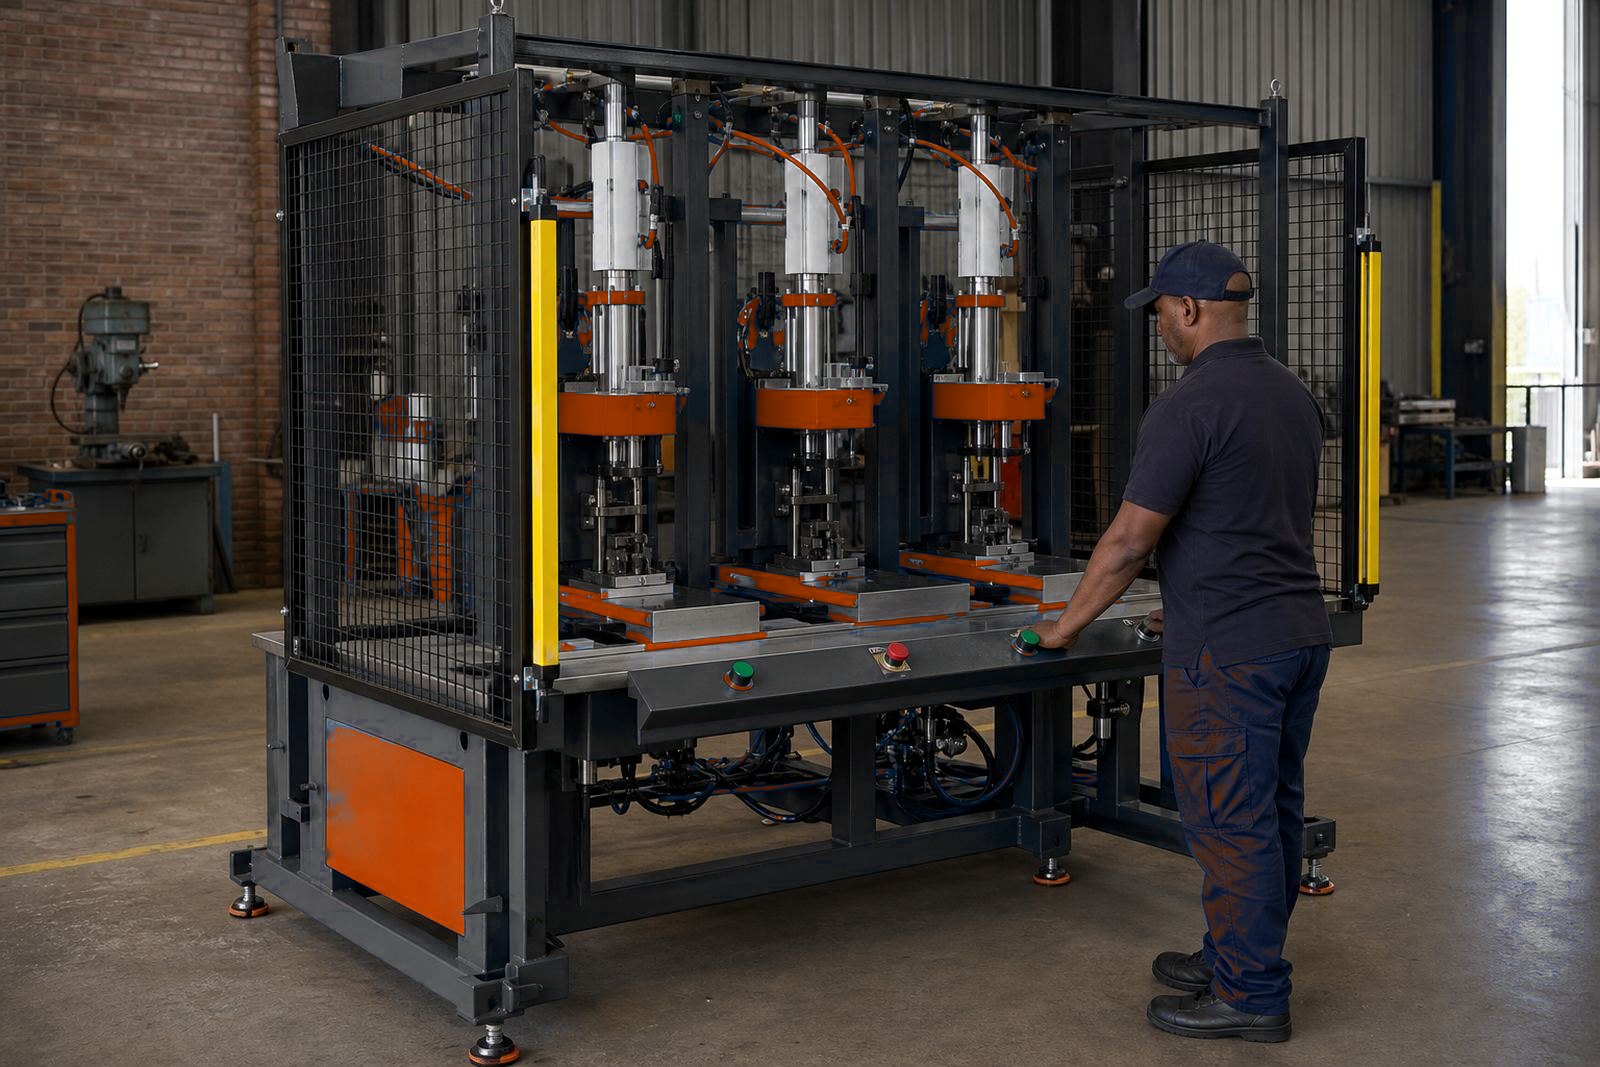
Two-hand controls suit stations where the operator starts the press, then stays clear while the ram travels. They work well where parts are presented by hand, the stroke is short and the press action is direct. For assembly jobs and smaller crimping tasks, two-hand controls can be a practical option when the part can be placed, released and pressed without a second touch.
The controls need correct spacing and a deliberate hand action, otherwise the operator can defeat the point of the system. On a production floor, that means the buttons must sit at a height that matches the bench and tooling, while the cycle logic must stop accidental actuation from one hand only.
- Best for short stroke presses with simple loading.
- Keep the buttons far enough apart for a proper two-hand action.
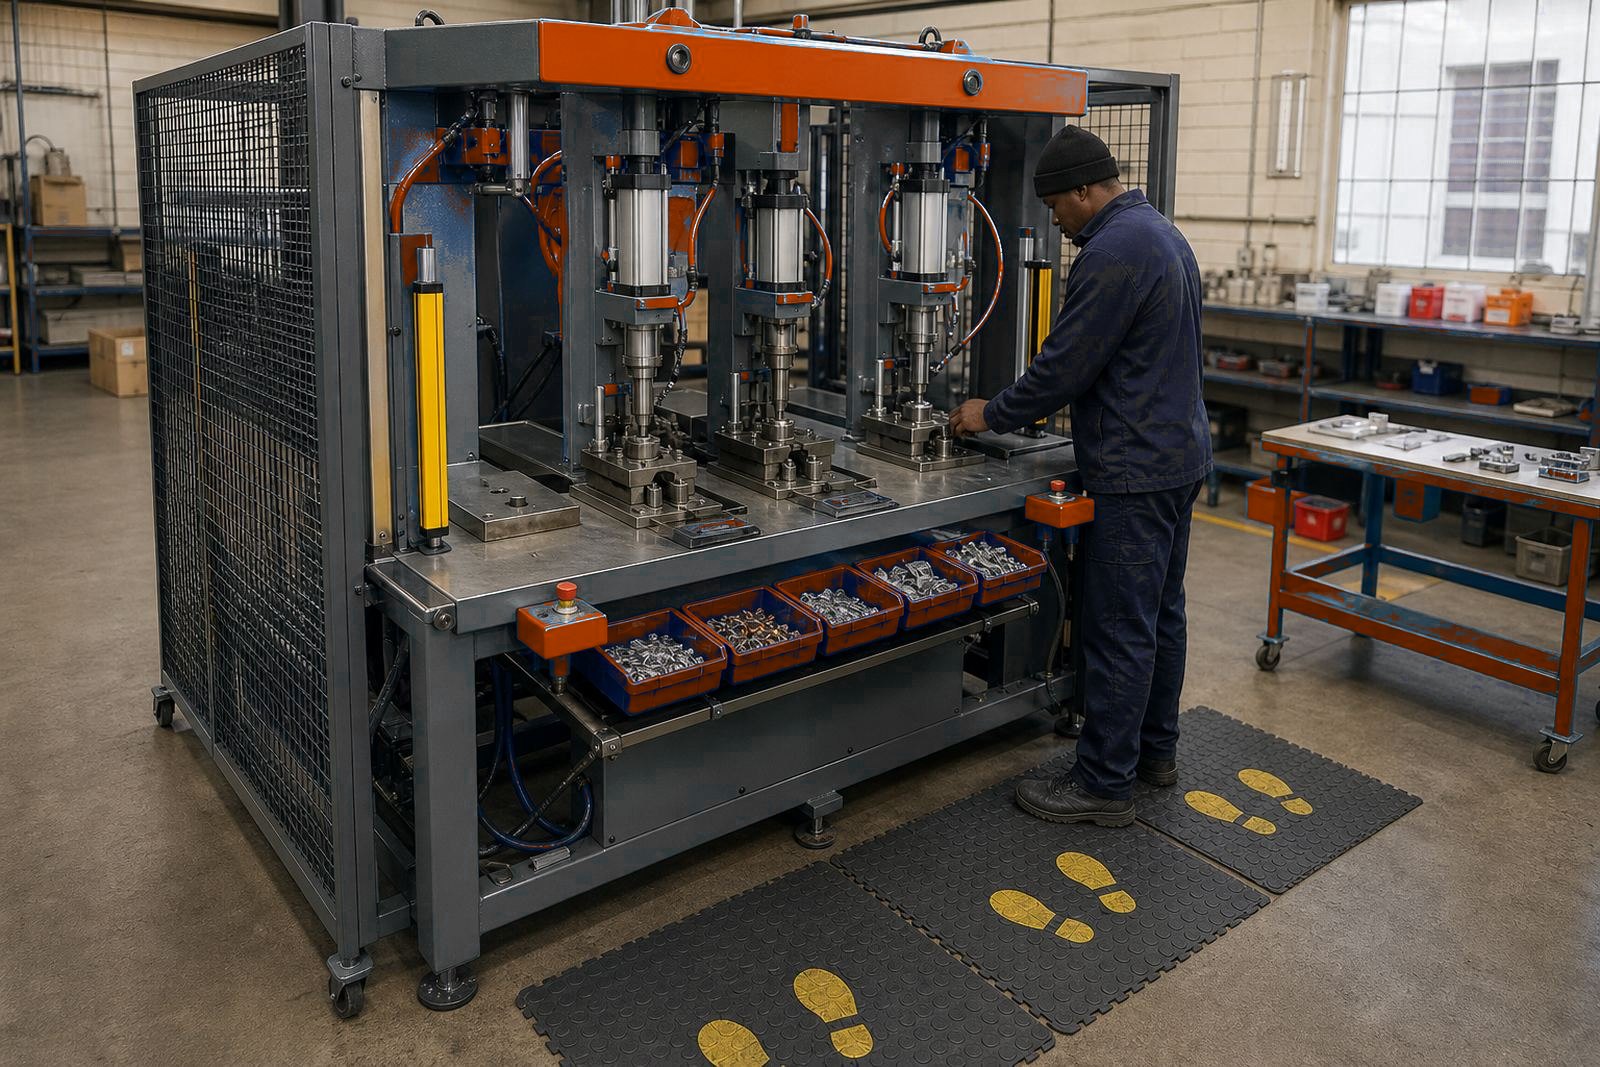
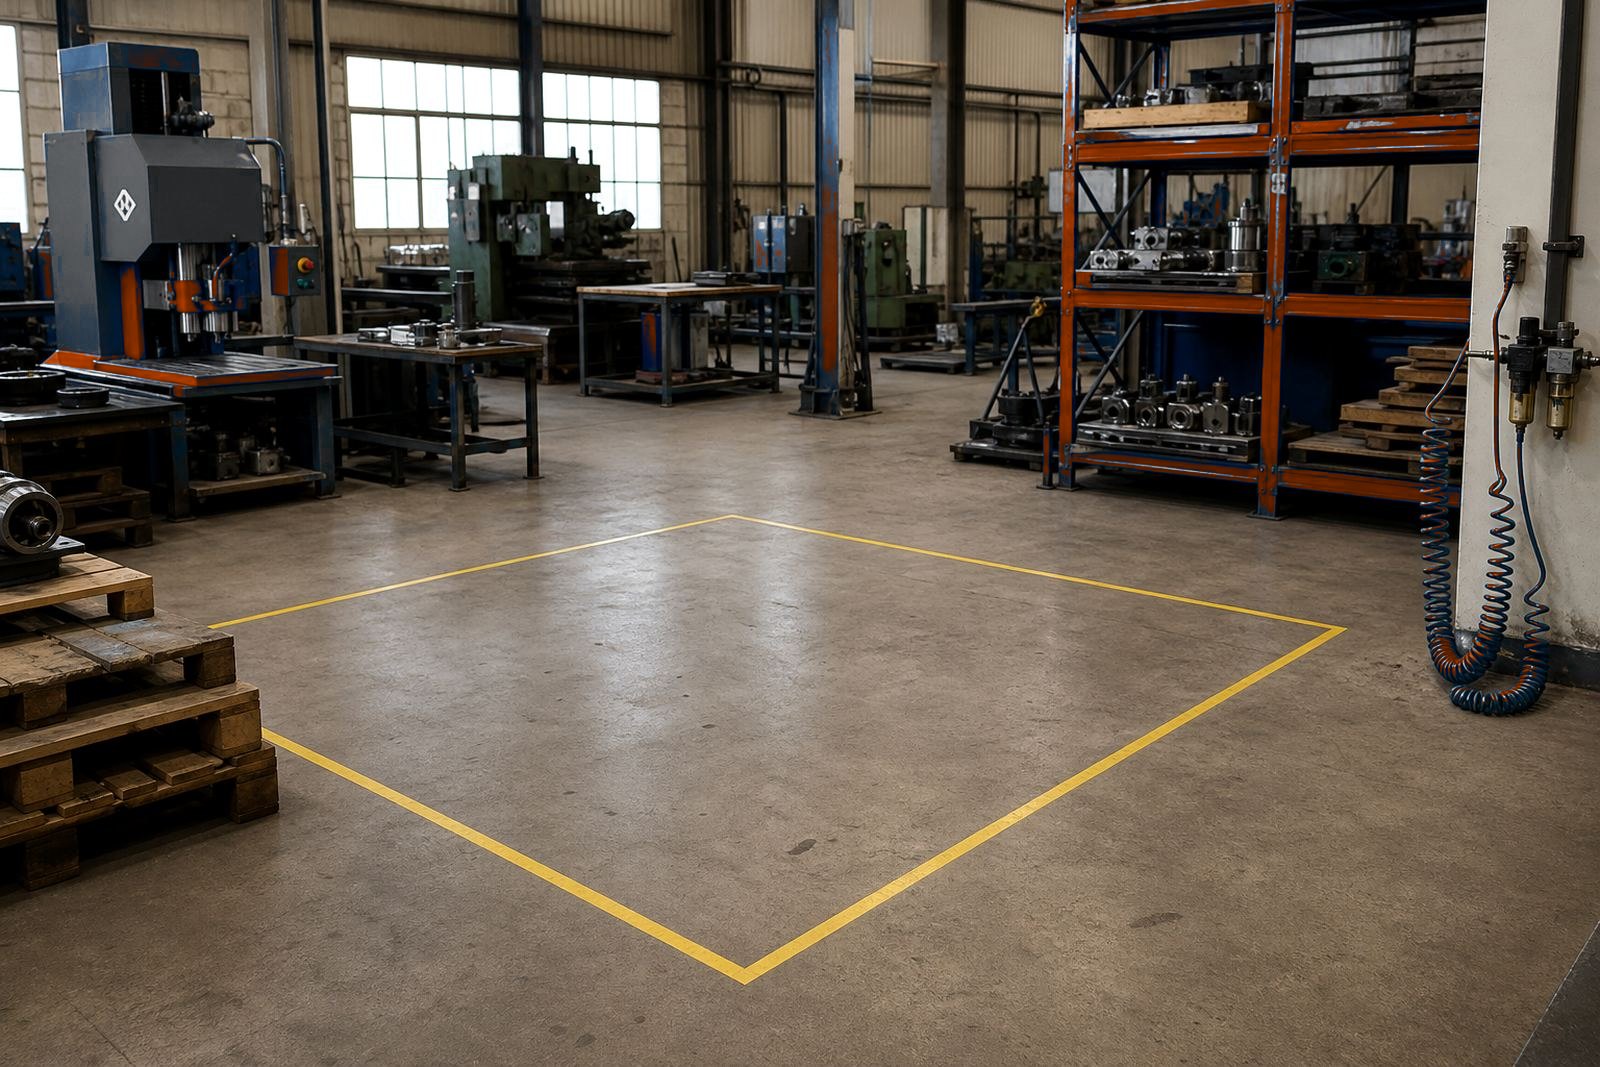
- Pair the controls with clear operator position marks.
- Review the cycle if the part needs both hands near the fixture.
Light curtains where access and visibility matter
Light curtains make sense where the operator needs a wider opening around the station but must not enter the danger zone while the ram is active. They are common on layouts with larger parts, deeper fixtures or frequent visual checks during setup. The beam field has to sit at the right height and distance from the pinch point, otherwise it gives the wrong level of protection.
They work best where the operator has a predictable loading pattern and the part does not swing into the sensing area. For presses used on pack sealing or larger assembly pieces, light curtains can preserve access without leaving the station exposed, provided the reset and stop logic is set properly.
Match the method to the station layout
Some lines need one method, while others use a mix. A guarded rear with two-hand front operation may suit a compact station, and a light curtain may cover a wider opening on the next press. The job sheet should show where the hands go, where the tool closes, and where the finished part leaves the zone.
A practical layout review starts with the station count, then moves to airflow, tooling changes and operator reach. If one station runs a heavier stroke or a taller die set, it may need a different method from the neighbouring station even when the frame looks similar.
- Check where the operator stands during every cycle.
- Mark the part path, reject path and tool path.
- Allow for changes in tooling height and stroke setting.
- Keep the access route clear for maintenance and cleaning.
A short field checklist before production starts
Before handover, walk the line with the same parts and fixtures that will run in production. Watch for overreach, cramped loading positions, loose tool change steps and places where an operator might bypass the intended control. Guarding should close the obvious access points, two-hand controls should suit the cycle timing, and light curtains should be set to the actual working envelope.
On South African factory floors, humidity, dust and regular tool change work can affect how the station feels after a few weeks. Hinges, brackets, sensors and control buttons should be mounted where they stay readable and reachable, not buried behind the frame or pressed against a wall.
- Test the load position with gloves on and off.
- Check that the stroke stops where the tool expects it.
- Confirm the operator can see the part without leaning in.
- Review the reset step after every stop or fault.
What our Isando team looks at during commissioning
MultiPress works on multi-station pneumatic presses for assembly, crimping, riveting, staking and pack sealing, so safety choices are judged against the actual machine behaviour, not a neat drawing alone. During commissioning, the team looks at the tooling, air pressure, stroke setting, guarding build and control logic as one system. A station that is safe in theory can still be tiring or awkward if the tooling sits too high or the part needs a twist before loading.
Pieter Sauls, Thandiwe Matlala, Musa Hartnick, Johan Ramokgopa, Lerato Moagi and Anele Engelbrecht each handle a different part of the work, from layout and tooling through to commissioning and operator training. That lets the final safety method fit the line in front of the workshop and the actual press on the floor.