Start with the hand path, not the machine
Cycle flow improves when the operator’s hands travel a short, repeatable path. A part that has to be turned twice, lifted across the body, then checked on a separate table will add seconds to every cycle and fatigue by the end of the shift. In an assembly or crimping line, those seconds add up fast.
Place the feed point, press station and unload point close enough to stay within a single working arc. Where possible, keep the component at waist height and avoid a reach that forces the shoulders forward. If the job uses small parts, add trays, nests or simple guides so the operator is not hunting for orientation on every cycle.
- Keep the loading surface level with the operator stance.
- Use fixed locations for parts, offcuts and finished pieces.
- Remove any twist, lift or turn that can be built into the tooling.
Set stroke and approach so the press stops where the job needs it
A pneumatic press can waste time if the stroke is longer than the work needs. Too much travel means extra motion on every cycle and a longer wait for the ram to return. For rivetting, staking or light forming, the stroke should be matched to the actual depth required, then locked in once the tooling has been proven on the line.
Air pressure also needs to suit the job. Too little pressure can leave a weak form or incomplete seal, while too much can mark the part or force operators to stop and inspect more often. The cleanest cycle is the one where the ram reaches the same point every time and the part leaves the station ready for the next step.
- Confirm the press travels only as far as the task requires.
- Check that air pressure matches the force needed at the station.
- Keep the return stroke consistent so the next load can begin at once.
Use tooling that holds the part before the ram comes down
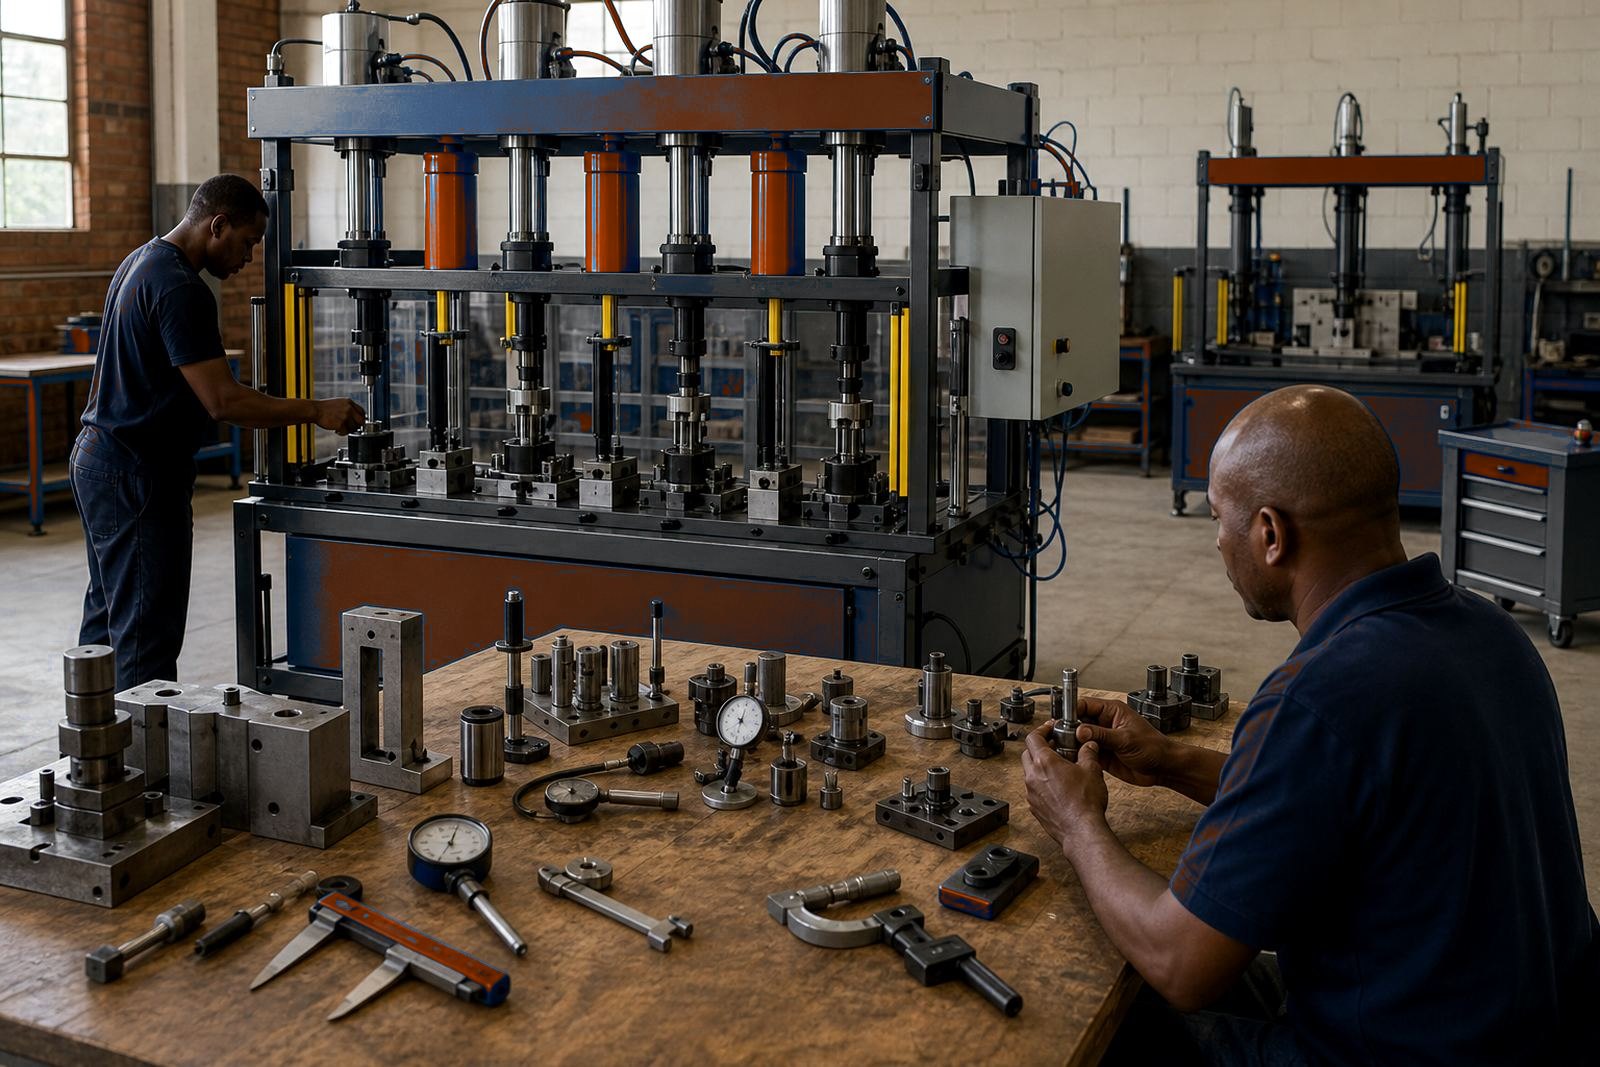
Good tooling does more than locate a component. It prevents re-gripping, reduces visual checking and helps the operator load with confidence. For pack sealing, crimping or multi-part assembly, the fixture should settle the workpiece in one motion and keep it square while the cylinders do the work.
Custom tooling can also separate jobs that would otherwise slow each other down. A press may need one nest for a flat part and another for a round or awkward one. If the changeover is arranged well, the operator is not spending time shimming or forcing a part into place.
- Build a nest that guides the part one way only.
- Keep the clamp or locator easy to reach with gloved hands.
- Use hardened contact points where wear would disturb alignment.
Two-hand controls and light curtains should support the motion, not fight it
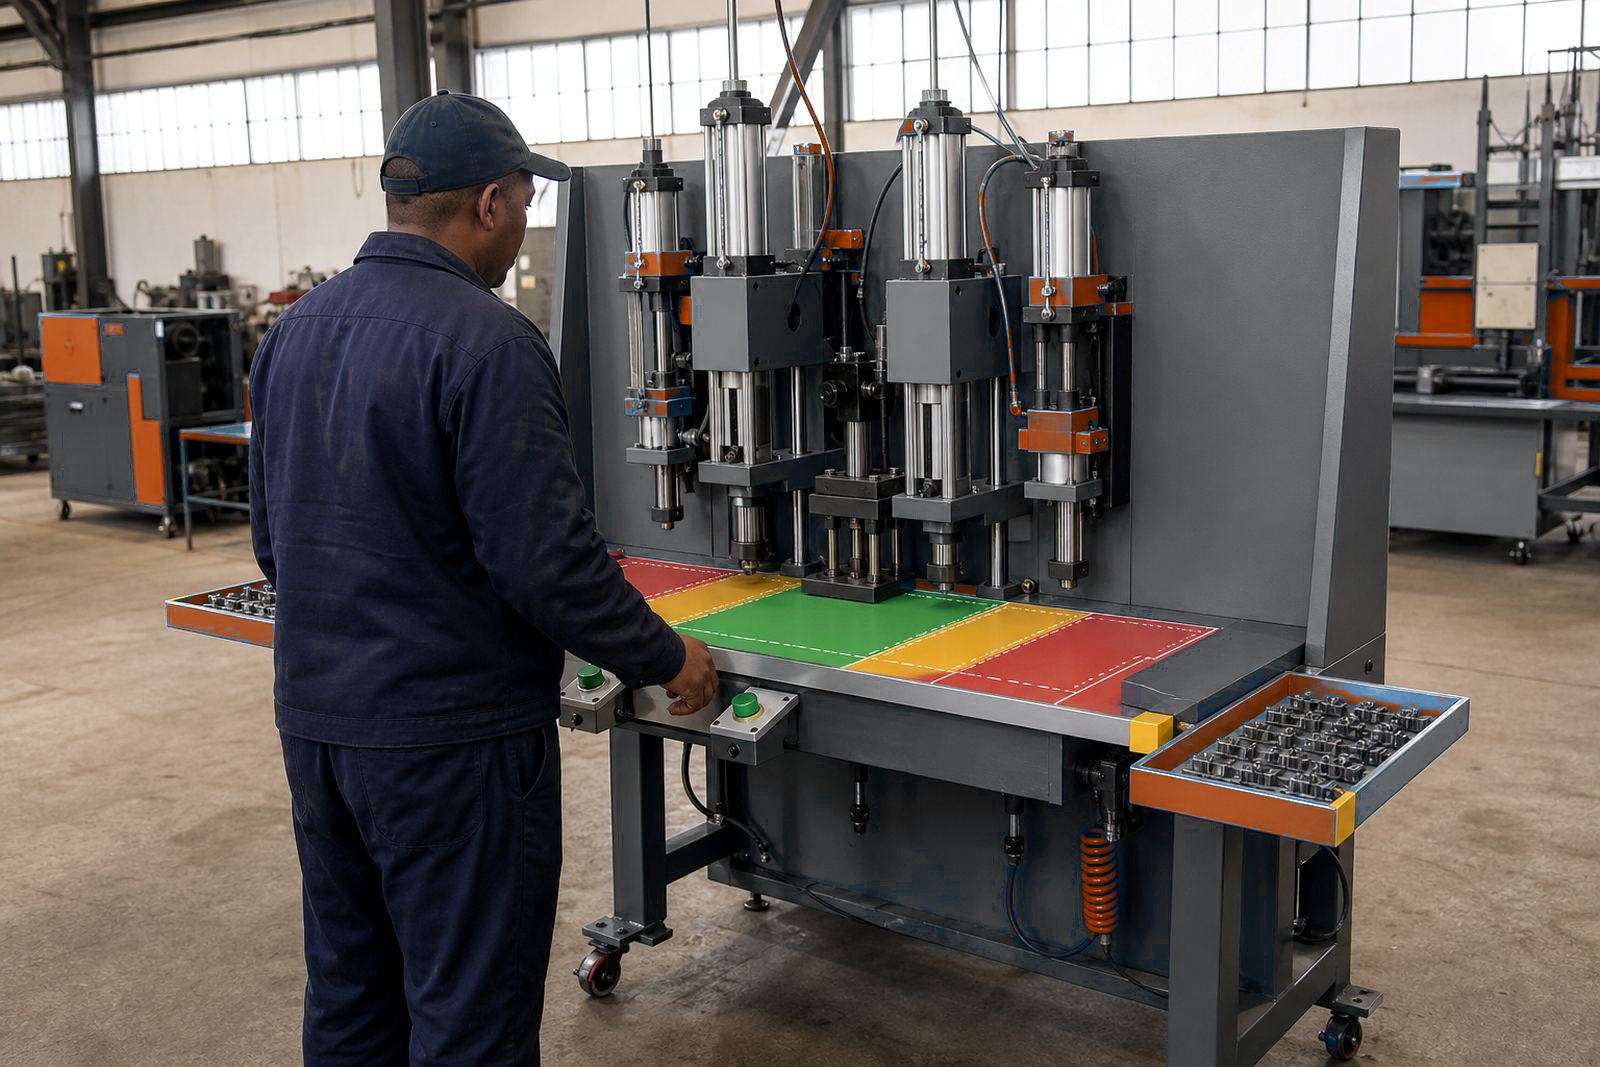
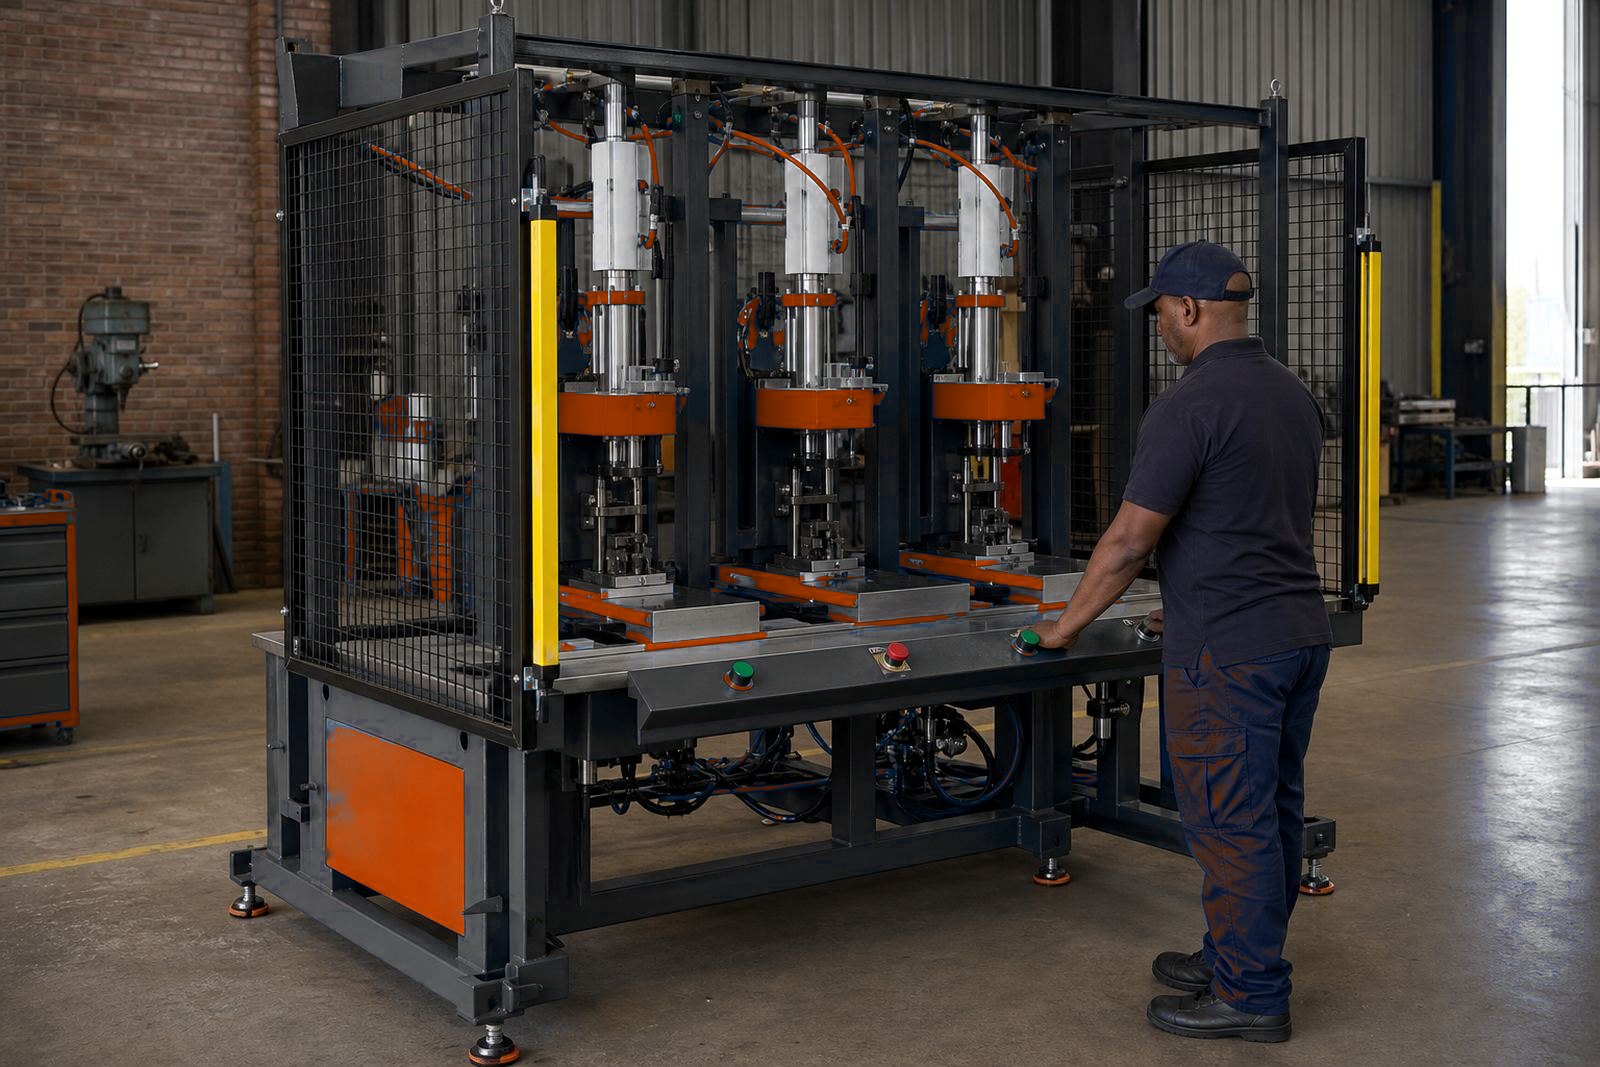
Safety devices must protect the operator without creating extra waiting. Two-hand controls work best when both buttons are within a natural reach and the timing does not force a clumsy posture. Light curtains are useful on lines where the operator needs freer access, but the sensing field has to suit the part size and the loading pattern.
If the safety arrangement slows the operator because it feels awkward, people will start looking for workarounds. That is where delays, interruptions and poor habits begin. A cleaner layout keeps the guarding in place and still lets the cycle move at a steady pace.
- Position controls so the operator keeps a balanced stance.
- Check that the safety device suits the size of the workpiece.
- Avoid layouts that force repeated reaching around guards.
Cut the time lost in checking and unloading
Many slow cycles are really inspection problems. If the operator has to leave the station to check height, finish or seal quality, the line loses rhythm. Put the check where the part leaves the press, and keep the criteria simple enough to be judged in a glance or with a basic go or no-go check.
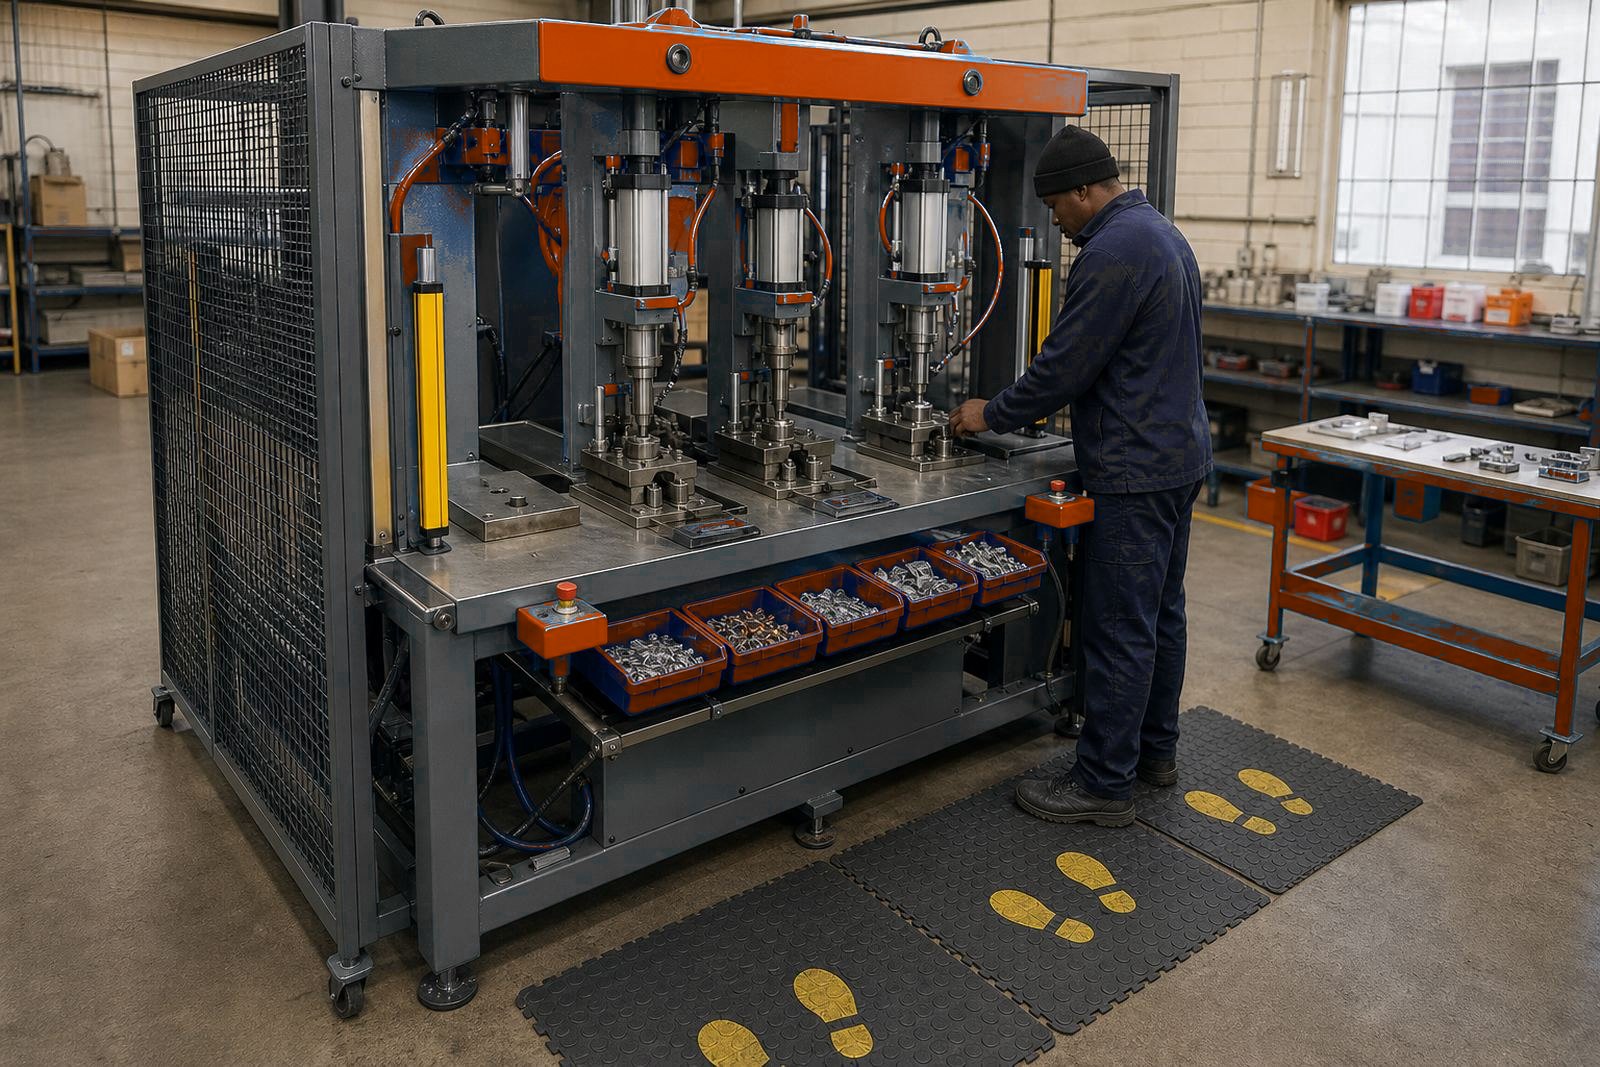
Unloading should be just as direct. The finished part needs a clear landing point, not a pile that must be sorted later. Where a product leaves a station warm, sharp or tight after pressing, give it a safe place to cool or settle before the next handling step.
- Place gauges and visual checks within arm’s reach.
- Use a finished-parts tray or chute that does not crowd the loading area.
- Separate good parts from rejects at the station, not later in the day.
Keep the air system and line layout from stealing minutes
An air-powered press depends on a steady supply and clean line routing. Long, narrow or badly routed air lines can affect feel at the station and make the press behave less consistently. That may not look dramatic, but it shows up in slower cycles, uneven motion and more operator caution.
During installation, the line should be routed neatly, drained properly and checked for leaks. If several stations share one area, the layout should allow each press to work without pressure drops when another machine moves into action. A tidy air setup keeps the press from becoming the slow point in the cell.
For factories in Isando, Ekurhuleni and other South African production sites, this matters in tight plant rooms and busy assembly bays alike. A press line only flows as well as its air delivery, guarding and material movement allow.
Train the operator on the rhythm of the job
Operator training is not only about safe use. It also covers timing, part handling and the small habits that keep a line moving. A person who knows where each piece belongs, how the stroke should feel and when to stop for a check will usually settle into a much better pace than someone left to figure it out under pressure.
Training should cover the actual tool change, the start-up sequence and the reset after a jam or fault. The aim is to reduce hesitation. When the operator knows what to do at each point, the cycle stays cleaner and the station stays productive.
- Show the loading sequence with the real tooling in place.
- Cover fault reset, part removal and restart on the live station.
- Repeat the correct motion until it is the normal one.