Start With The Part That Must Be Held, Cut Or Crimped
The first item to describe is the component itself. Give the material, wall thickness, outside dimensions, finish condition and any sensitive edges or surfaces that must stay clean. If the job involves crimping, riveting, staking or sealing, say where the force must land and which areas must stay untouched.
A sample part is better than a photo, and a photo is better than a sketch alone. If the component changes form during assembly, note the state at each stage. That helps the tooling designer understand where the press station begins and where it must finish.
- Part drawing with key sizes marked
- Loose sample or finished sample if available
- Material type and thickness
- Critical faces, holes, lips or seams
- Any cosmetic areas that must avoid marks
Give The Press Numbers That Shape The Tool
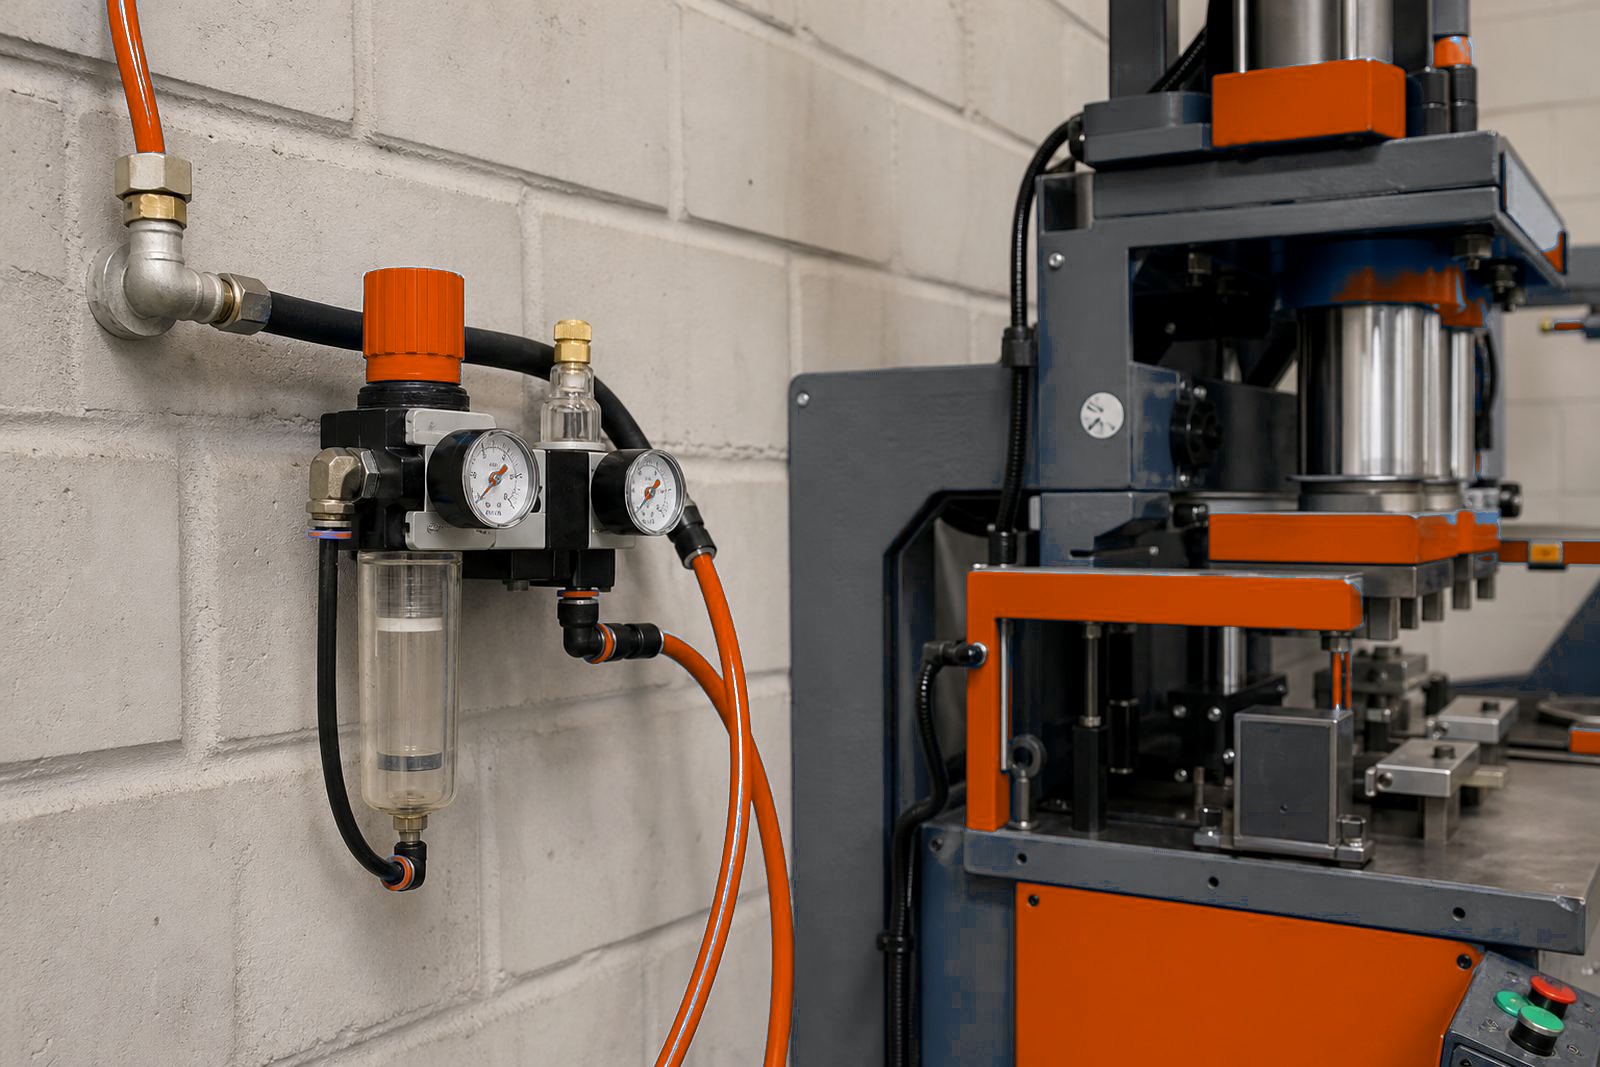
Tooling sits inside the limits of the press, so the machine details matter. State the available stroke, working height, air pressure range and the number of stations in the layout. If the press uses two hand controls or a light curtain, that affects access, part presentation and the way the tooling is guarded.
Pressure and stroke must suit the operation, not fight it. A short stroke may suit a shallow crimp, while a longer stroke may be needed for a deeper staking movement or a formed seal. If the part needs a dwell at the bottom of stroke, mention that too.
- Number of stations required
- Available air supply and plant pressure range
- Stroke length and shut height limits
- Single cycle or multi-stage cycle
- Two-hand control or light curtain arrangement
Show The Workflow Around The Tooling
Tooling rarely works on its own. It has to fit the loading method, the operator reach, the scrap path and the handover point to the next step. If the part is presented by hand, by locator or by a fixture, say how it enters the station and how it leaves. That helps avoid awkward moves and unnecessary re-gripping.
Where a line runs in dusty conditions or close to coastal humidity, the moving surfaces and guide parts need sensible protection and access for cleaning. If the job must run near other stations in Johannesburg, Pretoria, Durban, Gqeberha or East London, the tooling should also suit the floor space and service route available on site.
- How the component is loaded into position
- Whether the tool needs side access or top access
- Space around the press footprint
- Scrap handling or cut-off collection method
- Any cleaning or inspection points between cycles
Guarding, Interlocks And Operator Safety Notes
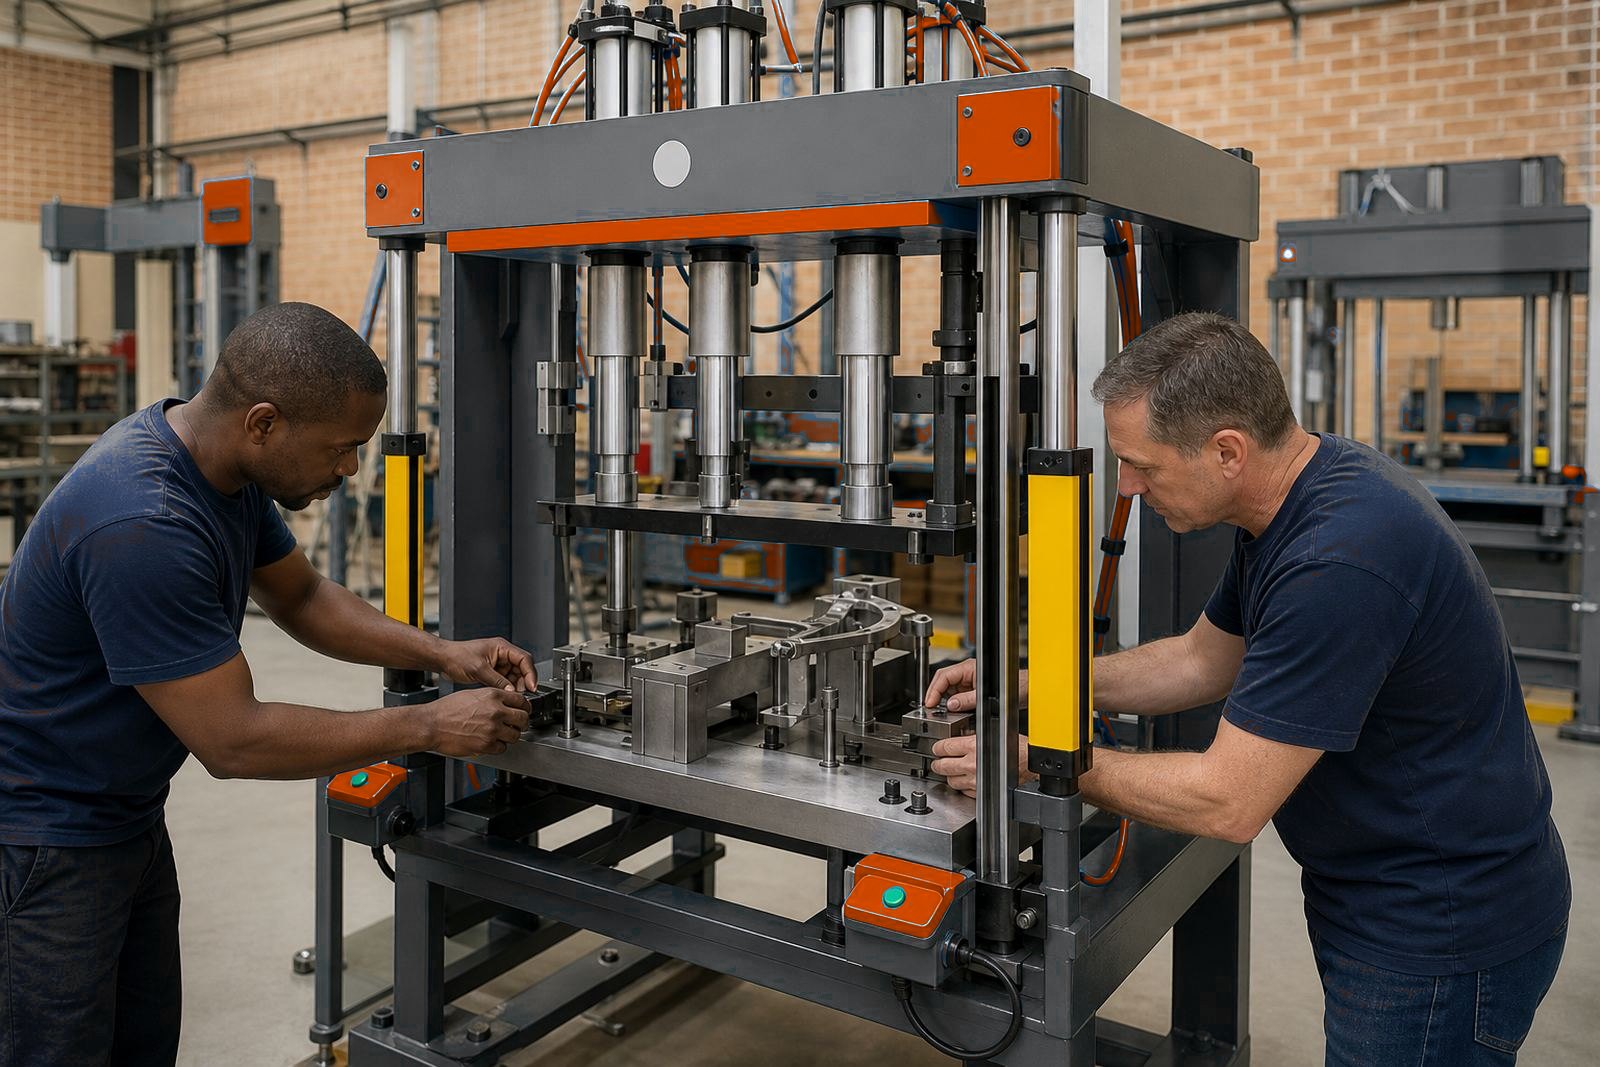
Custom tooling must sit inside a safe working envelope. Say where the operator hands enter, where the finished part exits and where fingers could be caught during a clamp or stroke. If the job needs fixed guards, sliding covers or light curtains, those details should be tied to the tool layout from the start.
A neat guarding plan also helps with training. Operators need to see the load point, the start button position and the correct way to clear a jam without reaching into the working area. If the station changes shape during the cycle, note which position is safe to open and inspect.
- Likely pinch points and trapped areas
- Preferred guard type for the station
- Interlock points that stop the cycle
- Jam clear access without reaching through the danger zone
- Visibility needed for inspection and setup
Tooling Changes, Wear Parts And Setup Discipline
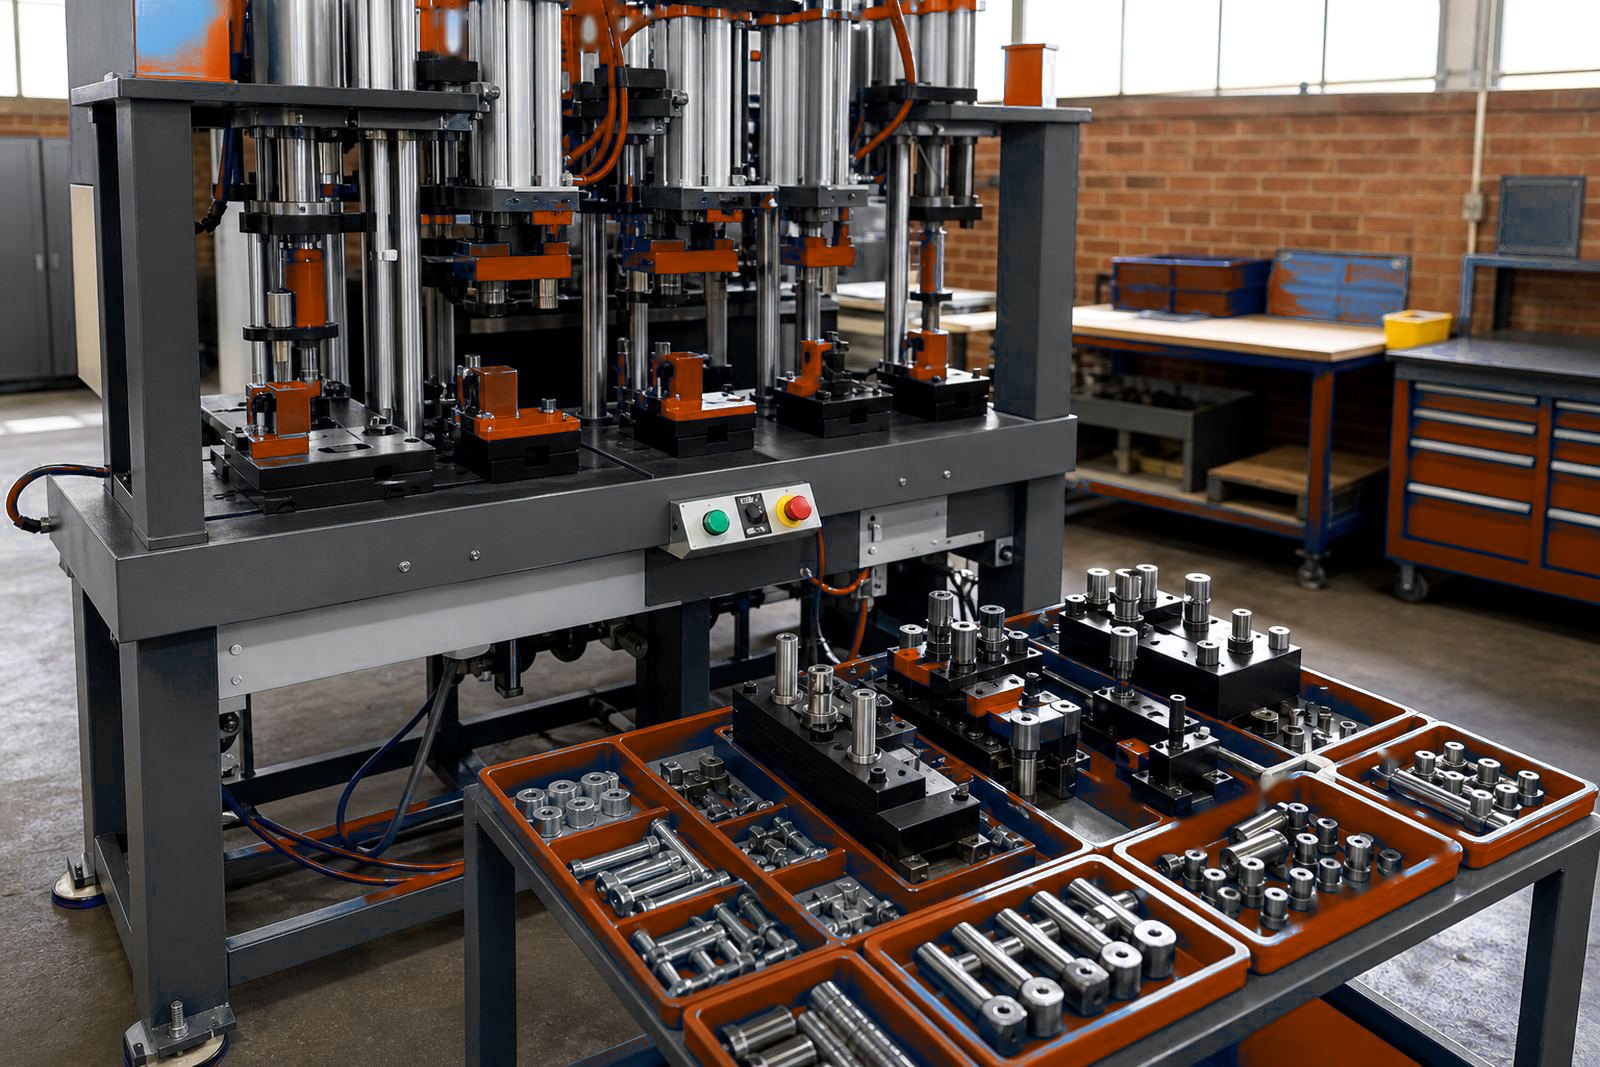
A good tooling note should also cover what happens after the first build. Some jobs need fast insert changes for different part sizes, while others need a fixed arrangement with only minor adjustment. Say which faces wear, which pins carry the load and which parts should be replaceable without stripping the full station.
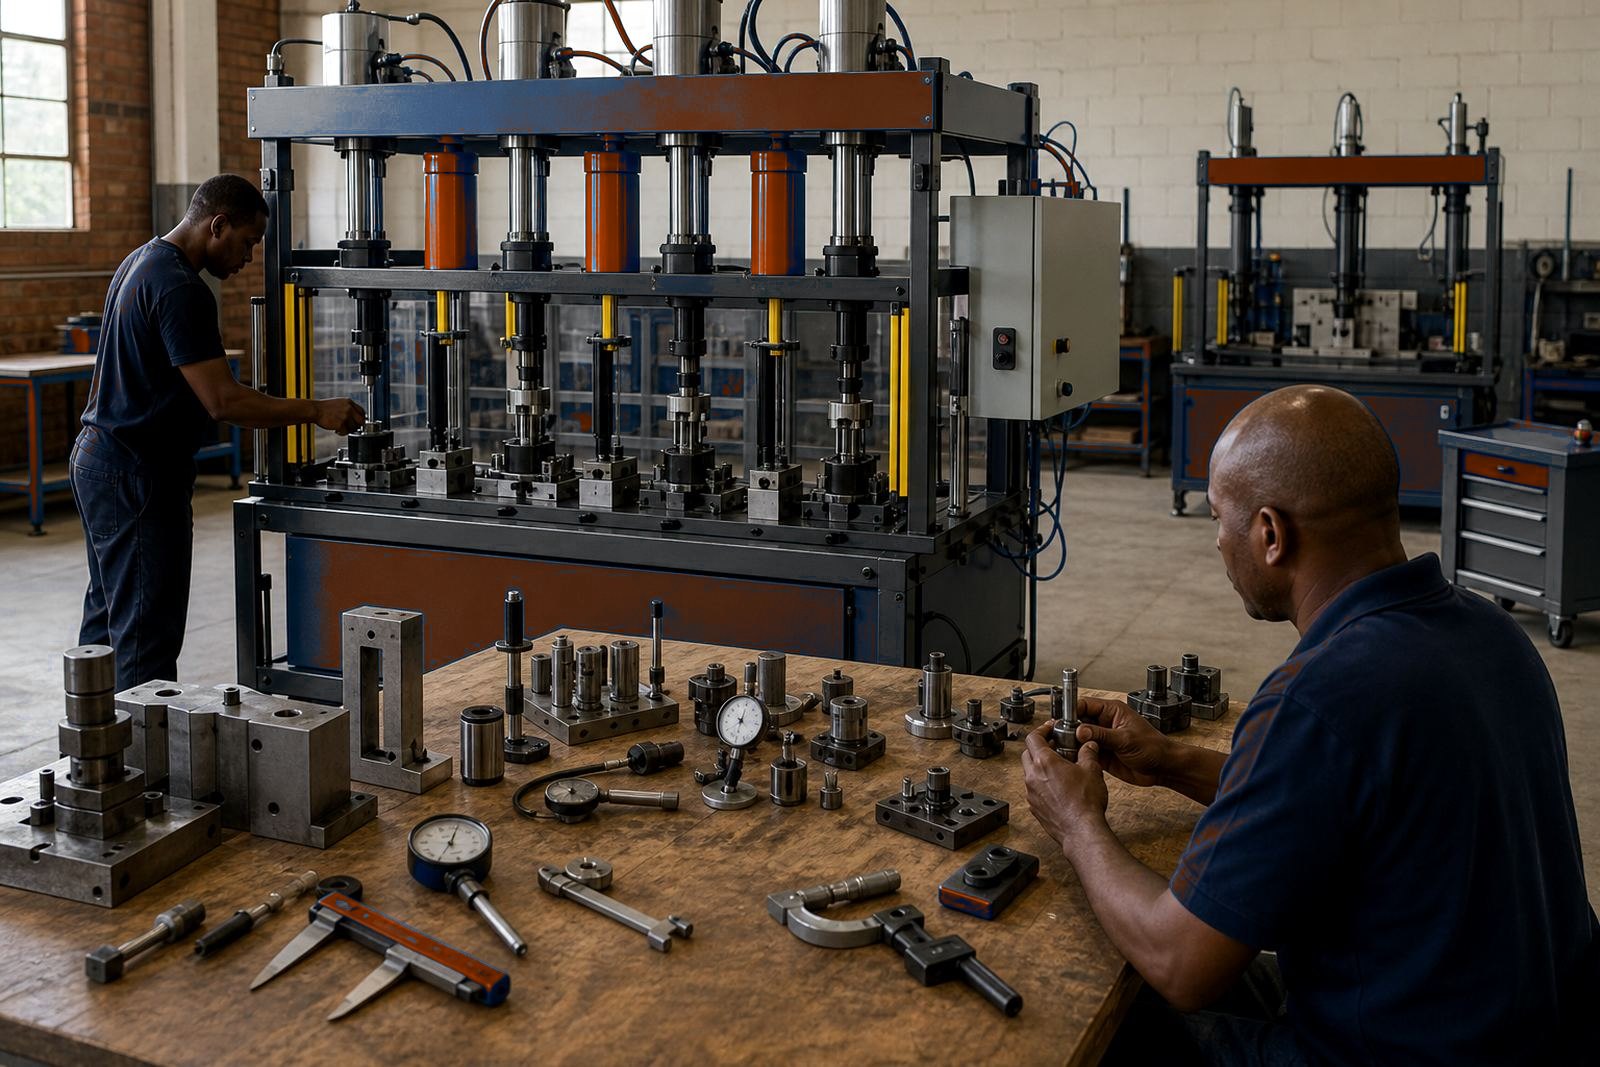
For plants with regular changeovers, mark the gauges, locating pins and stops that must be reset each time. That makes production handover easier at the press. If a fixture needs to be lifted by hand, say the weight and whether one or two people are expected to handle it.
- Wear parts that should be replaceable
- Adjustment points for setup and tool change
- Expected part weight for handling
- Gauge faces or stops that must stay repeatable
- Any spare inserts or backup tooling needs
What The Commissioning Team Needs Before Site Work
Before site installation and commissioning, the tooling notes should be tied to the actual plant conditions. That includes the air line route, mounting points, floor condition and available access for moving the press into place. In Isando and Kempton Park, some lines have tighter bays than the drawing suggests, so a clean measurement beats a rough estimate.
When the tooling is ready for production handover, the team should have a practical run sheet, the stroke settings and the operator notes in plain terms. That makes the first production run steadier, and it gives the workshop a clear record of what was fitted and why.
- Mounting surface and anchor details
- Air line entry point and regulator position
- Access route for installation and maintenance
- Final stroke setting and cycle notes
- Operator training points for daily use