Start With The Operator’s Reach Pattern
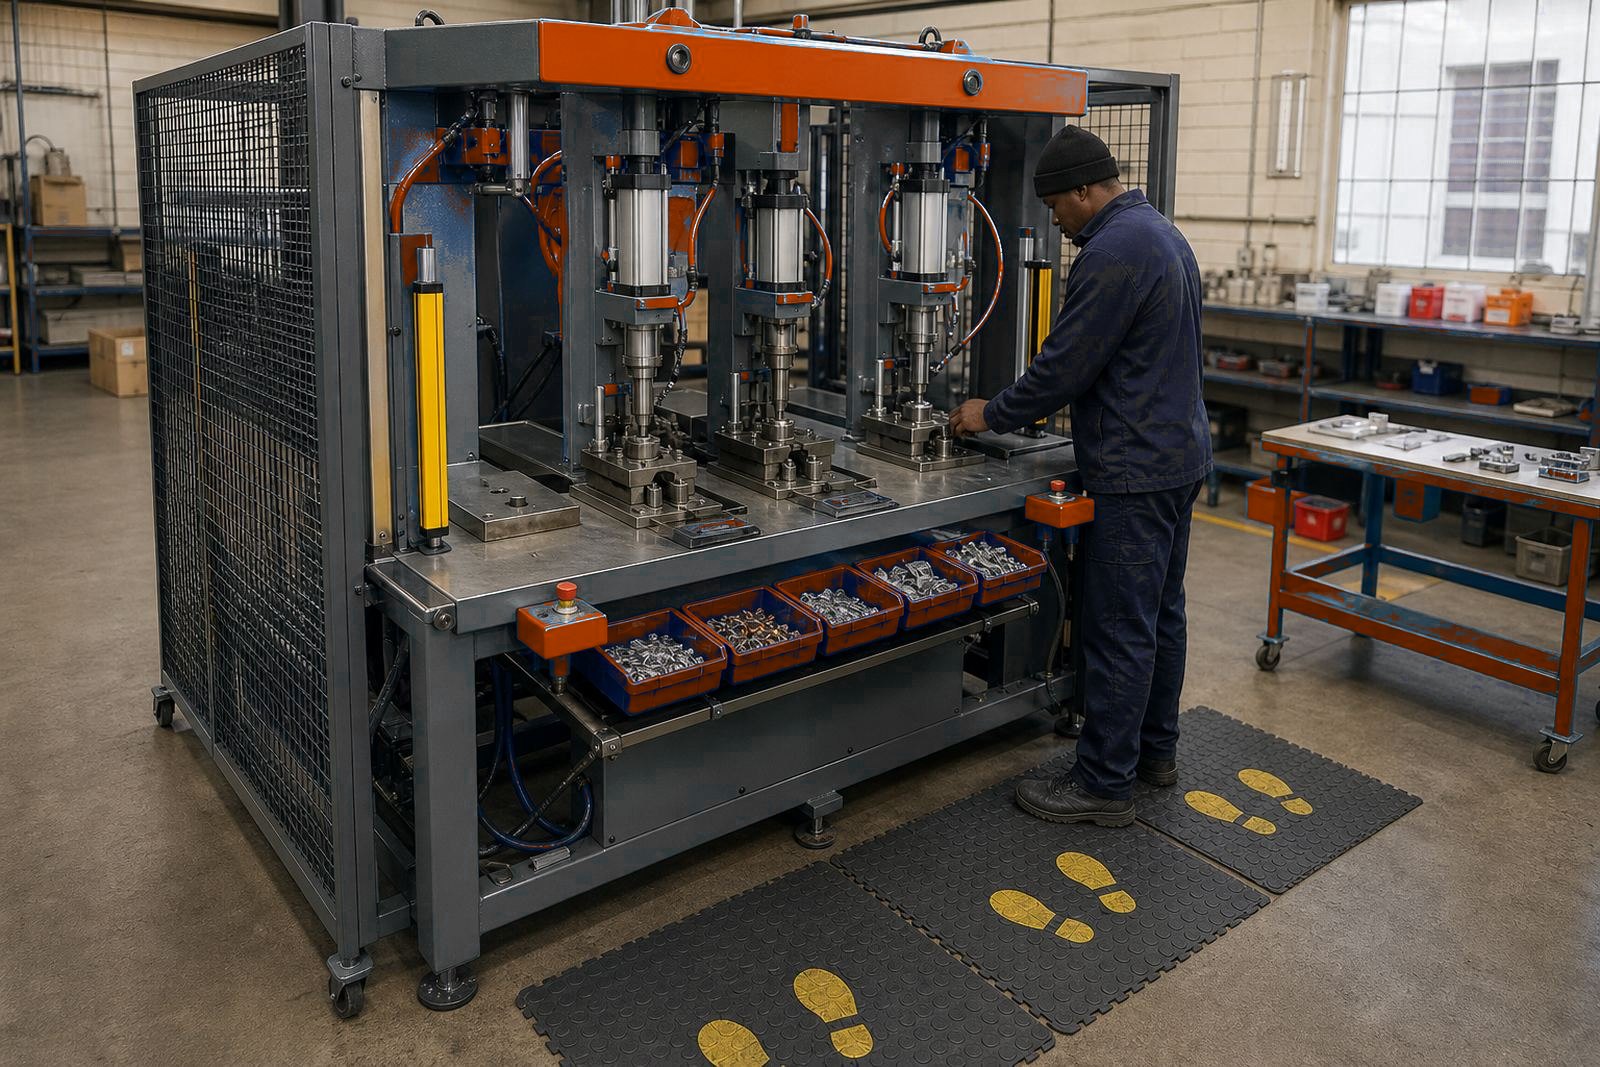
Before a station is fixed in place, map where the operator stands, where the part enters and where the finished piece leaves the press. A good layout keeps the natural reach short, avoids twisting at the waist and leaves enough room for gloved hands to move without brushing tooling or guard frames. On multi-station work, that small difference matters because the operator may repeat the same movement hundreds of times in a shift.
We normally look at the front stance, the side stance and the turn path back to the part tray. If the operator has to lean over a cylinder body, stretch across a guard opening or reach around a locator pin, the work zone is too tight. In assembly, crimping and riveting jobs, a clean path into the station is often more important than trying to squeeze the machine into a smaller footprint.
- Allow a stable standing position with both feet planted.
- Keep the main hand movement in front of the body, not across the torso.
- Leave space for the part to enter flat, square and without a twist.
- Avoid placing trays where the operator must cross over the press bed.
Space For Loading, Unloading And Part Transfer
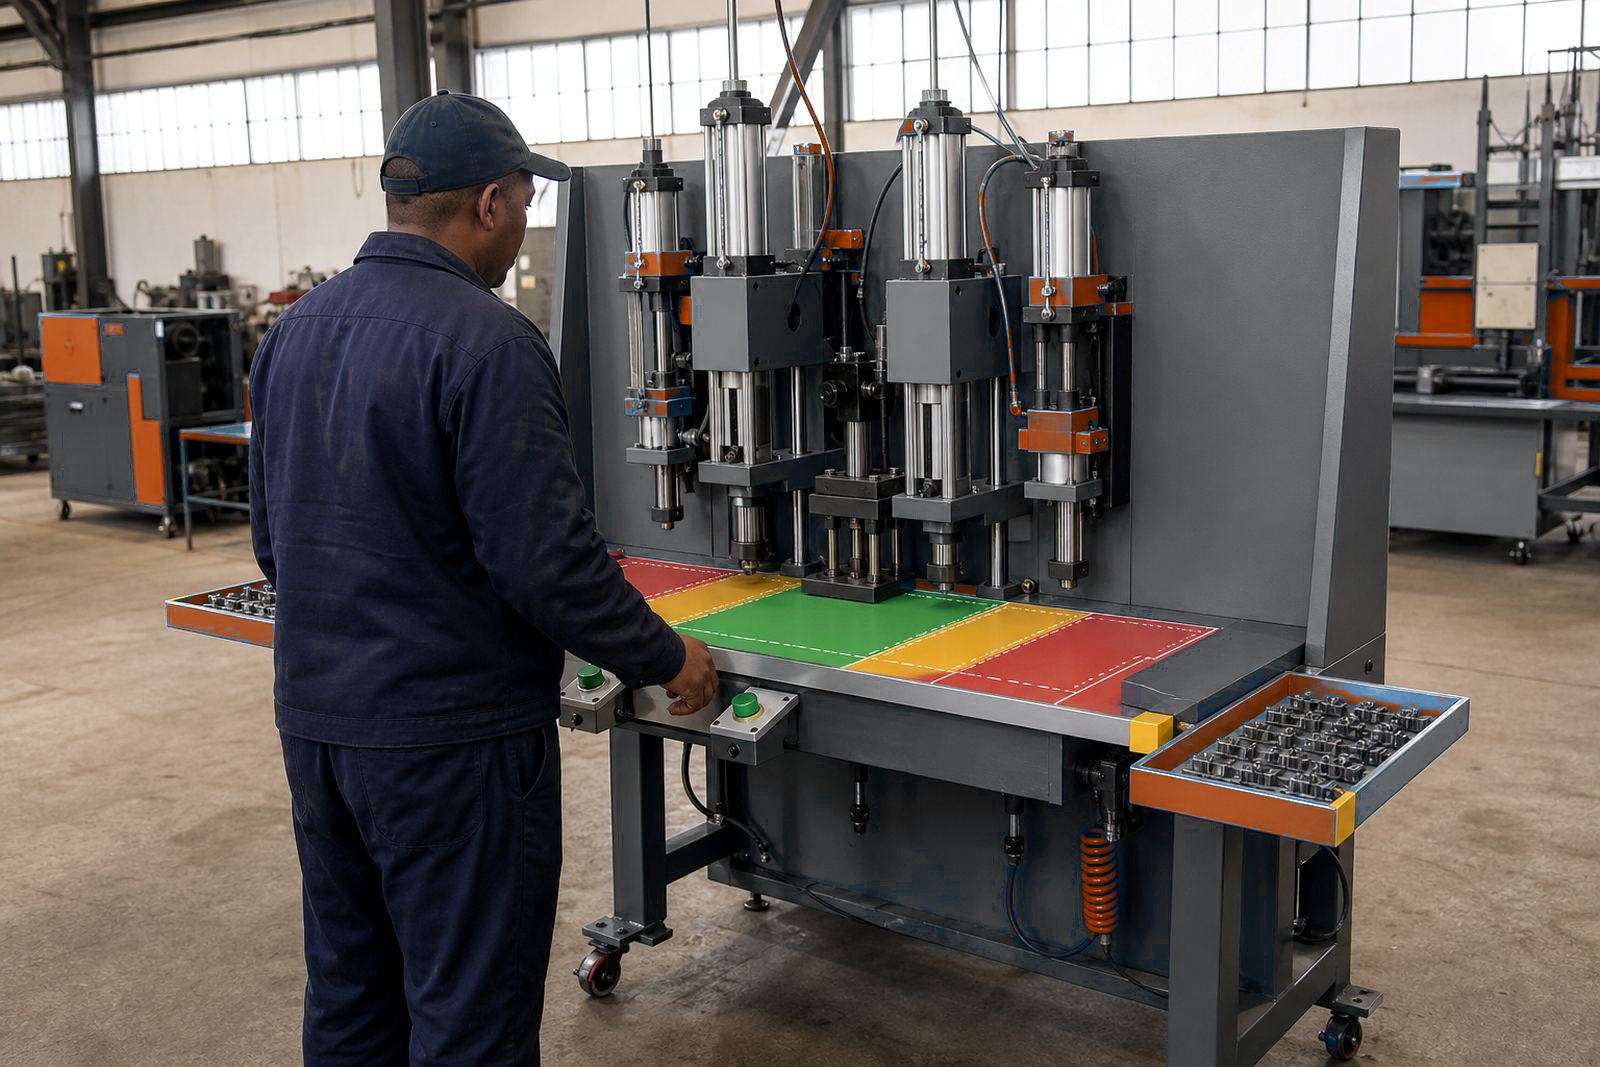
Loading space needs to suit the part size, the tooling envelope and the way the component is handed in. A small crimp ring needs different handling from a larger stamped or riveted part. On pack sealing lines, the product tray may be wider and flatter, while staking or press-fit jobs often need a more exact drop position. If the operator has to hunt for the locating point, the station slows down and the hand path becomes untidy.
For multi-station presses, we like to separate the loading zone from the ejection zone where possible. That helps the operator keep raw parts on one side and finished parts on the other. It also reduces accidental double handling during press operation. In some lines, a slotted tray or a shallow rack keeps the next part ready at the right height, which reduces lifting and protects wrists over long runs.
- Check that the part can be lifted without scraping the guard edge.
- Set tray height so the operator does not raise the shoulders repeatedly.
- Keep finished parts clear of the next loading point.
- Leave enough front clearance for a safe hand withdrawal after cycle start.
Trays, Bins And Part Presentation That Fit The Job
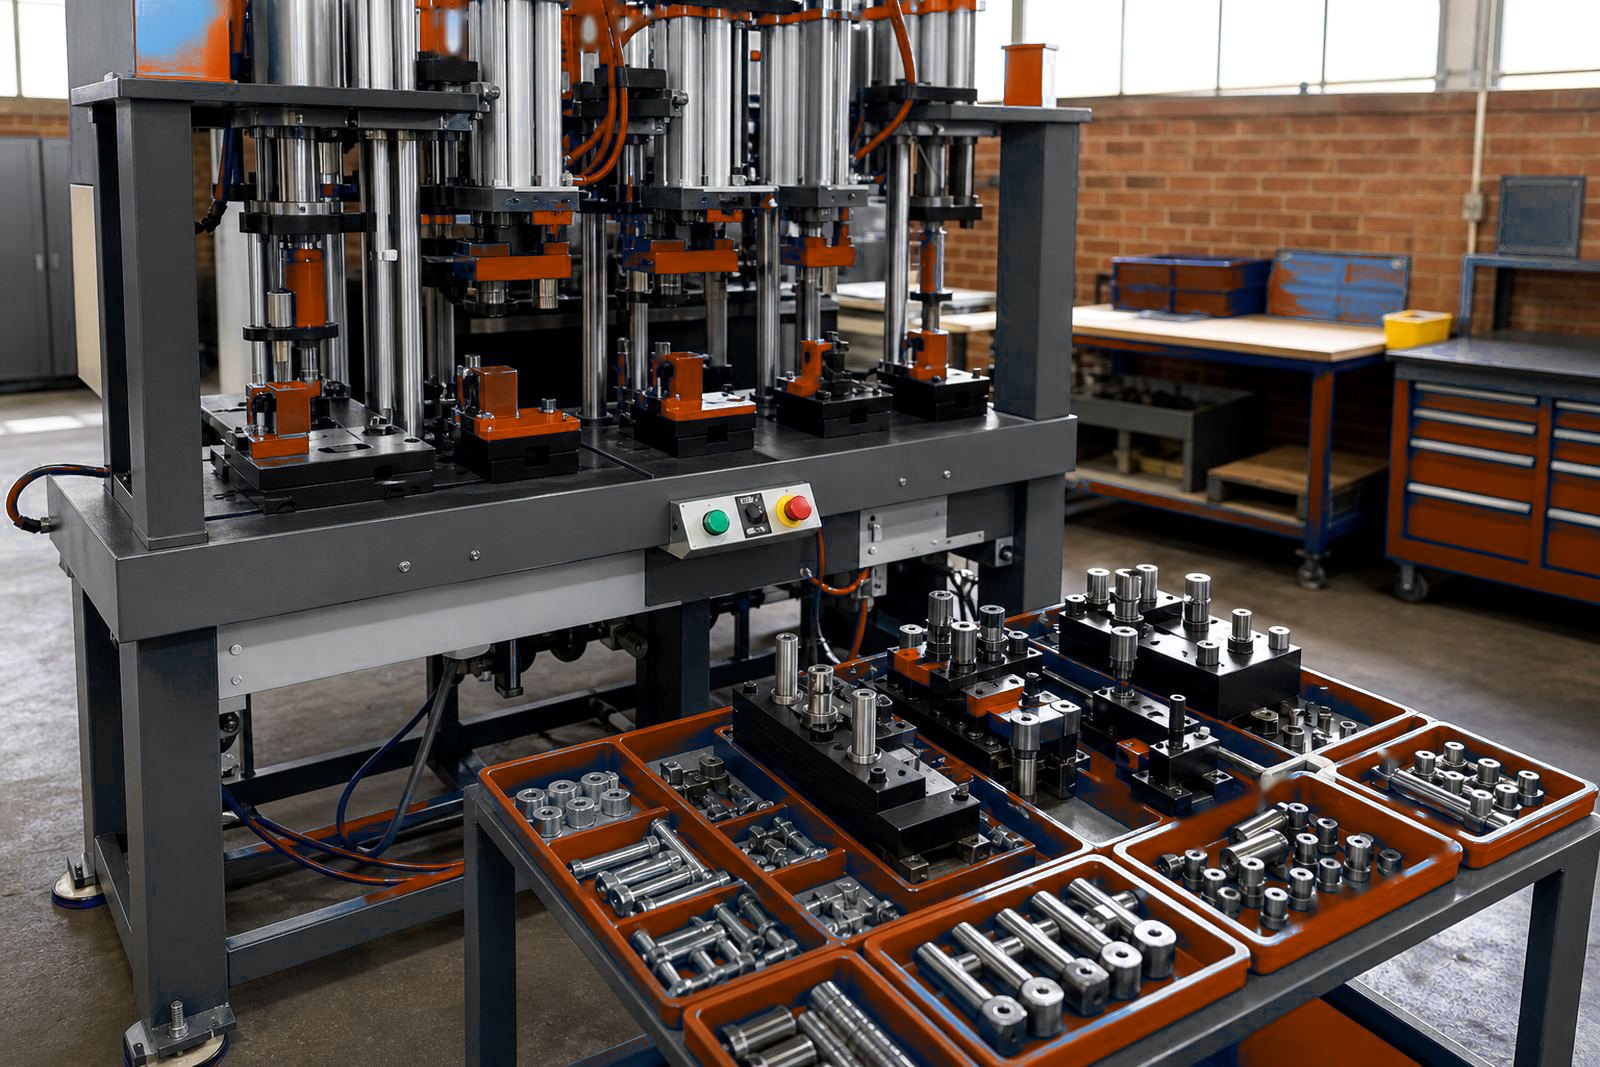
Part trays should support the sequence, not fight it. A tray that sits too low encourages bending. One that sits too high can block sight of the locator or make the operator rush the placement. For small metal parts, a divided tray often works better than a single open bin because it stops parts from nesting together. For sealed packs or stacked items, a wider presentation area can help the operator keep the top layer aligned before the cycle starts.
The tray should also respect the direction of the hand movement. If the operator must rotate the wrist sharply to pick up each piece, the setup is asking for strain. A slight angle on the tray, or a feed slot that points toward the natural hand path, can make the station easier to run. In humid coastal areas and hot factory floors, lightweight trays may shift if they are not fixed properly, so the base and mounting need to stay firm.
- Use one tray position for incoming parts and one for finished parts where space allows.
- Keep bins low enough to see the bottom layer.
- Lock trays in place so they do not move during loading.
- Match the tray angle to the hand path, not the other way around.
Guarding And Two-Hand Control Without Blocking Access
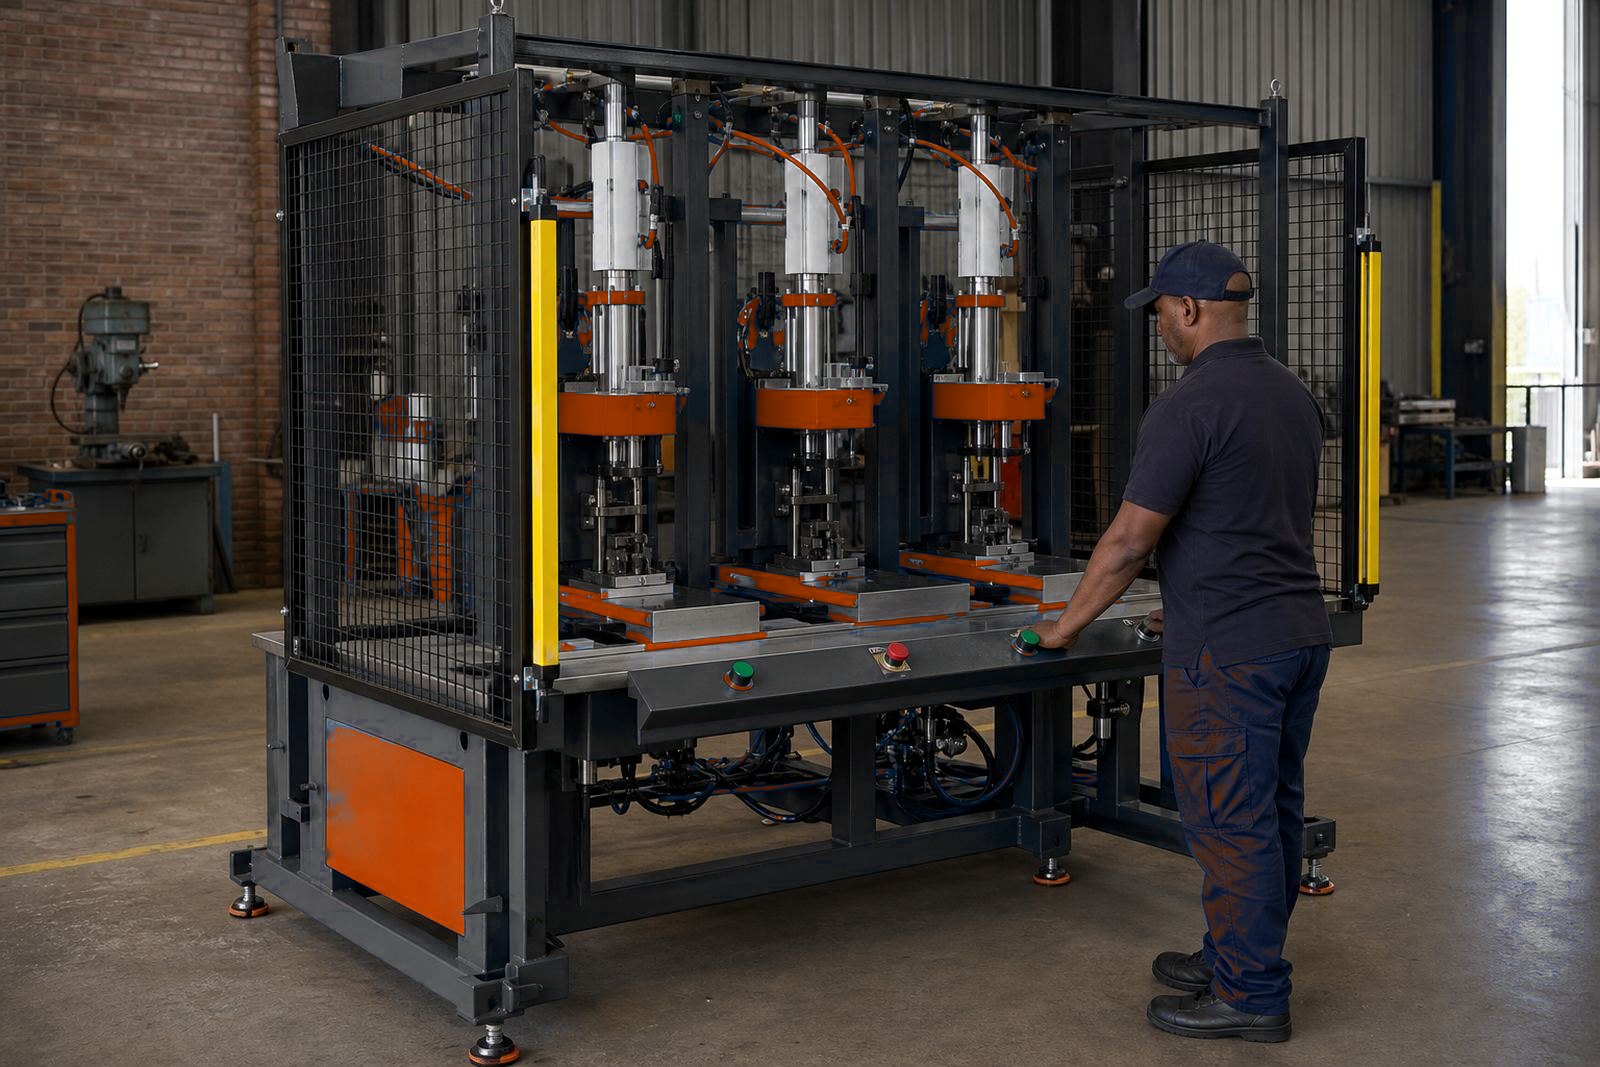
Safety devices must protect the operator and still leave the station usable. Two-hand controls need clear spacing and a natural press action so the operator is not reaching awkwardly or standing off balance. Light curtains can work well on open stations when the beam line is planned around the loading area and the ejection path. If the curtain sits too close to the natural hand entry, the operator ends up fighting the station instead of working with it.
Guarding should keep fingers out of the danger zone while still allowing the tooling to be seen. Clear panels, sensible openings and a visible cycle area help the operator line up the part. On crimping and riveting jobs, the operator often watches the tool approach the component, so the guard design must not hide the working face. The point is controlled access, not a cramped cage around the press.
- Place two-hand controls where both buttons can be reached without leaning.
- Keep the light curtain clear of false interruptions from trays or fixtures.
- Make sure the operator can see the part landing point.
- Check that the guard leaves enough room for a clean hand exit after loading.
Stroke, Cylinder Travel And The Hand Zone
Stroke setting changes how much room the operator needs. A short stroke on a staking station behaves very differently from a longer press movement on an assembly job. The hand zone must stay outside the moving path at every point, including the start position, mid-stroke and return. When the stroke is set too deep for the job, the tool may travel further than needed and the working area becomes harder to manage.
Air pressure also affects how the station feels in use. If pressure is set properly for the application, the cycle is more predictable and the operator does not need to compensate with extra handling force. That helps with repeatability, especially where the tool closes around a small component or where several stations work in sequence. In our view, the operator should never have to guess where the press is in the cycle.
- Set stroke only to the depth needed for the part.
- Keep the hand zone outside the cylinder travel path.
- Match pressure to the tool and the material, not to habit.
- Test the return position before regular production starts.
Site Checks Before Production Starts
Once the machine is installed, the site check should focus on movement, sight lines and the first few loading cycles. The operator needs to stand where the job was planned, not where there happened to be space on install day. That means checking floor markings, tray placement, access around the frame and the route for finished parts. If the station is part of a wider line, the loading area should also fit the handover from the previous process without bottlenecks.
We also look at maintenance access. An operator may not service the press, but they still need to avoid blocking the area where tooling changes, line checks or basic cleaning happen. A station that is pleasant to load is usually easier to keep in order. That matters on long shifts, on hot days and on lines where the same movement repeats all week.
- Confirm the operator stance on the actual floor, not on paper only.
- Walk the load path and the exit path before sign-off.
- Check that tooling changes can be done without moving the whole station.
- Keep the area around the press clear of loose parts and clutter.
Training The Hand Movement Into The Routine
Operator training should cover the movement as much as the buttons. The best setup still fails if the hand path is rushed or inconsistent. A short, practical training session should show where the part sits, how the hands enter and leave the zone, what the safe stance looks like and how the operator resets the tray after each cycle. That is especially important where the same press is used for different parts across a shift.
When the team understands why the loading space is arranged a certain way, they keep it that way. They are less likely to crowd the station with extra bins, lean across the guard or place finished pieces in the wrong spot. For factories in Johannesburg, Pretoria, Durban, Gqeberha and East London, the layout has to work with local floor space and the way each production team actually moves.
A tidy operator zone is not just neater. It keeps the job steady, protects the hands and makes the press easier to live with over time.