Set the changeover around the part, not the machine
A good changeover starts with the product drawing, the tooling set and the finished pack spec. A press can be tuned for crimping one shift and pack sealing the next, but the setup notes must follow the job, not memory from the last run.
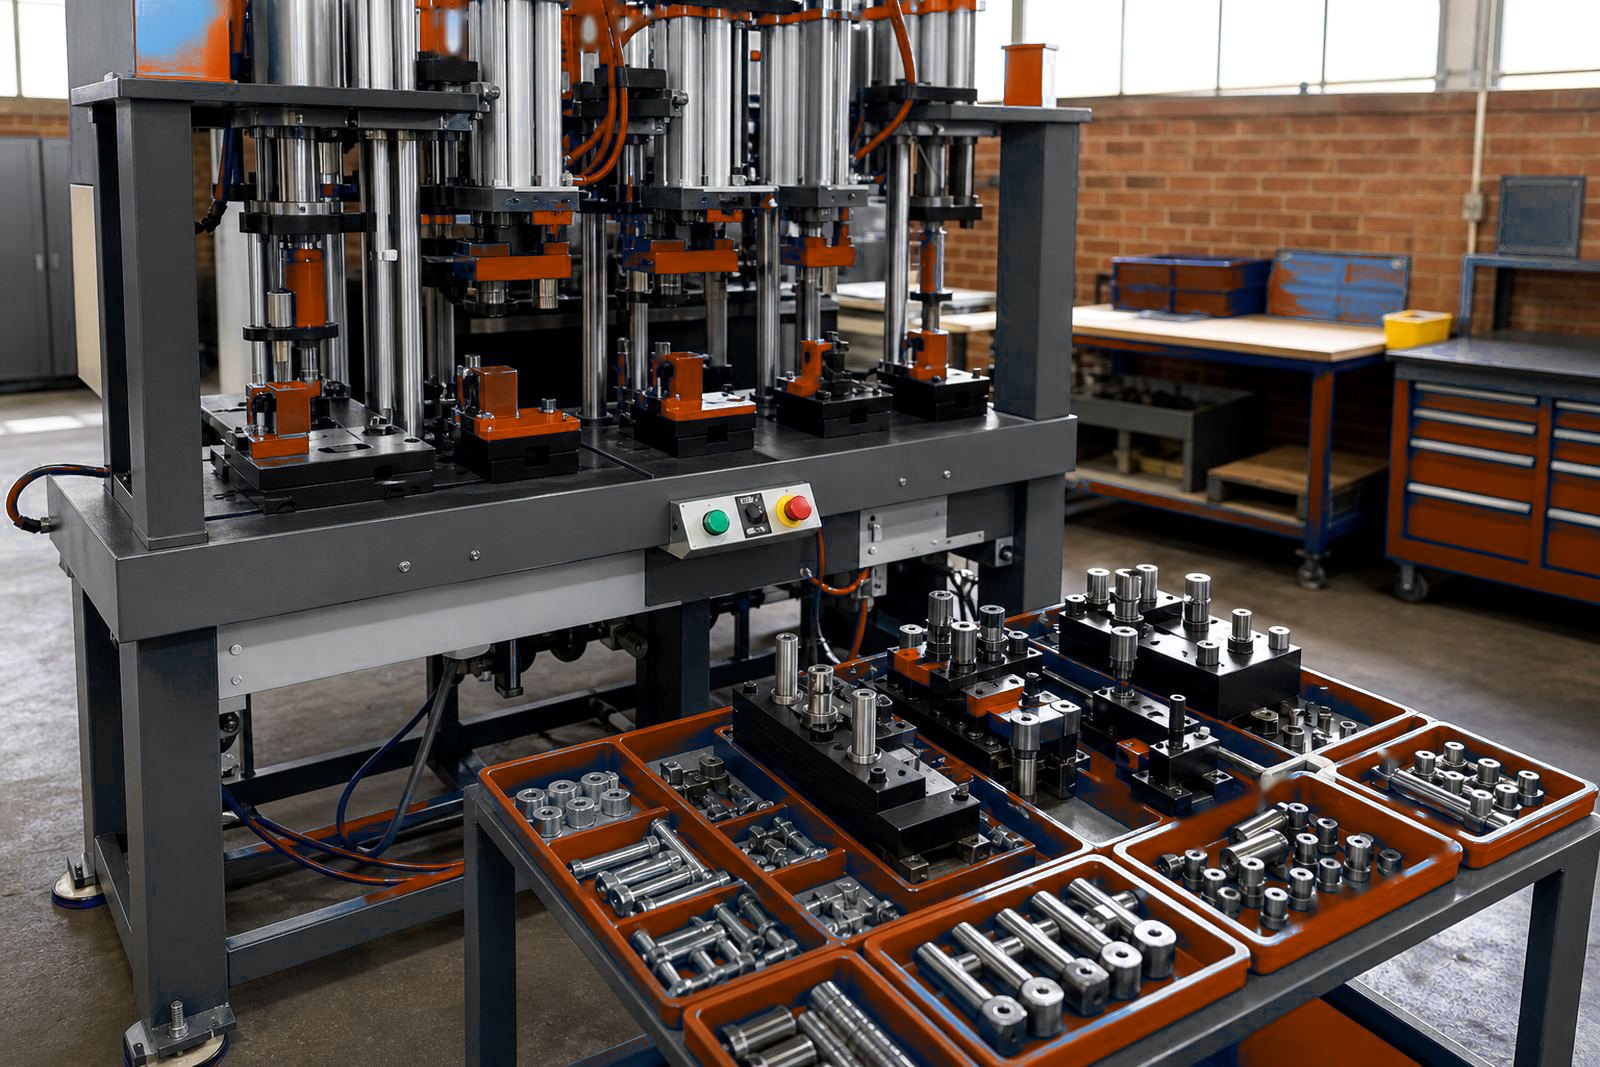
Write down the station count, cylinder size, stroke length, air pressure range and the order in which each station comes into contact with the part. If one station stakes a lug and another closes a seal, both actions need their own checks. That keeps the changeover honest and stops small setting drift from building into scrap.
- Part number and variant code
- Tool set used on each station
- Target stroke and stop point
- Air pressure setting at the machine
- Guarding, two-hand control and light curtain checks
Lock in the mechanical settings before the first test stroke
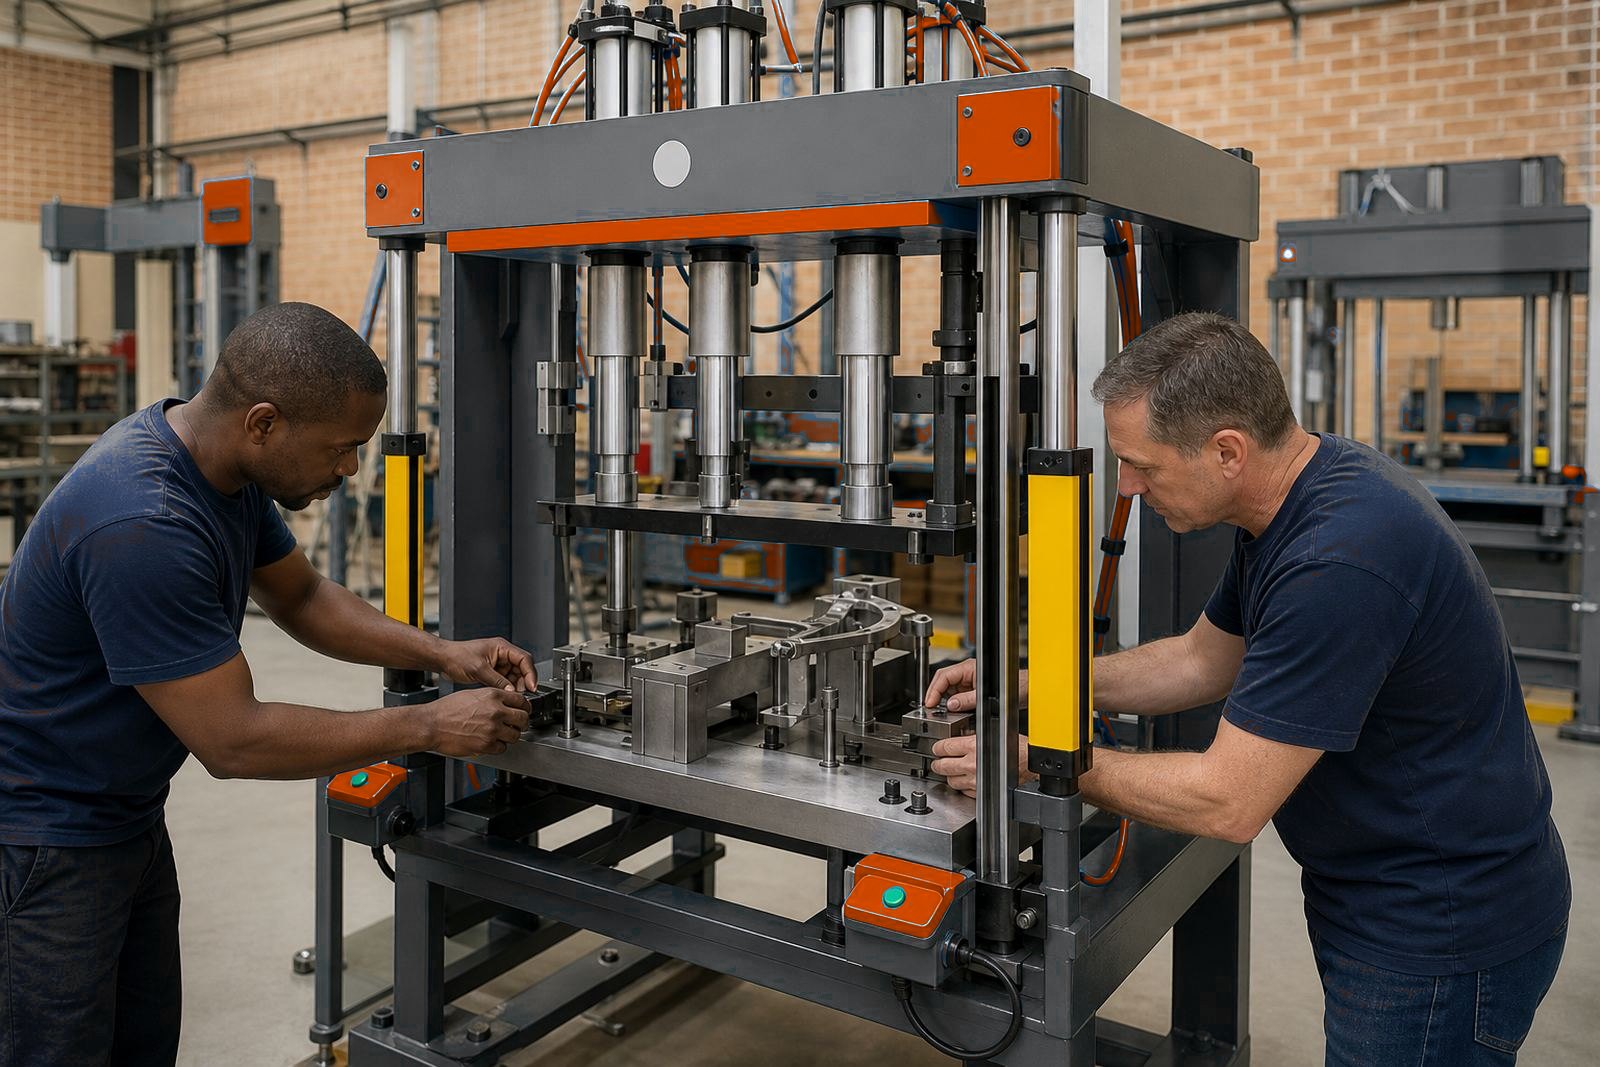
Tooling changes go smoother when the machine has a known home position. Set the press off the part, isolate the air supply, remove the old tooling and clean the mounting faces before the next set goes in. A thin layer of dirt or a burr under a fixture plate can throw alignment off by enough to bruise a pressed joint.
The stroke setting must suit the tallest part in the range and still leave safe clearance on the return. Check the air line, regulators and cylinders for leaks, then confirm the press reaches full force without hunting or bounce. On a multi-station unit, one station can be right while the next sits a fraction low, so each point needs its own check.
- Clean and inspect the bed, guides and clamp faces
- Fit the correct tooling and tighten to spec
- Confirm stroke stops and depth limits
- Check that each cylinder moves evenly
- Test air pressure under working load
Make guarding and controls part of the swap routine
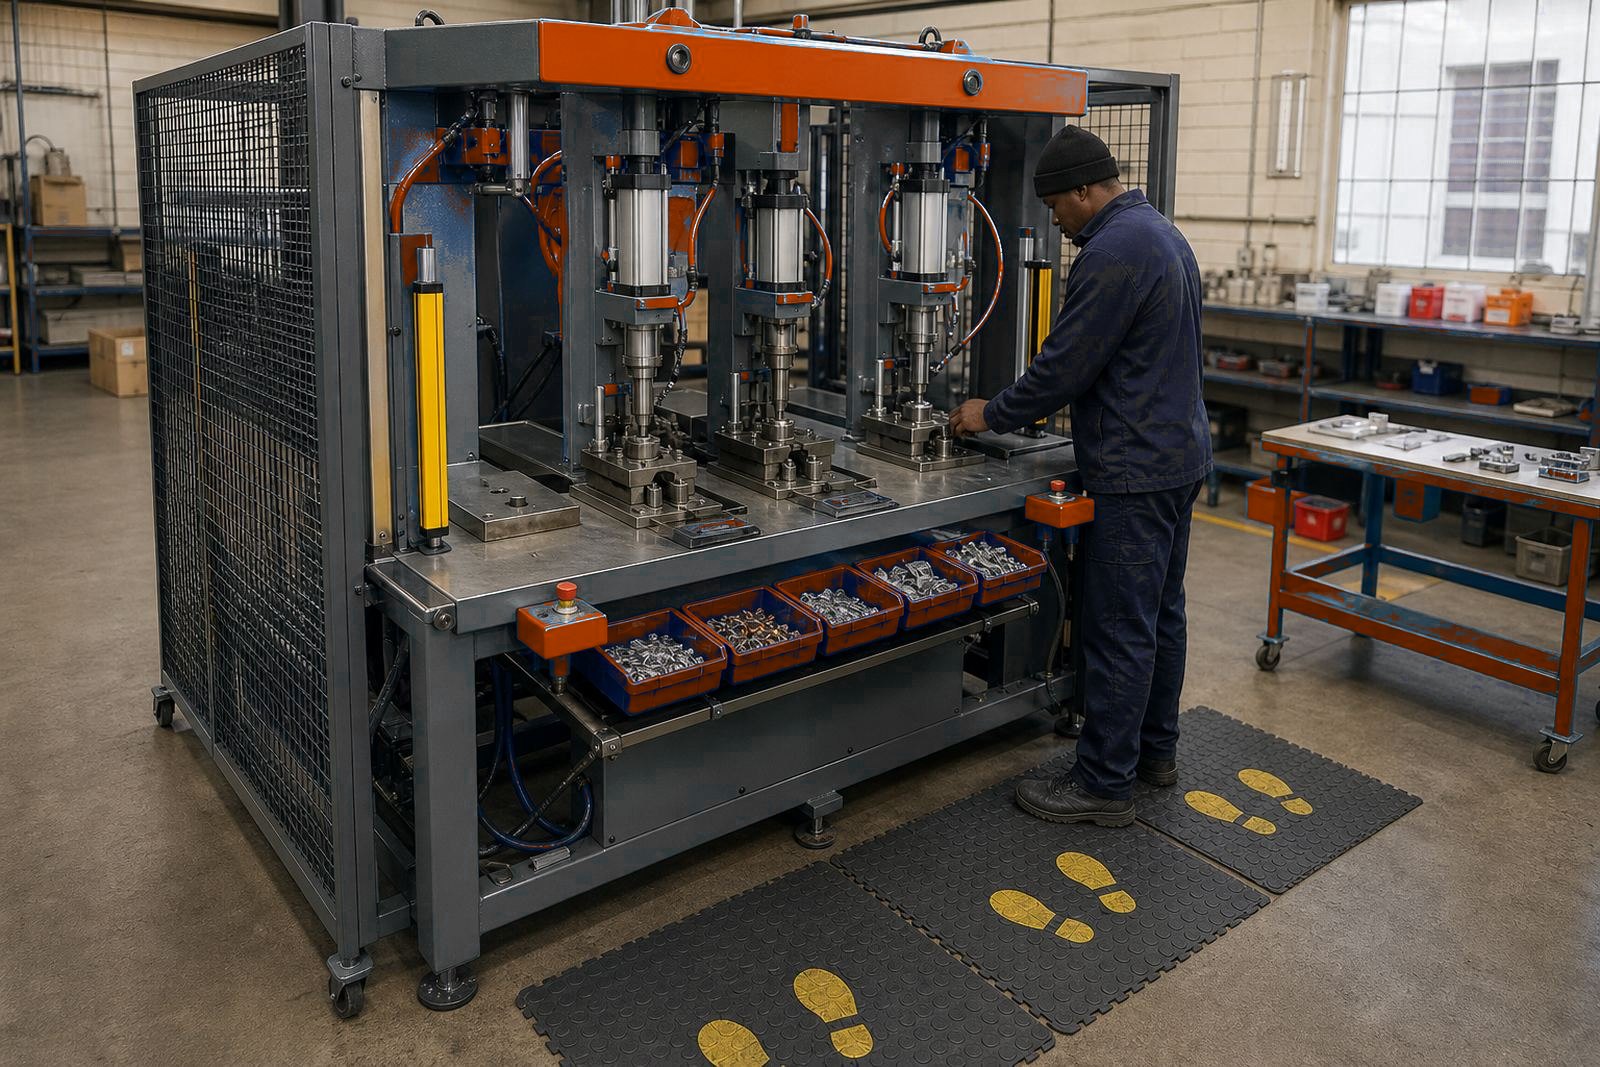
Guarding is not a separate admin task. It sits inside the changeover because tooling size, part reach and operator access can change the risk around the press. If the new tool needs a deeper hand position or a wider feed path, the guards and light curtain positions must match that layout before production starts.
Two-hand controls need the same attention. If the buttons sit too far apart, too close, or too high for the current job, operators start working around them. That is a bad sign in any factory, whether the line is in Isando, Kempton Park or further out in Durban. The control action must suit the pace of the job and leave no room for one hand to reach into the danger zone.
- Check light curtain alignment after every tooling swap
- Confirm two-hand controls still force a safe cycle start
- Inspect interlocks, stops and guard panels
- Make sure the feed path cannot trap fingers
Use a first-off sample to prove the setting
The first part off the press is the proof piece. Measure it, inspect it and compare it with the approved sample before the line runs in full. For crimping, that means checking bite depth and conductor grip. For riveting, look at head form and pull resistance. For staking, confirm the formed end sits square and does not crack. For pack sealing, test the seal line across the full length, not only at the middle.
If the first-off piece fails, stop and correct the setting before the shift builds a pile of rejects. Small changes in pressure or stroke can matter more than people expect, especially on jobs with thin material or mixed product ranges. A clean first-off check saves time later in the run.
- Inspect the first five parts by hand
- Measure critical dimensions against the job sheet
- Check seal finish, crimp depth or stake form
- Record the approved setting before batch production
Hand over the job to the next crew
A proper production handover keeps the changeover notes alive. The operator should know which settings were used, which tool inserts were fitted, and which points need watching during the next swap. If a station needs a little extra dwell or a lower air setting, that note must be written where the next crew can see it.
Handover notes should be plain and specific. Keep them to the actual machine and the actual job, not a vague reminder to be careful. That approach works well in busy factories where one press may move between assembly, riveting and seal work over a single week.
- Record the final working pressure
- Note stroke stops and change points
- List worn parts, inserts or guide pins
- Capture any faults found during the run
- Attach the approved sample to the job file
Build one checklist for the whole line
When a press handles several variants, the changeover sheet should read like a working tool, not a filing habit. Keep one page for mechanical settings, one for safety checks, and one for the part specific notes. That way the team can move from one job to the next without hunting through old instructions or relying on memory from the last shift.
MultiPress supports these changeovers with custom tooling, guarding builds, light curtain integration, two hand controls, site installation, stroke setting, press commissioning and operator training. From Isando to Pretoria, Port Elizabeth and East London, the same principle holds: the machine must suit the part, and the changeover must suit the people running it.
- Separate safety checks from setup checks
- Keep job notes with the current tool set
- Set the approved sample as the benchmark for the full order
- Update the sheet after every tooling change