Alberton line shift, without replacing the press
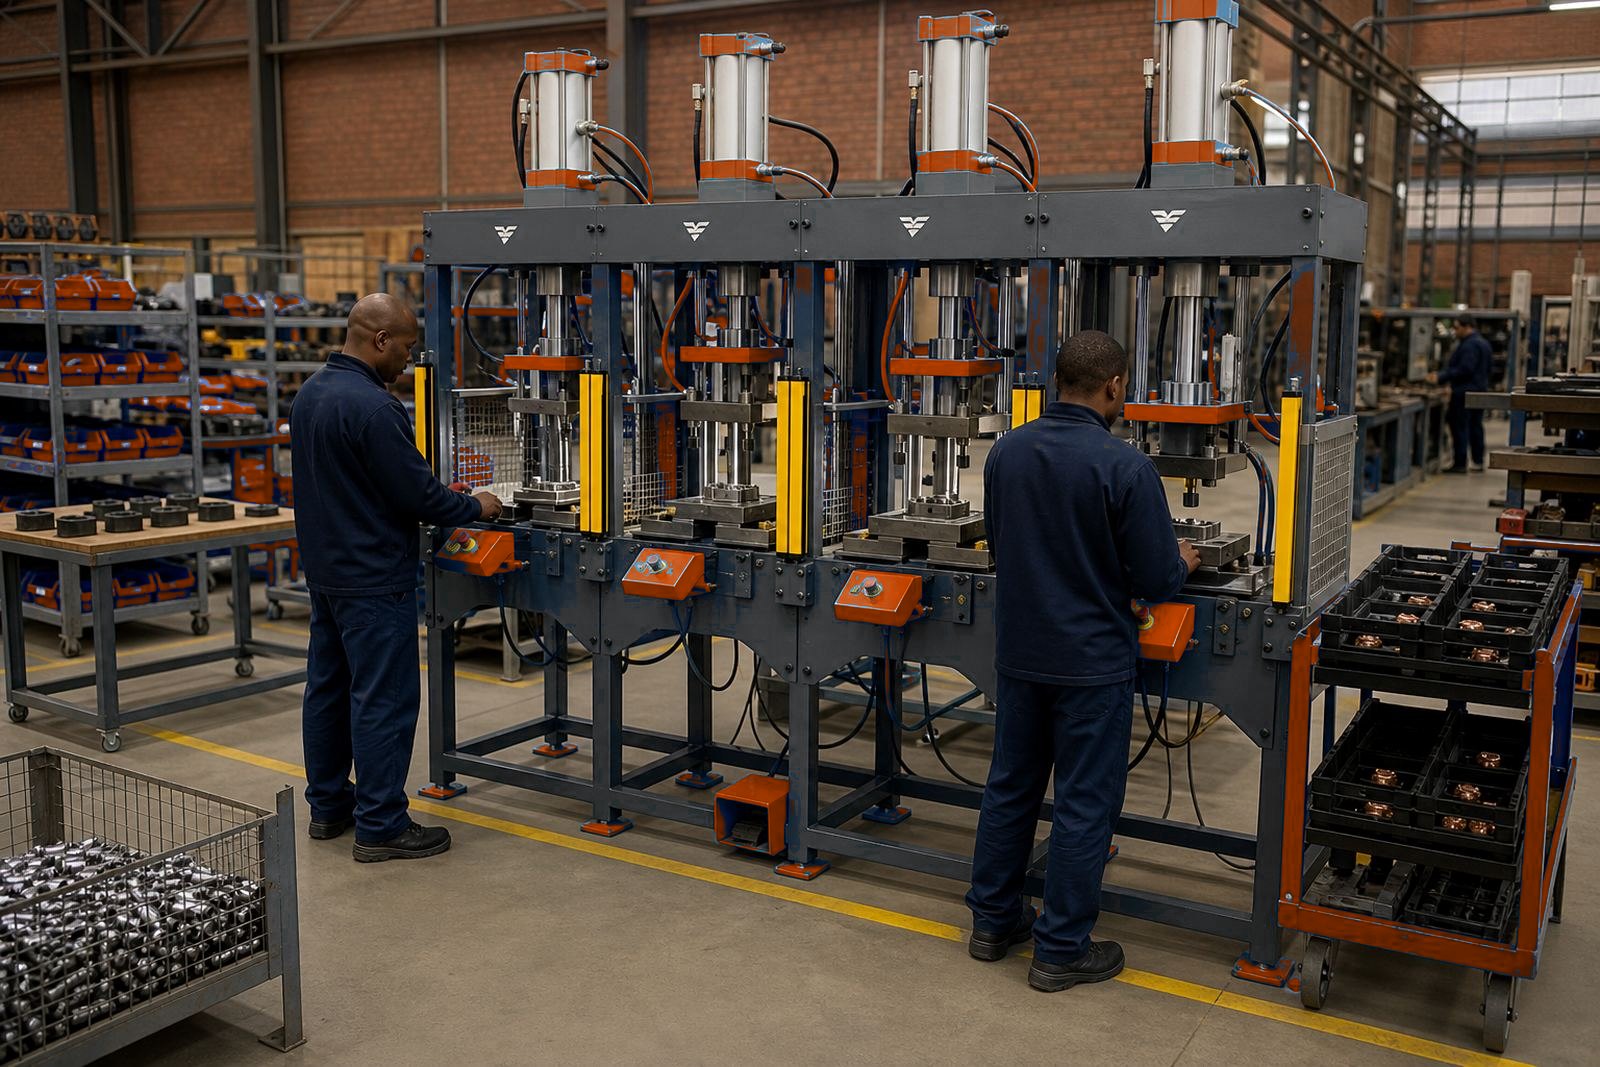
The job came from a light manufacturing plant in Alberton that needed new parts running on an older pneumatic press already in daily use. The frame and air system were sound, but the original tooling no longer matched the latest component shape, hole positions and crimping sequence.
The brief was to keep the press in service, avoid a full machine change and build a tooling set that could handle assembly, riveting and pack sealing work with the same base press. Space was tight, the line still had to move and the client wanted a practical changeover path that would suit operators on a normal shift.
- Existing press retained and adapted for new part geometry
- Tooling designed for repeatable alignment across multiple stations
- Guarding and two hand controls reviewed together
- Short commissioning window planned around production breaks
We design tooling around the part, not by forcing the part to suit the tooling.
We measured the station pitch, cylinder travel and available die space before drawing the new tooling layout. The press needed a clean stroke, firm clamping and enough control over travel to avoid marking the parts during crimping and staking.
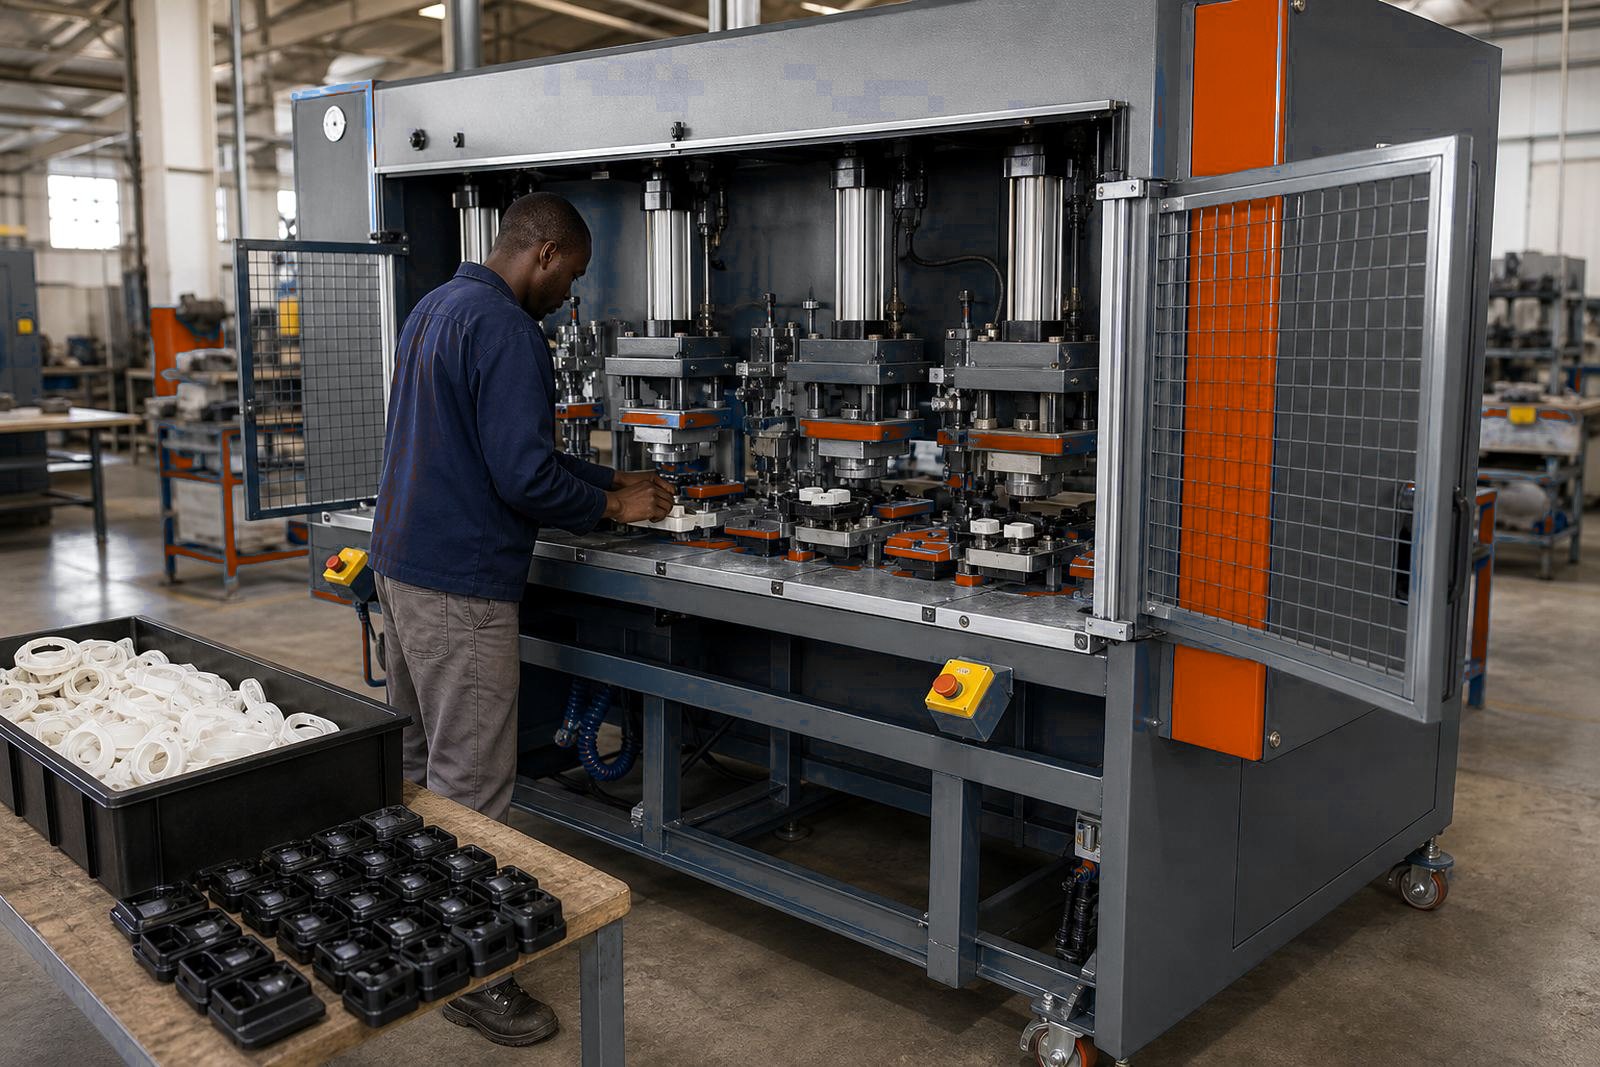
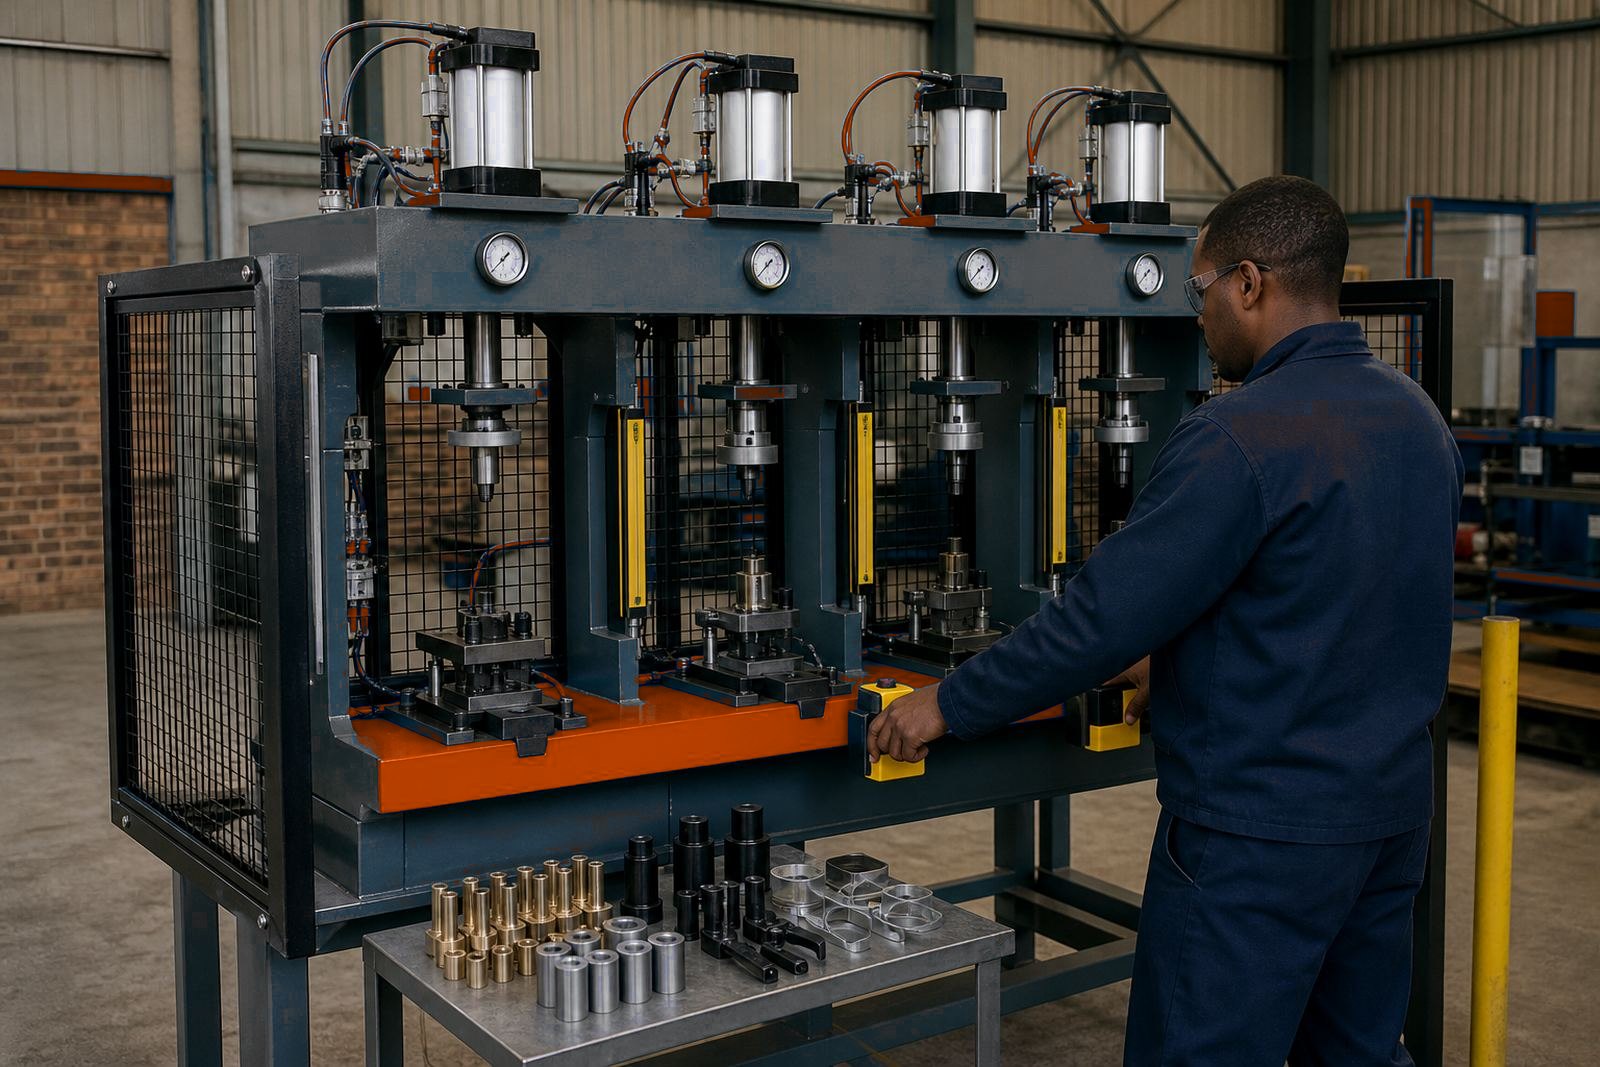
Our workshop made the new tooling with hardened working faces, locator points and change parts suited to the product range. One station handled assembly location, another took a crimping insert, and a third was set up for riveting and seal closure, so the operator did not need to fight the setup each time a batch changed.
- Station layout matched the existing press frame
- Tooling included positive location and part stops
- Stroke setting was adjusted to suit the new cycle
- Tool faces were finished for clean contact and less wear
Controls and guarding for a steadier shift
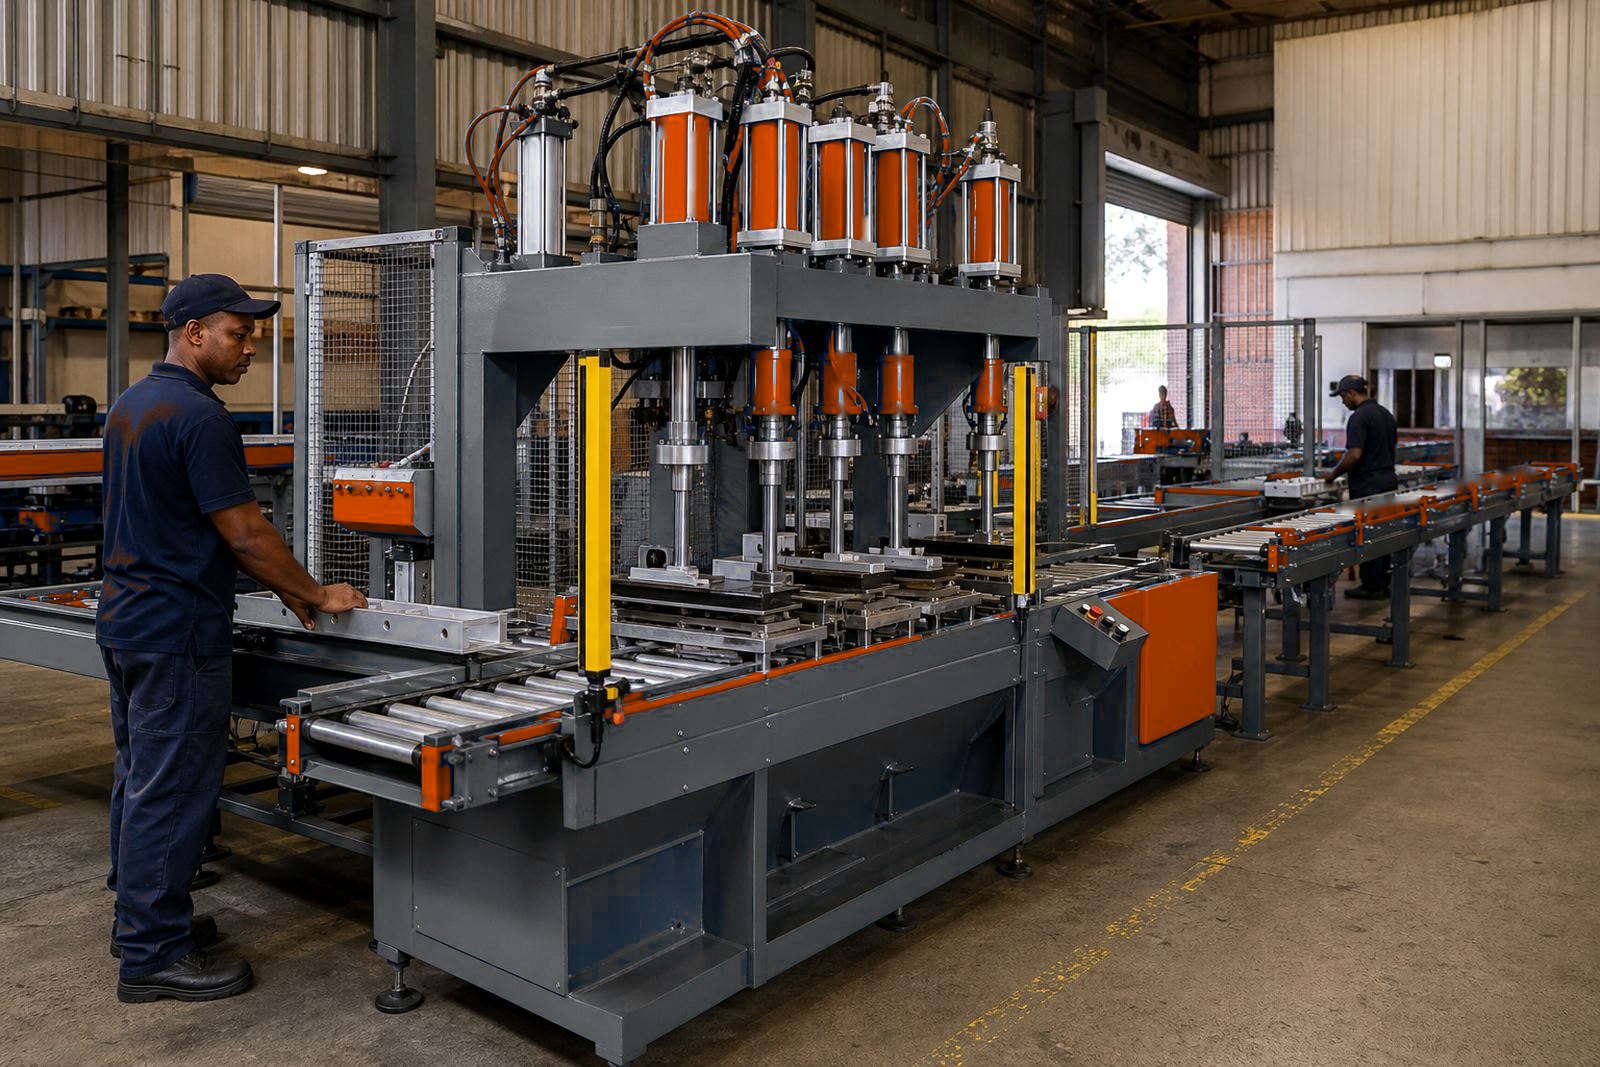
The upgraded press was fitted and checked with two-hand controls, fixed guarding and light curtain protection where the opening required it. That combination matters on a multi-station pneumatic press because the operator must feed parts quickly without reaching into the working area.
We set the air pressure range to suit the job, then tested the stroke so the cylinders moved with enough force for the work but without overshooting the part stack. The team also checked air line routing, regulator setting and the stop positions before production resumed. On a press like this, small setting changes can shift the whole feel of the cycle, so we left nothing loose.
- Two-hand controls checked for safe cycle start
- Light curtain position set to protect the working zone
- Air pressure and stroke settings matched the tooling load
- Air line setup reviewed for stable running during the shift
Our tooling upgrade took four weeks, from the first measure through to production handover.
The project ran over four weeks. Week one covered site measurement, part review and tooling drawings. Week two went into workshop build and fit-up checks. Week three was spent on installation, control checks and guarding alignment at the Alberton site. Week four covered commissioning, operator training and final handover of the working sequence.
There was no room for guesswork because the existing press had to stay useful while the new tooling was introduced. We worked through one station at a time, checked the cycle under load and adjusted the feed position until the parts sat correctly in each nest. The result was a cleaner run and less waste at start-up.
- Week 1: measure-up and design sign-off
- Week 2: tooling manufacture and bench fit checks
- Week 3: site installation and guard positioning
- Week 4: commissioning, training and production handover
What changed on the floor after commissioning
Once the tooling was in place, the press held the part more consistently and the operators spent less time reworking misaligned pieces. The cycle became easier to repeat because the guides, stops and stroke limits were matched to the actual component rather than the old tooling layout.
The client kept the existing pneumatic press in service and gained a setup that could support the new part family without a complete rebuild. The production team also had clearer control points for tool changes, which helped when the line moved between variants. In practical terms, the machine did more useful work with less fiddling between batches.
- Cleaner part location across each station
- Less manual correction during the run
- Existing press kept in service for the new parts
- Tool change routine made easier for operators
What we would carry over for a comparable Alberton tooling upgrade
We would start the same way again by measuring the press, the part and the working envelope before making any tooling call. That keeps the cylinder travel, station spacing and guard layout tied to the real job and the measured press and part dimensions.
For a similar upgrade, we would keep the tooling modular where possible, because shops often need a press to handle more than one part shape over time. We would also leave enough room in the control layout for safe operator movement, especially where pack sealing or riveting sits close to the front edge of the press. The job in Alberton showed that an older pneumatic press can still do useful production work when the tooling, stroke and guarding are matched properly.
- Measure the press and the part together before drawing tooling
- Keep station spacing practical for the operator’s hand path
- Allow for future tool changes where the product range may shift
- Match guarding and controls to the actual cycle, not a standard template
Key facts
| Project | Alberton Tooling Upgrade |
|---|---|
| Town | Alberton, Ekurhuleni |
| Machine type | Multi-station pneumatic press |
| Main work | Custom tooling upgrade for new parts |
| Controls and safety | Two-hand controls and light curtain integration |
| Handover | Commissioning, stroke setting and operator training |