A Springs line built around repeat terminal work
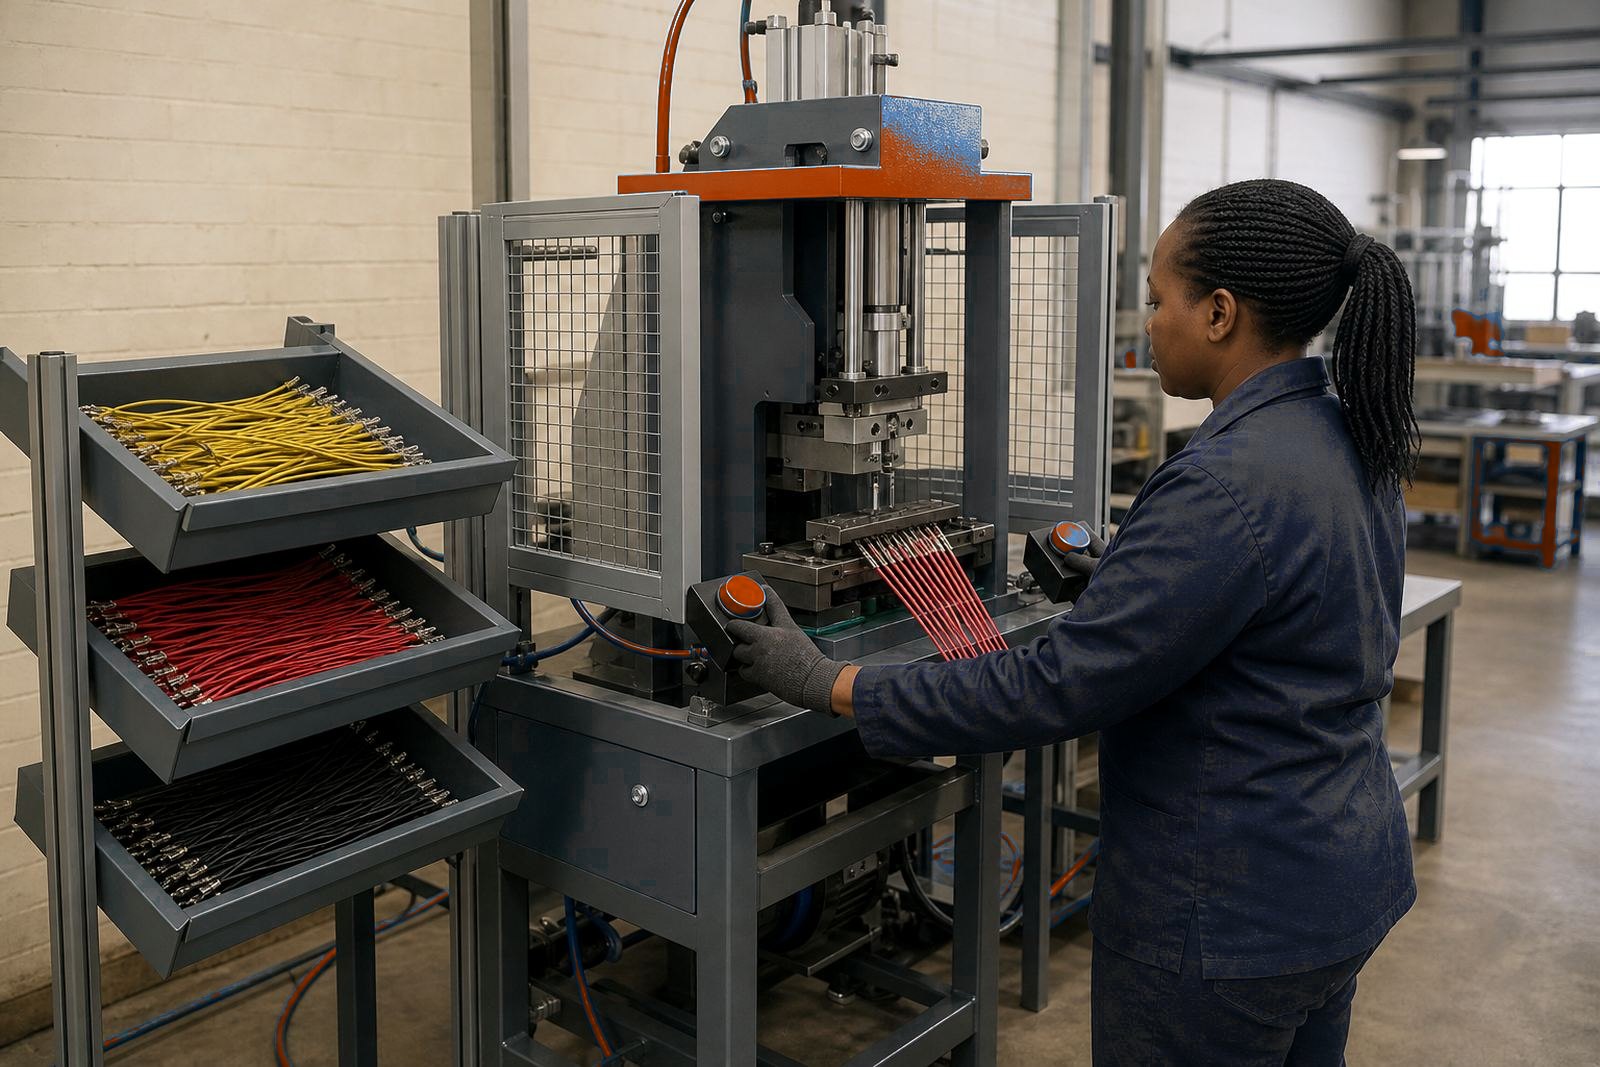
The brief came from a light industrial workshop in Springs, where the team needed a cleaner way to crimp terminals in repeat batches. The old hand method depended too much on operator feel, and the part position shifted just enough to affect consistency across the run. The job called for a compact multi-station pneumatic press cell that could suit one main product family with short changeovers for related terminals.
We worked from the part drawings, sample crimps and the loading pattern on the floor. The line had to fit into an existing production bay with a narrow approach aisle and enough space for trays, finished parts and a small infeed table. The client also wanted guarded loading so the operator could set the terminal into the nest without reaching through open tooling.
- Product type: repeat terminal crimping
- Location: Springs, Ekurhuleni
- Work zone: compact cell with guarded loading
- Loading method: hand-fed parts with fixed nests
Tooling and press details that held the part steady
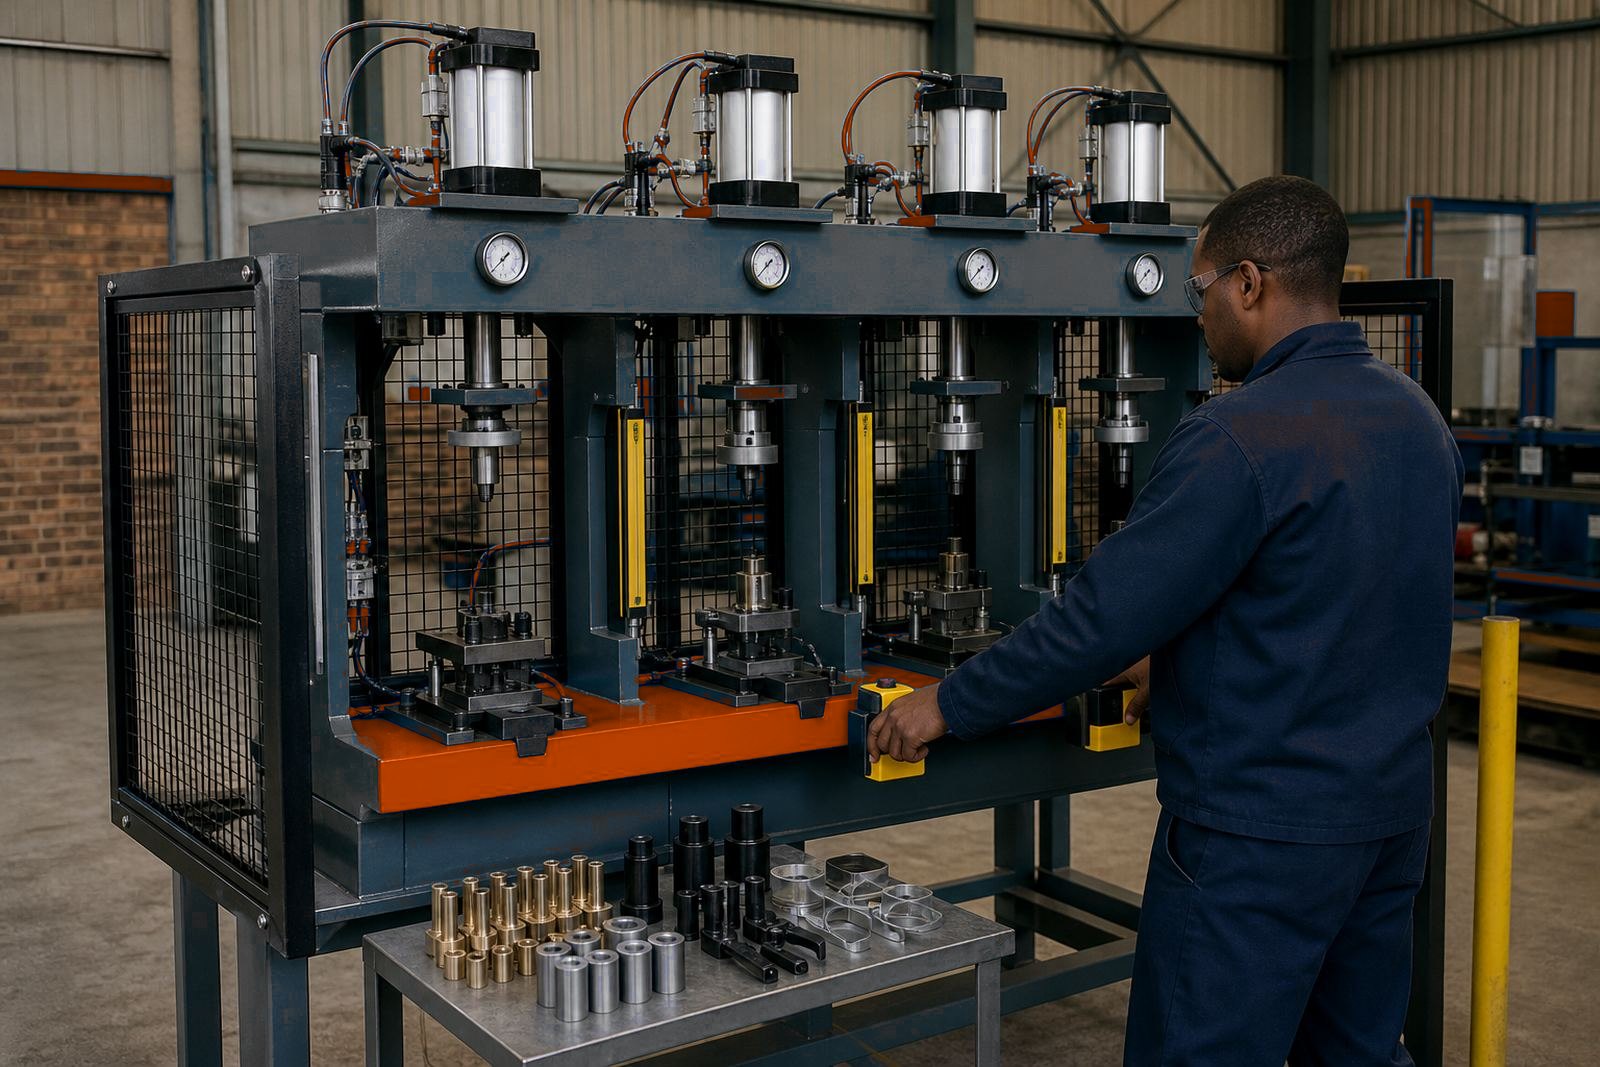
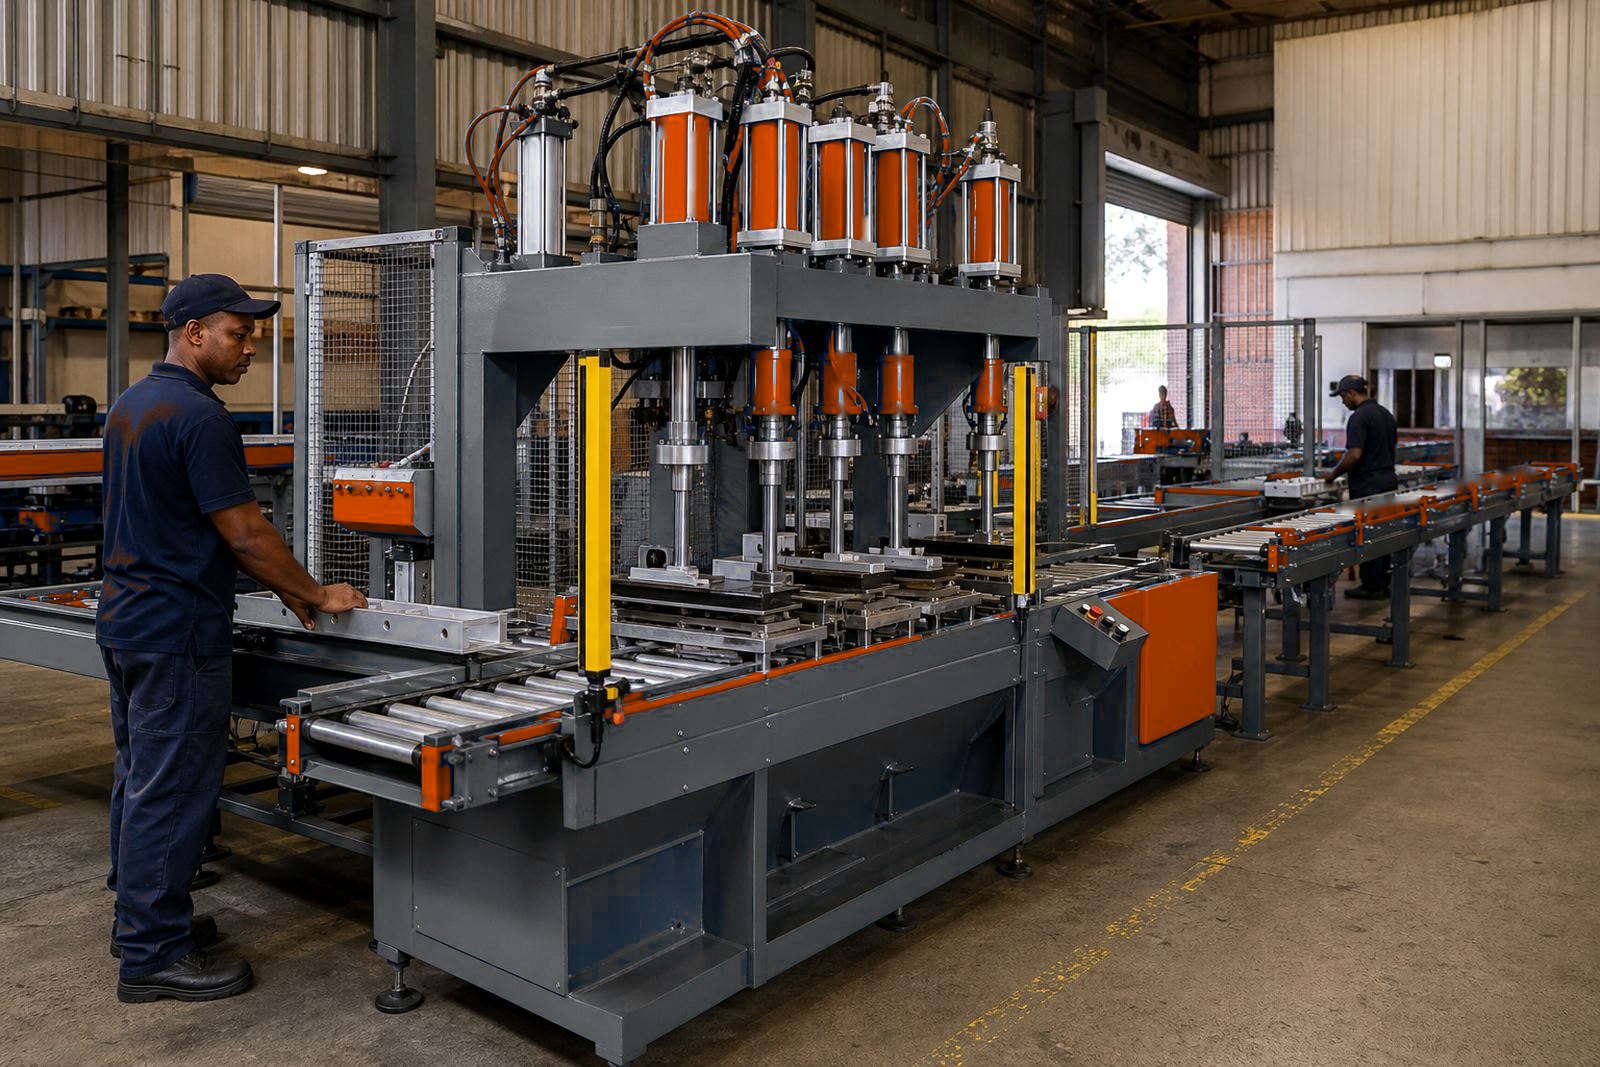
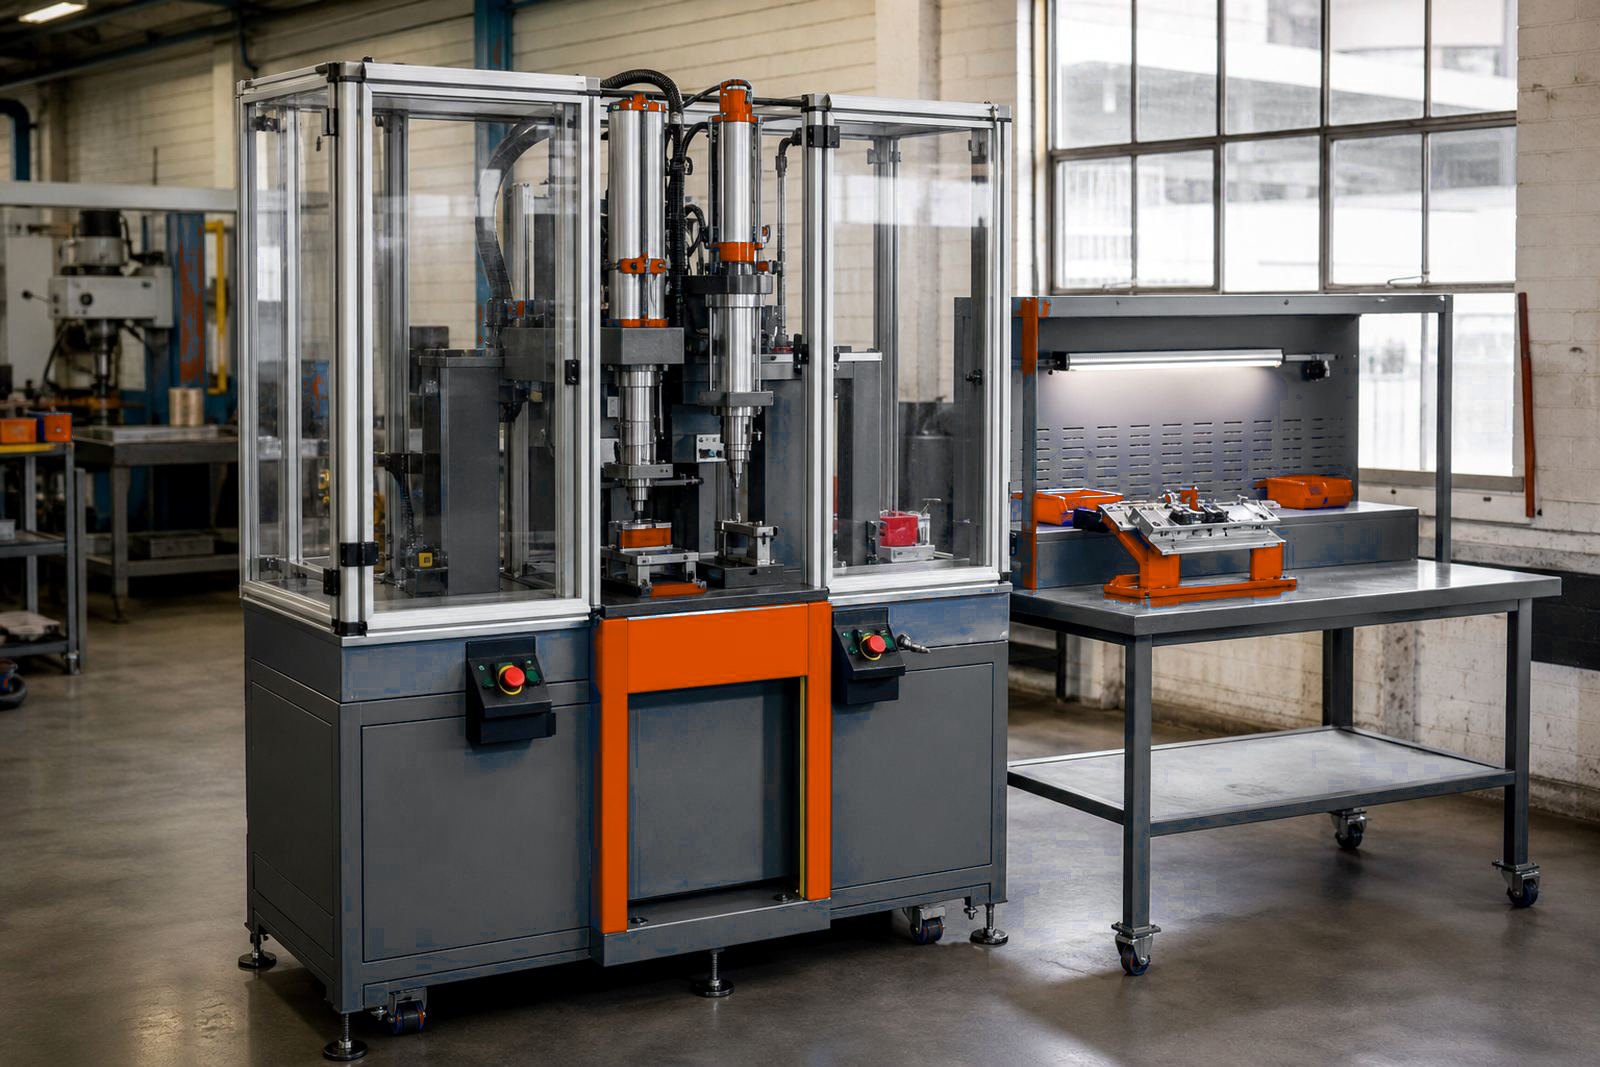
We supplied a multi-station pneumatic press frame with separate stations arranged for loading, crimping and inspection. The main cylinder was sized for the force range needed on the terminal stack, with stroke setting adjusted to suit the exact travel of the tooling. Air pressure was set for stable pressing and repeat movement, while the tooling itself located the terminal in a fixed nest before the crimp came down.
The tool set used shaped inserts to keep the conductor position steady and to reduce movement during the press cycle. We designed the nest so the operator could place the parts in one direction only, which helped avoid mix-ups during a busy shift. The crimp profile was set to suit the assembly and the tooling allowed easy changeover when a related terminal size needed to run through the same cell.
- Press type: multi-station pneumatic press
- Control method: two-hand control with guarded access
- Tooling: custom nest, crimp insert and locating face
- Setting points: stroke, pressure and tool height
Guarding, light curtains and operator safety
The cell needed clear protection around the working area because the parts were small and the operator would load many cycles in a shift. We built the guarding around the press opening and added light curtain protection where the workflow needed an open viewing side. Two-hand controls were fitted to keep the cycle hands clear during the press stroke, and the stop positions were checked during commissioning so the machine would not drift outside the working range.
There was also a practical issue with floor movement. The workshop had a shared aisle, so the guarding had to leave a sensible path for trolleys without putting pressure on the operator position. We kept the frame tight and used plain access points for tool checks, cleaning and tool changes. That gave the team room to work without turning the cell into a cramped corner.
- Protection: fixed guarding with light curtain integration
- Cycle control: two-hand operation
- Access: planned opening for loading and tool checks
- Layout note: kept clear path for workshop movement
Workshop build, installation and line set-up
The press frame and tooling were built in our Isando workshop, then prepared for site installation in Springs. After delivery we set the machine level, checked air line setup and confirmed the press station movement against the part stack. The first stage was mechanical fit, then the tooling alignment, then the final stroke setting once the crimp depth matched the sample parts.
Once the cell was running, we carried out production handover with the operating team. That included the loading sequence, the changeover order, the guard checks and the points the foreman needed to watch during the shift. The client wanted a practical machine, not a fussy one, so we kept the control sequence direct and made the set-up notes readable at the point of use.
- Build location: Isando workshop
- Site work: installation and press commissioning
- Set-up items: level, air lines, stroke and tooling alignment
- Handover: loading steps and daily checks
What changed once the cell was in production
The biggest change was consistency. The nests held the terminal position more tightly, so the crimp landed in the same place more often and the team spent less time correcting misfeeds. The guarded loading also made the work pattern neater, with fewer awkward reaches and less handling around the tool face. For a repeat job like this, those small improvements matter more than a flashy spec sheet.
The workshop reported smoother flow between loading and finishing, and the operator training made it easier to keep the same method across shifts. The cell was suited to steady production where the same part runs many times and the setup must stay predictable. During a humid Gauteng summer, the tooling and guarding also needed a finish that could handle regular cleaning and daily use, so the build was planned with that in mind.
- Outcome: tighter placement and steadier crimps
- Workflow: less correction at the tool face
- Use case: repeat terminal runs across shifts
- Maintenance note: straightforward cleaning and checks
What we would take into the next Springs crimping cell build
We would keep the same approach to part location, guarded loading and early stroke setting, because those three points shaped most of the result. A crimping cell works best when the tooling is designed around the actual part and the press frame used for that job. We would also keep the handover notes close to the machine, since operators and supervisors both need the same sequence when a line is busy.
For a similar job, the next steps would be to confirm the sample parts early, lock in the air pressure range during setup and check the loading angle before the final guard layout is fixed. That keeps the build practical and avoids late changes to the nest or the press travel. It also gives the client a cell that suits the part and the shift, not just the drawing.
- Keep part samples close to the build stage
- Set stroke and pressure before final handover
- Plan the guard line around loading and cleaning
- Keep tool change steps short and plain
Key facts
| Project | Springs crimping cell |
|---|---|
| Location | Springs, Ekurhuleni |
| Press type | Multi-station pneumatic press |
| Main use | Repeat terminal crimping |
| Safety | Two-hand control and light curtain integration |
| Services | Custom tooling, guarding, commissioning and operator training |