Why the first few millimetres matter
A pneumatic press only works well when the component sits where the tooling expects it. If the part floats, twists or lifts at the edge, the first contact can mark the material, shift the hole line, or leave a weak crimp. That is where clamps earn their place. They hold the part down, close the gap and keep the operator from having to fight the job at the same time as the press cycle.
On assembly work, that matters with brackets, housings and small formed parts. On riveting and staking, it matters when two pieces need to stay nested while the force builds. On pack sealing, it matters when the seal line must start flat and stay flat from one station to the next.
What clamps do before the cylinder moves
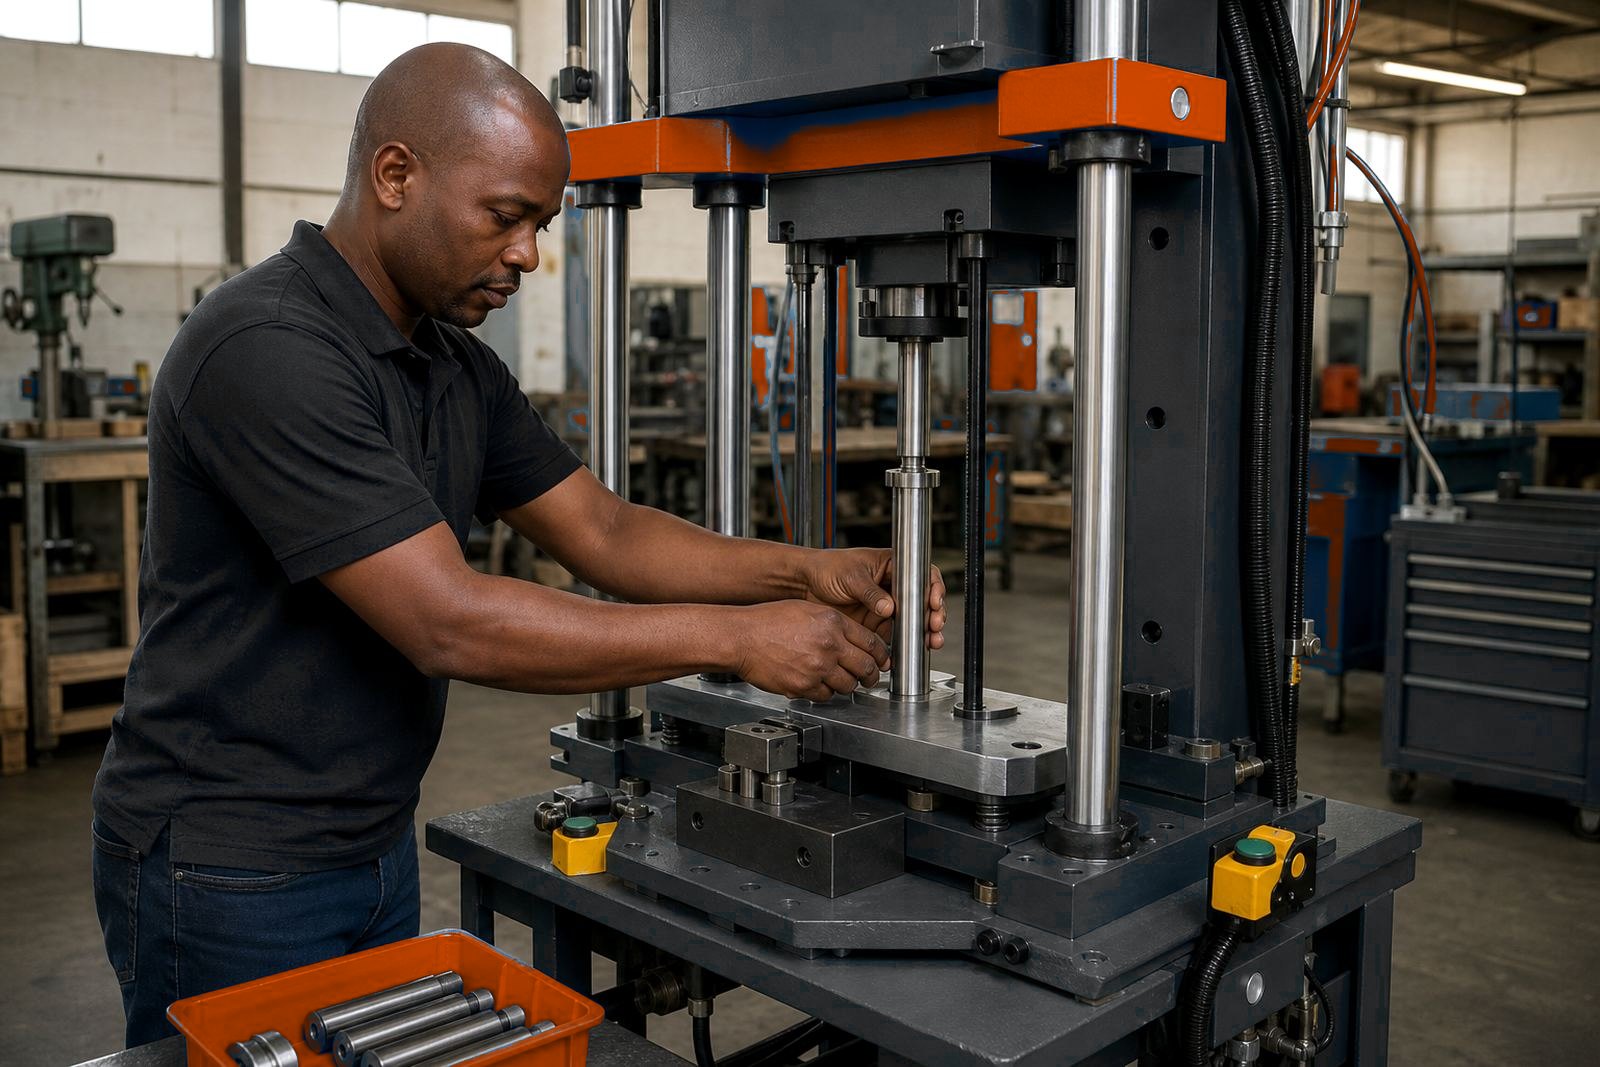
Clamps are not there to add force for the press stroke. Their job is positioning. A good clamp stops rotation, pulls a loose edge into place and keeps the part from shifting under air pressure. In a multi-station press, that helps every station start from the same place, which is where repeatable work begins.
- They steady thin sheet that wants to lift at one corner.
- They hold moulded parts that rock on an uneven underside.
- They keep inserts aligned before crimping or staking.
- They protect the tool face from a part that slides late.
- They help operators load faster.
For South African factories running mixed batches, this can save a lot of small adjustments. A job that looks fine by eye can still drift once the cycle starts, especially when the part has a curved edge or a soft stack-up of materials.
Clamp styles that suit different press jobs
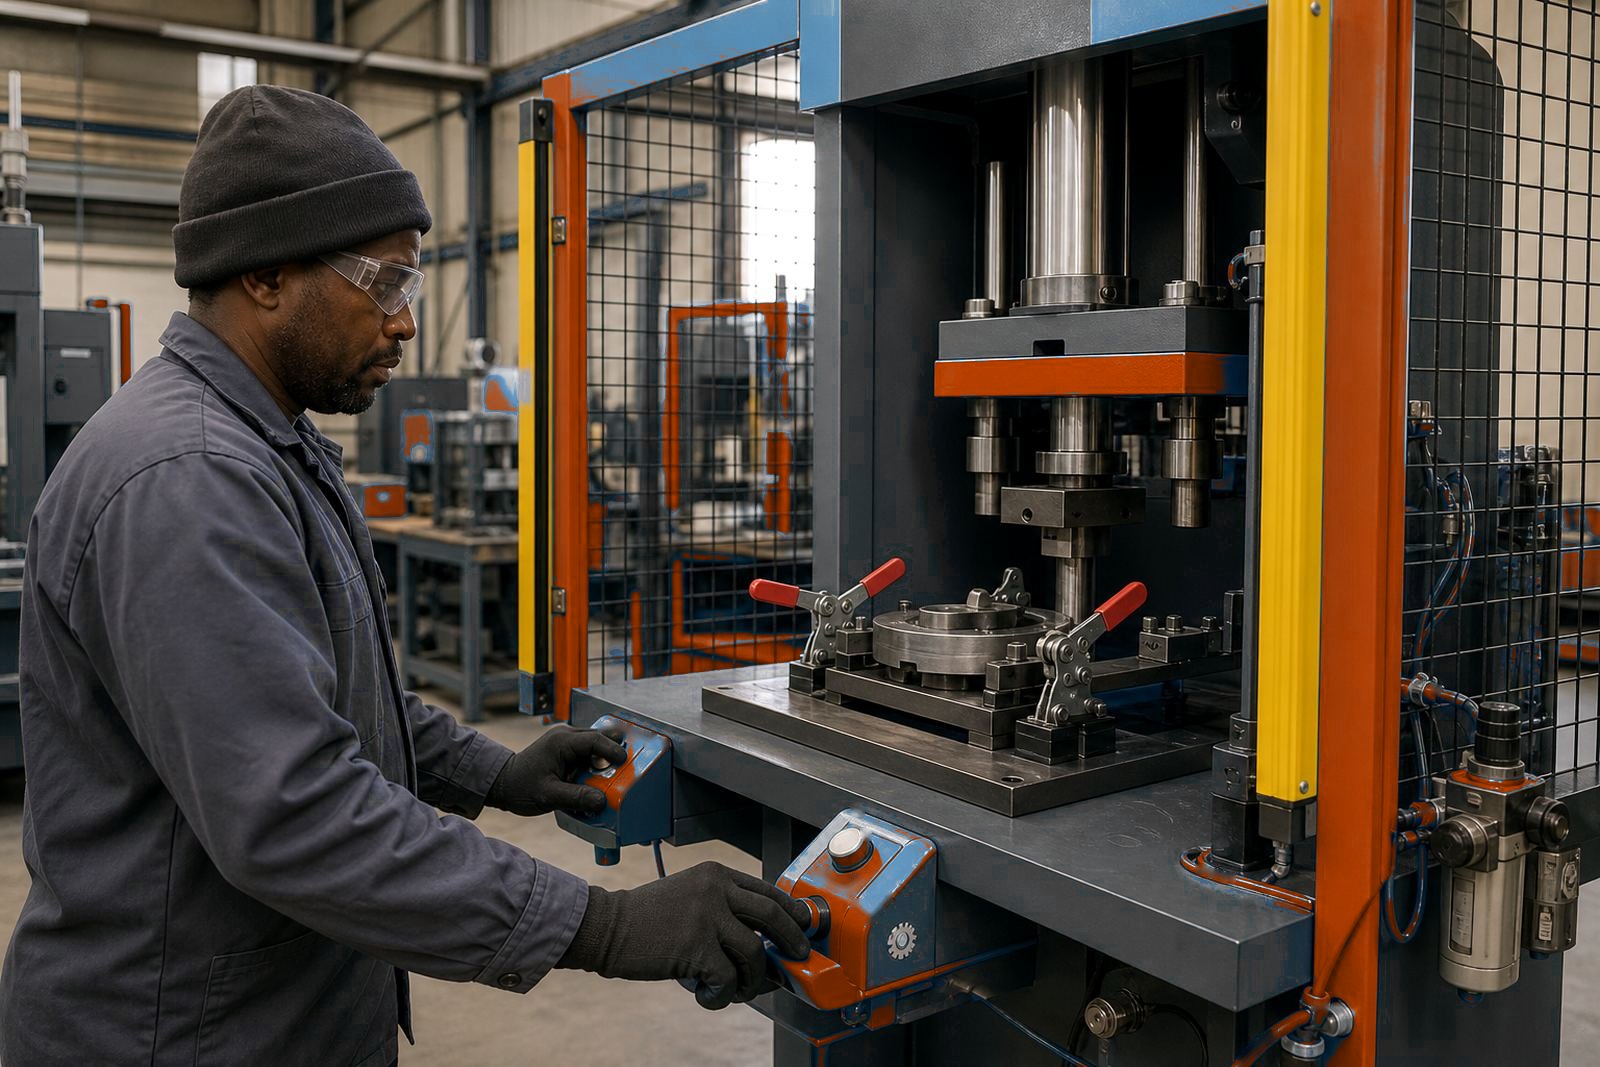
Not every clamp suits every press. Some jobs need a simple hold-down that drops with the station. Others need side clamps to stop the part creeping across the jig. On heavier fixtures, a clamp may need a larger pad so it spreads the load instead of leaving a dent. The point is not to overclamp the work, but to keep it stable enough for the stroke to begin cleanly.
For pneumatic presses, the clamp and the cylinder need to work together. The air pressure has to suit the tool and the material, and the stroke has to stop at the right depth. If our clamp is not tight enough, the part can shift during pressing. If it is too aggressive, the clamp can distort the work before the press even starts. We size the fixture around the part, then set the clamp action to match the cycle and the tooling.
- Hold-down clamps suit flat parts and light gauge sheet.
- Side clamps help with long profiles and narrow assemblies.
- Floating pads are useful where the surface is not perfectly level.
- Dedicated nests help repeat jobs keep the same orientation.
A Durban line with salty air and mixed parts
A plant on the Durban side once needed a press line for small assemblies that arrived with slight shape changes from storage and handling. The parts were not failing because the press had no force. They were failing because they were entering the station at a slight angle, which left the rivet head uneven and the seal line inconsistent.
The fix was not a heavier press. It was a better hold-down sequence. The clamp brought each piece into the same start point, then the tooling did its work with a controlled stroke and a clean release. That same logic helps in coastal areas where humidity can affect handling and where parts move around more than the drawings suggest. When the clamp is right, the operator spends less time nudging the part and more time feeding the line steadily.
Where two-hand controls and light curtains fit in
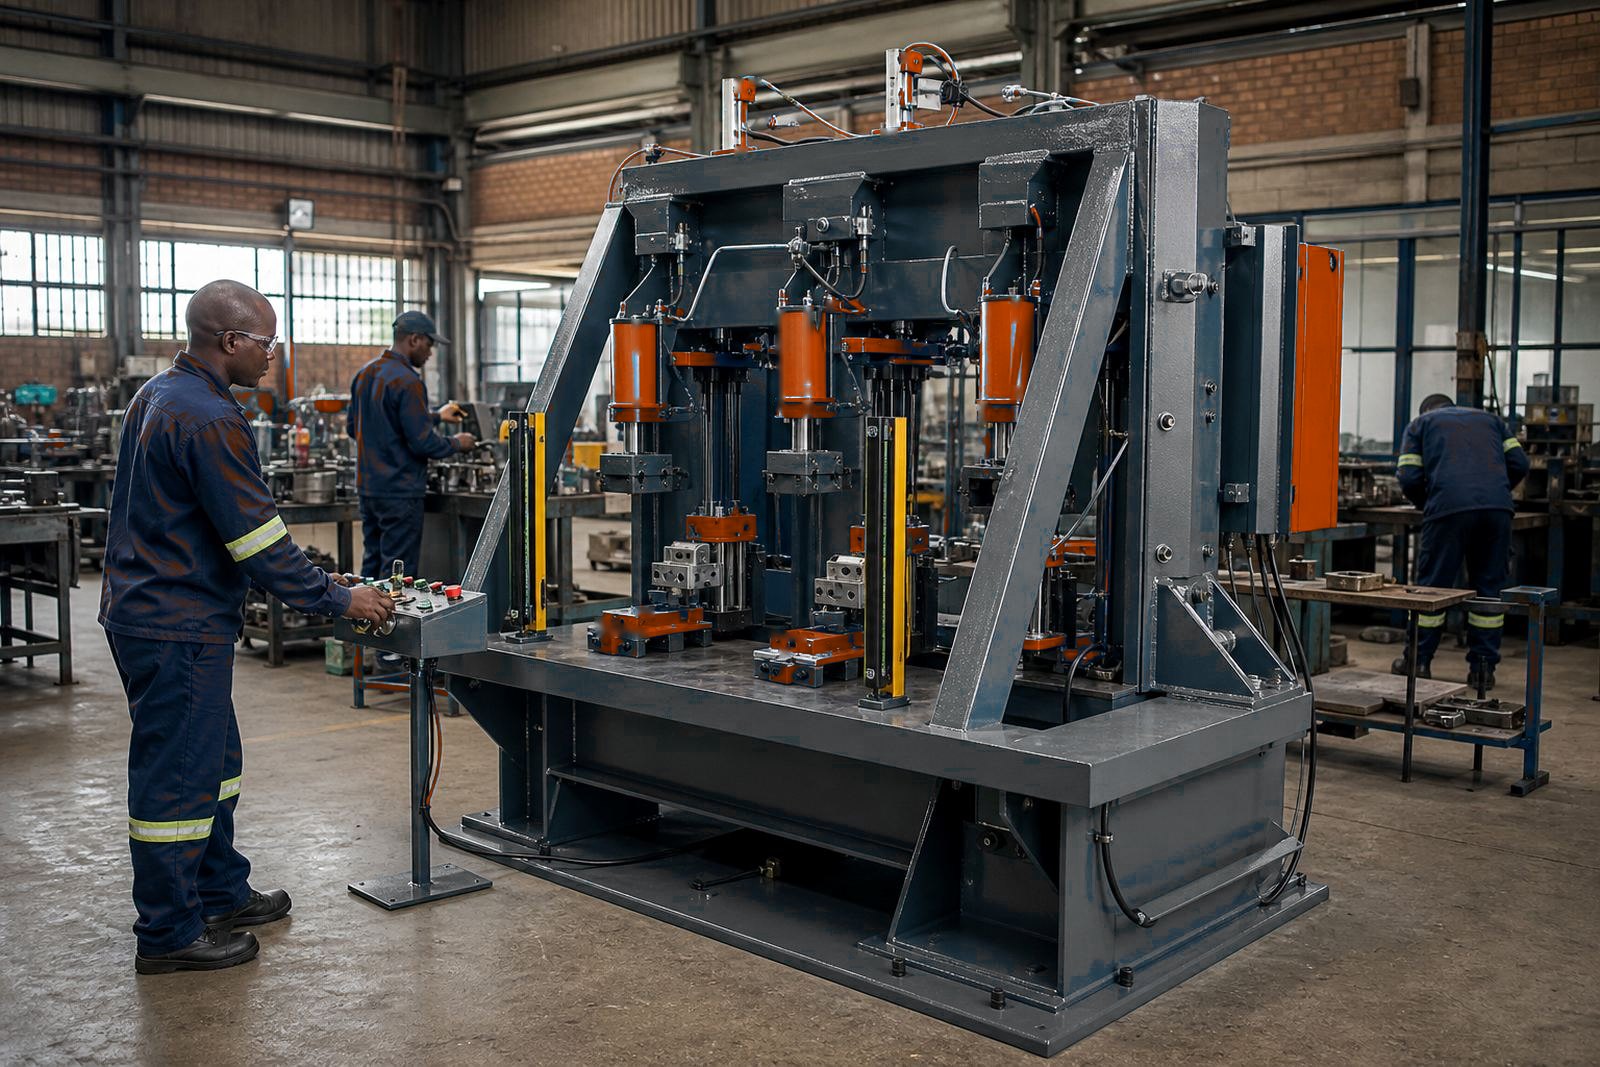
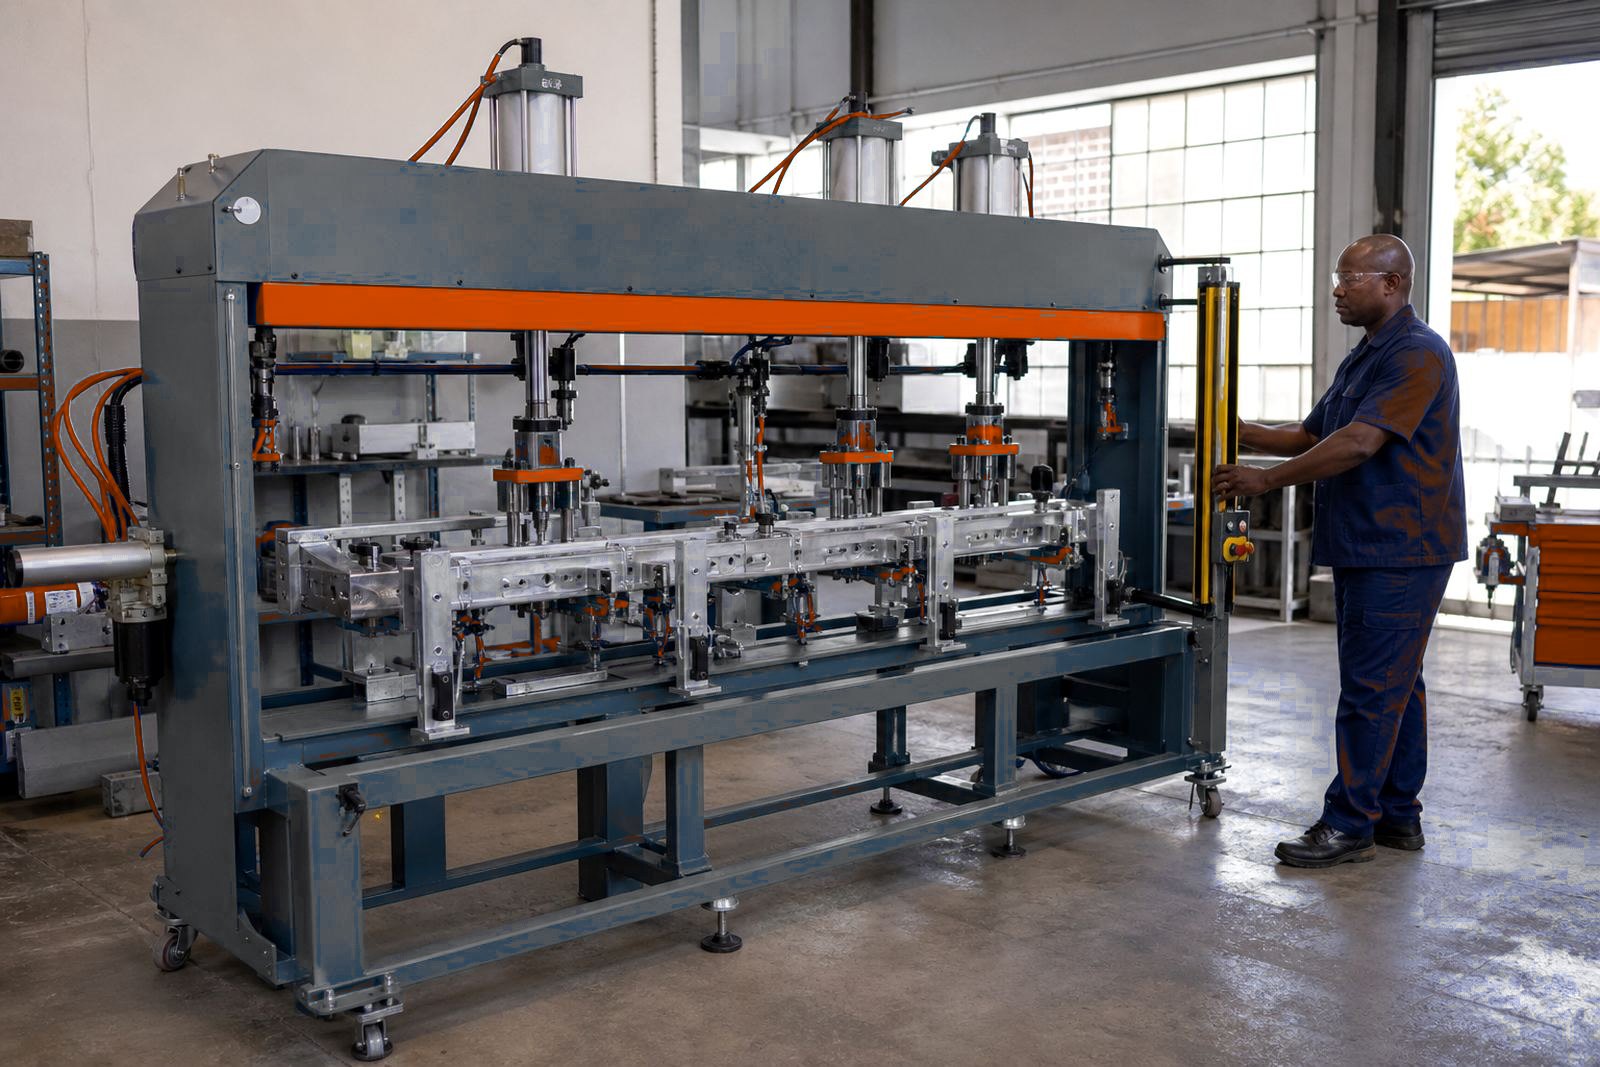
Clamps also influence operator safety and station layout. Where the press uses two-hand controls, the part needs to be settled before the cycle starts so the hands stay clear while the cylinder comes down. Where light curtains are part of the guarding, the loading method still has to suit the opening and the reach into the station. That means the clamp position, tool access and operator stance all need to be planned together.
Guarding is a legal requirement, not a box to tick. It changes how the job is loaded, how the clamp is reached and how the tooling is changed during production. On a busy floor, a clamp that is easy to clean, set and inspect saves time during tooling changes and makes production handover far less awkward.
What our workshop checks before clamp design goes out
Our Isando team looks at the part, the press stroke and the production pace before a clamp is built into the fixture. Musa works on the tooling side, Johan in the workshop watches the fit-up, and Lerato checks that the station can be commissioned and run without the operator having to force the part into place. The aim is a clamp that supports the job rather than getting in the way of it.
- Part orientation and how the load sits in the nest.
- Where the force should land during the stroke.
- Whether the clamp must hold before, during or after press contact.
- How the operator loads the part without reaching into danger.
- What changes when the tooling is swapped for another product.
In the end, the clamp is part of the process. On a multi-station pneumatic press, a steady start is what lets assembly, crimping, riveting and pack sealing finish the way they should.
When the clamp is doing its job properly
You know the clamp is working when the part sits the same way every cycle, the tooling meets the work squarely and the finished piece does not need extra sorting at the end of the line. There is less strain on the operator, less wear on the tooling edges and fewer small variations that turn into bigger scrap later.
For factories in Johannesburg, Pretoria, Kempton Park, Boksburg, Durban, Gqeberha and East London, that consistency matters on lines that cannot afford sloppy loading. The press should be doing the pressing. The clamp should be doing the steadying. When those two jobs are kept separate, the station runs with more control and less fuss.