Start With the Press Layout, Not the Hose Coil
A clean routing plan starts at the machine frame, the cylinder ports and the valve positions. When hoses are cut to a sensible length and carried in a direct path, there is less rubbing on guards, less pull at fittings and fewer awkward bends near the tool area.
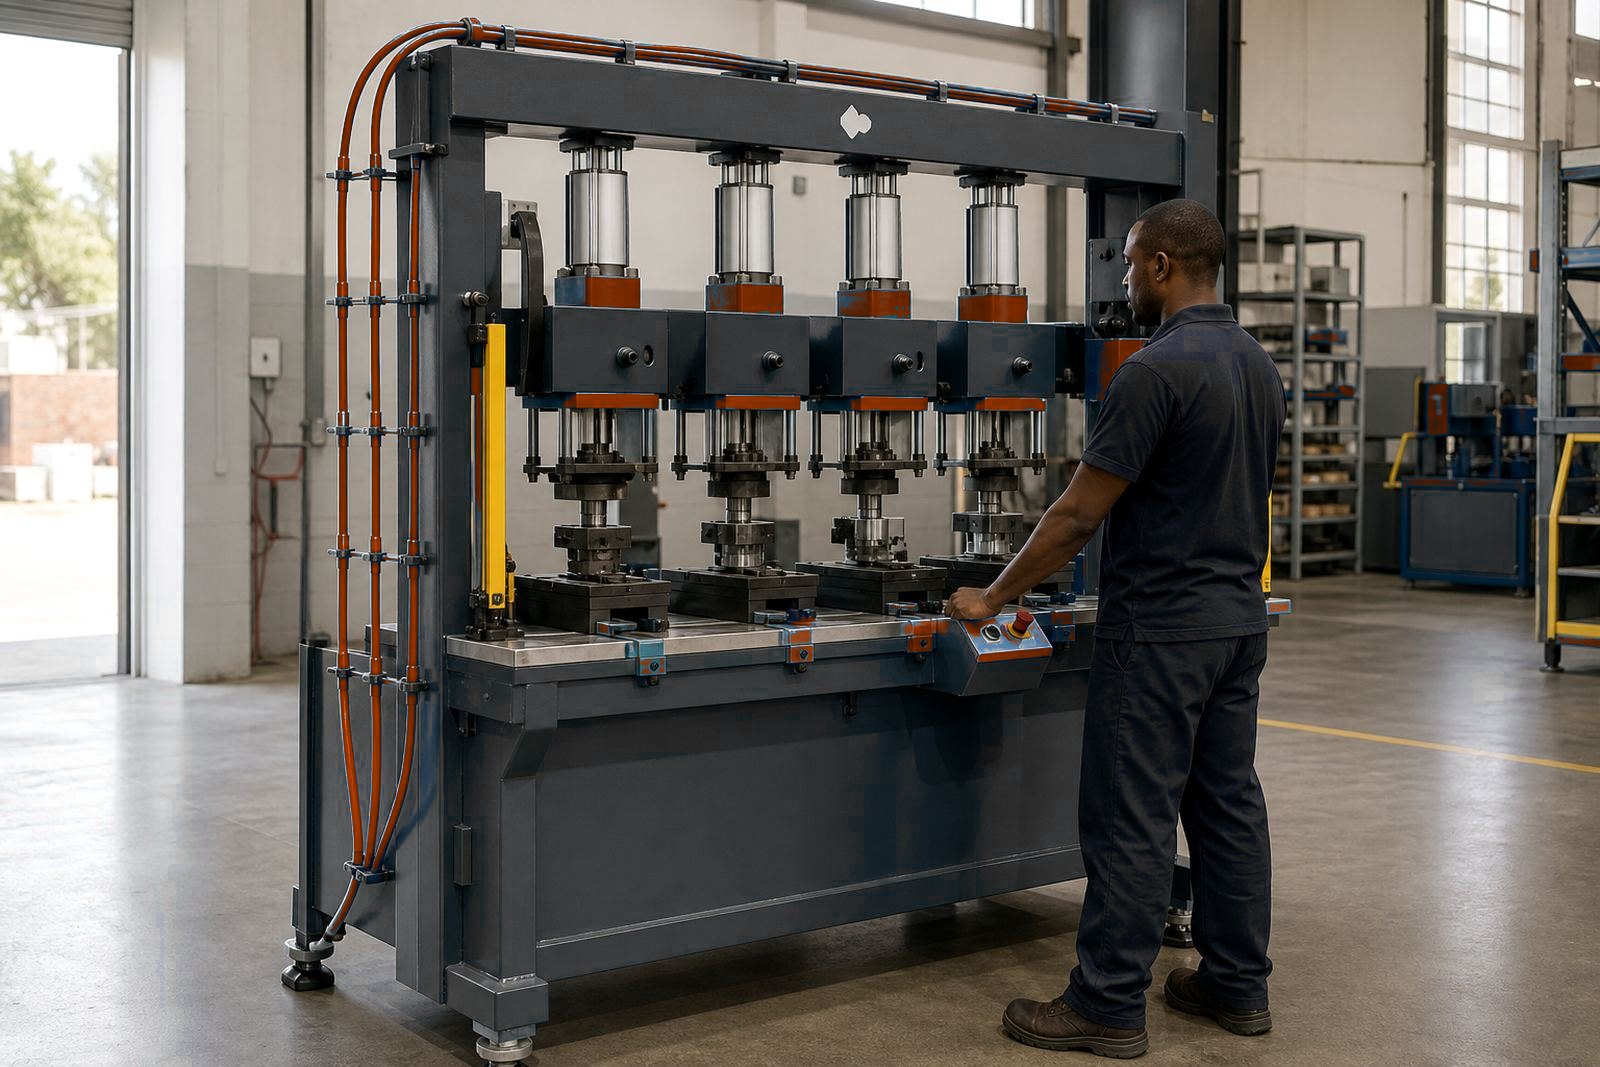
On a multi-station press, each cylinder can move slightly differently from the next. The route has to suit the stroke, the opening height and the way the tooling sits in the station, otherwise a hose that looked fine on the bench can tighten once the ram reaches full travel.
- Keep each hose run as short as the layout allows.
- Leave gentle bend radius at every turn and clamp point.
- Allow movement for the press stroke without dragging on fittings.
- Keep hoses clear of clamping faces, guides and moving guards.
Keep Air Lines Off Edges, Heat and Moving Steel
Pneumatic hose does not like sharp steel edges, constant vibration or repeated contact with hot or oily surfaces. On a production line, that kind of contact wears the outer cover first, then the braid or reinforcement, and the failure usually starts where people do not look often enough.
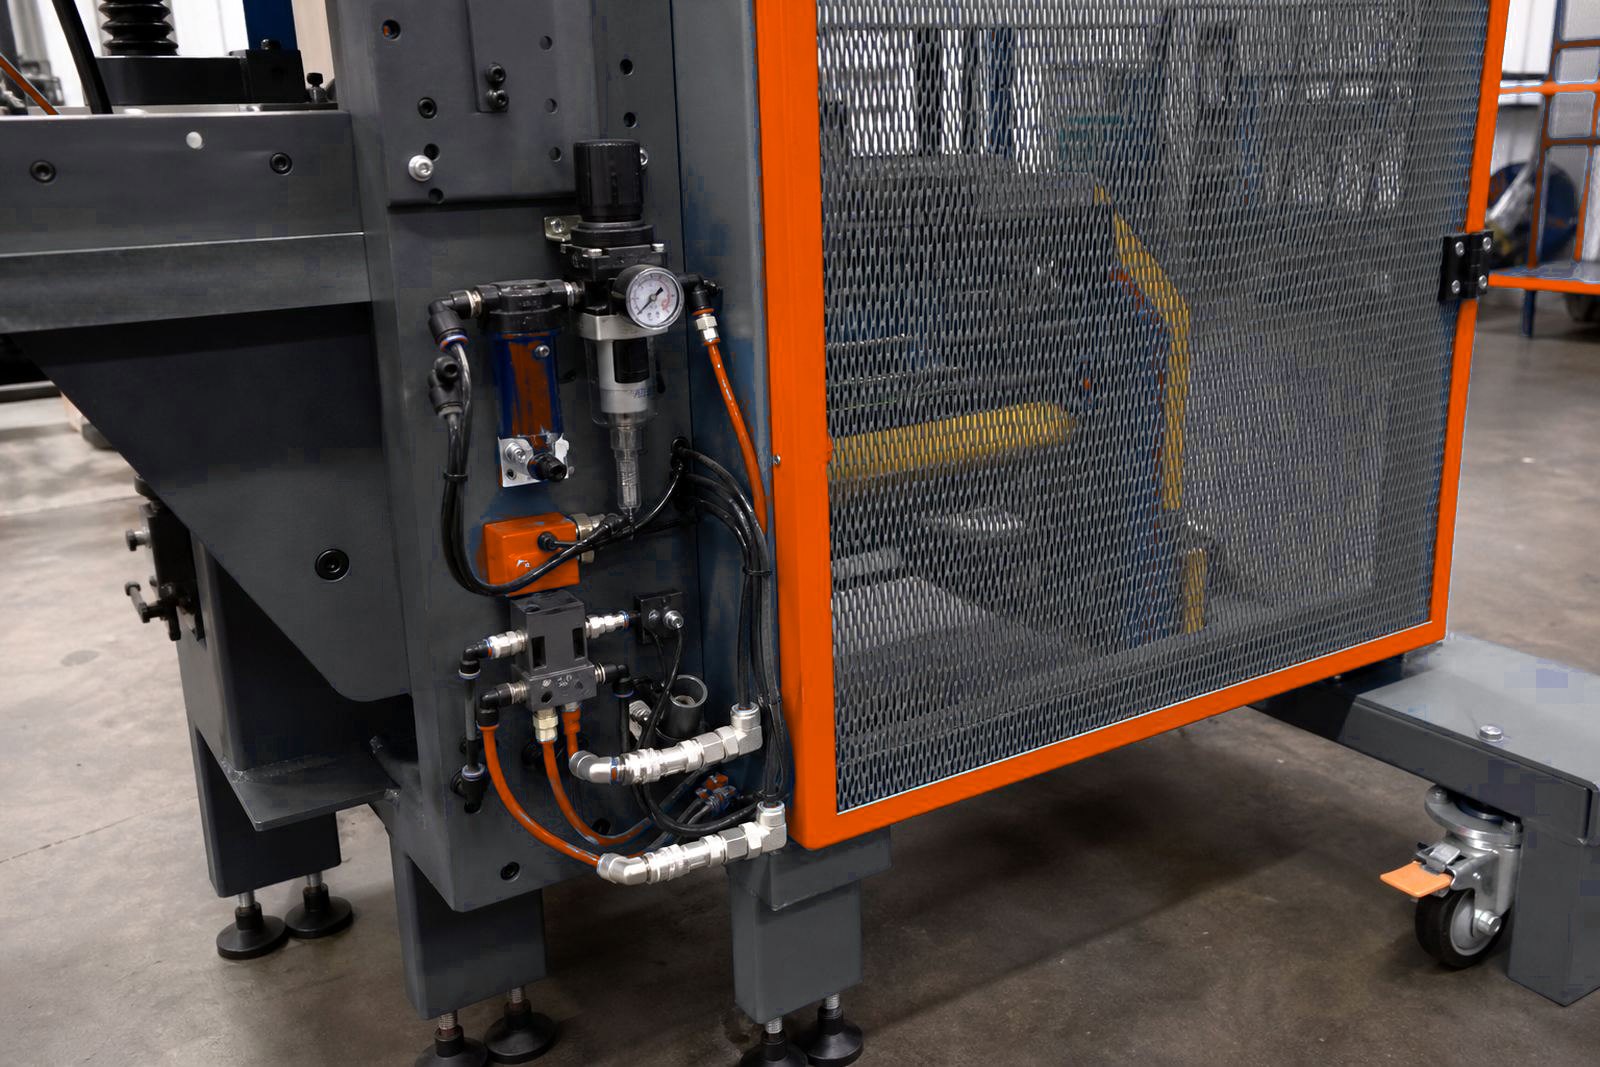
Route lines through protected channels where possible, then secure them with proper clips or saddles so they do not flap about during cycling. A line that rests against a machine edge may hold for months and then split at the wrong moment, usually when the shift is under pressure and the station is busy.
In Isando, one packaging line had hoses snaking across the front of the press frame because the original route was rushed. The work zone looked untidy and the operator had to work around loose lines during every cycle. After the line was lifted, clipped and shielded along the frame, the front of the press opened up and the service points were easier to reach.
- Avoid routing over bracket corners and raw cut plate edges.
- Keep hoses away from pinch points near tooling and guards.
- Use support points that stop sagging between stations.
- Replace any line that shows scuffing, flattening or cracking.
Plan for Tool Changes and Station Access
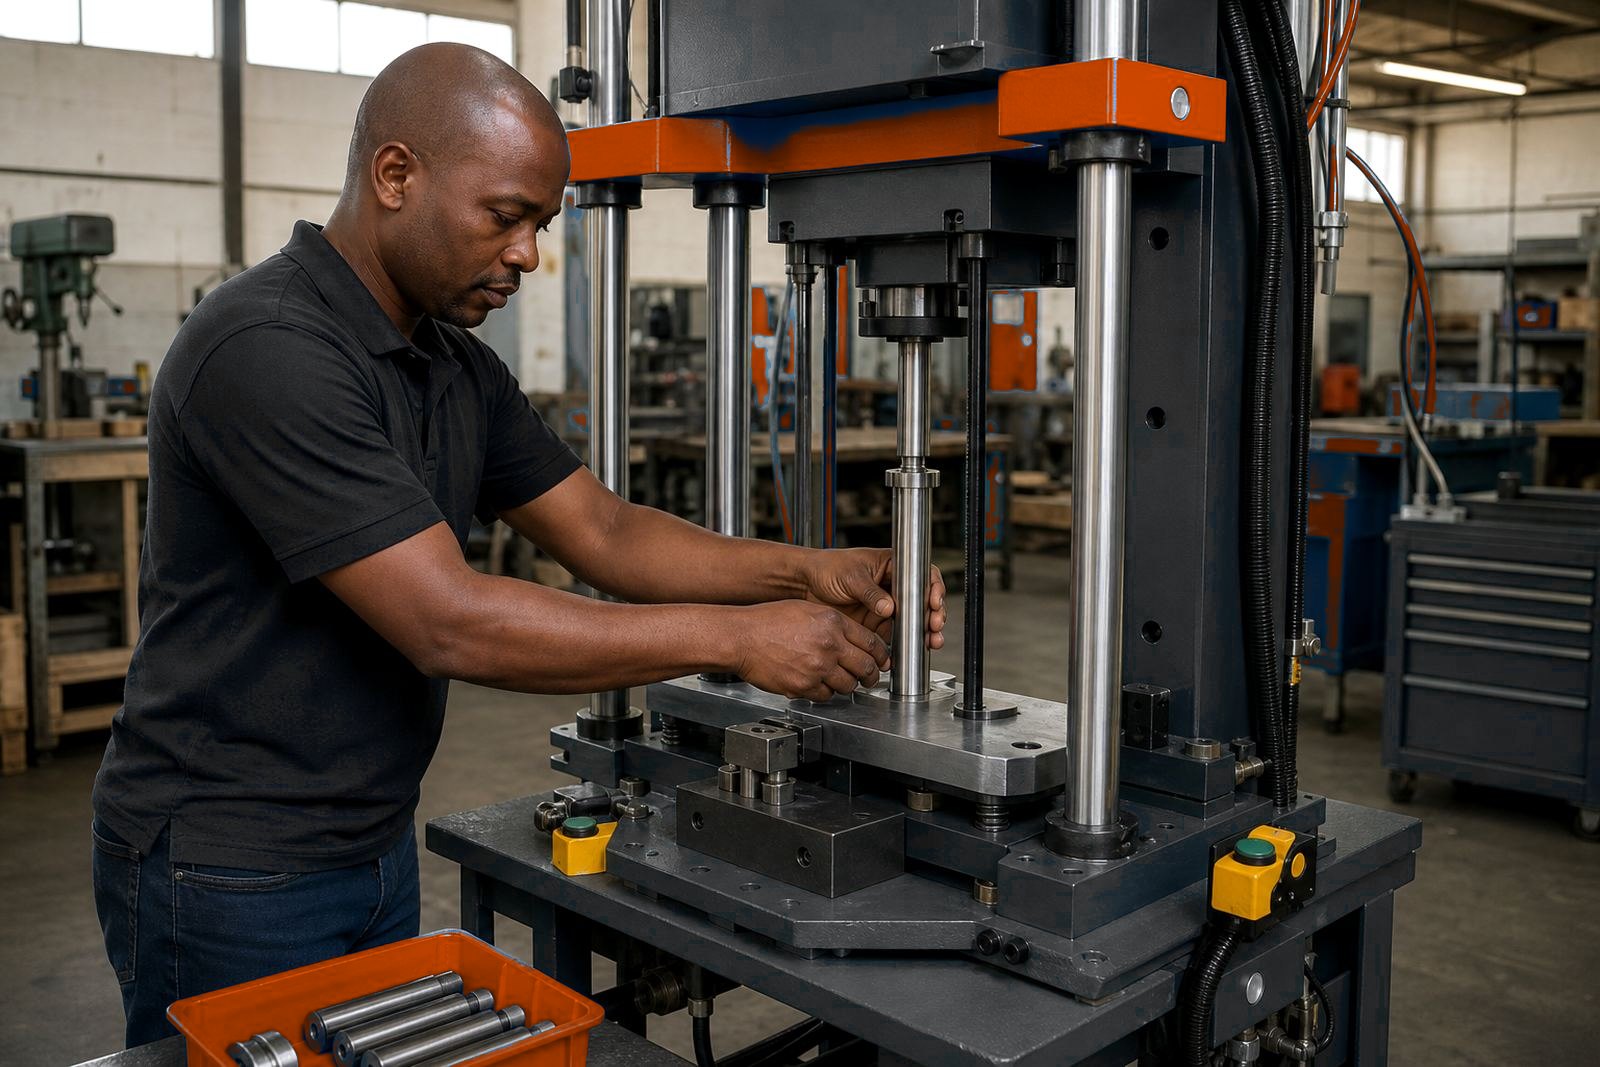
Tooling changes are where poor routing shows up fast. If the hose route blocks access to the die set, the clamp points or the quick release couplings, the changeover takes more handling than it should. That extra handling often leads to twisted hoses, damaged threads and fittings that are tightened too hard.
Multi-station presses need enough slack for the tooling to be removed and refitted without forcing the hose to follow the motion of a wrench or lifting hook. A neat loop, placed where it can move without snagging, usually works better than a hard straight line forced through tight steelwork.
- Leave service access around tooling and adjustment points.
- Position couplings where hands can reach without leaning into the station.
- Mark hoses that belong to each cylinder or valve position.
- Keep spare length controlled, not bundled into a messy coil.
At commissioning stage, it helps to watch a full cycle with the guarding open where safe and allowed, then again with the normal guarding in place. That is when a line that looked harmless can be seen brushing a guide, stretching across a sensor or dropping too close to the work face.
Use Clamping and Protection That Match the Environment
Good routing is not only about where the hose goes, it is also about how it is held. In a factory with vibration, dust and frequent cleaning, weak clips loosen and cheap ties cut into the hose cover. Stainless or coated support hardware is often used where humidity, wash-down or coastal air makes corrosion a real issue.
South African plants around Johannesburg, Pretoria and Ekurhuleni often run mixed batches and fast changeovers, so the hose path must be practical for the workshop team and still stay tidy under production use. A route that works in a quiet mock-up can fail once operators move quickly around the press and the floor becomes busy.
Where a line crosses a moving section, a sleeve or protective wrap can help, but it should never hide a poor route. Protection is there to add life, not to excuse a hose that was laid across a contact point in the first place.
- Use proper clips, saddles and brackets instead of loose cable ties alone.
- Keep hardware spacing even so the hose does not sag between supports.
- Add protection where vibration or sliding contact cannot be avoided.
- Check fasteners during scheduled maintenance and after tooling work.
Press Setup Details That Shape the Hose Path
The hose route is influenced by air pressure, cylinder size, stroke length and the way the control system is arranged. A press set for a short stroke with light tooling can use a simple path, while a deeper stroke or a heavier station may need more clearance and a better shaped loop to keep the line free during travel.
Two-hand controls and light curtains also shape the route because the front of the machine has to stay clear for the operator. If hoses cross the front opening, they can interfere with view lines, create a snag point or sit where the hands and eyes need an open approach to the job.
For pack sealing, crimping, riveting or staking, the air circuit often has to respond cleanly and consistently from cycle to cycle. That makes the route important from the valve block all the way to the cylinder, because a poorly laid line can add delay, flutter or repeated wear at the same bend.
Good routing supports the press, but it also supports the person using it. A clean front face, clear foot space and tidy side runs make daily work easier and reduce the chance of someone kicking or trapping a line while loading parts.
A Straightforward Checklist for Workshop Teams
A practical hose check does not need special drama. It just needs eyes on the route, hands on the fittings and enough time to trace each line from end to end. When the routing is checked in the same way each time, small problems are easier to spot before they become downtime or a line burst.
- Trace each hose from fitting to fitting and check the full path.
- Look for rubbing marks, soft spots, cuts and flattened bends.
- Confirm the hose clears the full press stroke with guards in place.
- Check that the operator can load parts without brushing the lines.
- Test after a tooling change, a guard change or a station adjustment.
At MultiPress, hose routing is usually handled within the wider press setup. That means the line is considered alongside the tooling, guarding, two-hand controls and air line setup, so the press can run with less clutter and fewer surprises in the work zone.
For a factory in Gqeberha or East London, the same detail matters in humid conditions, where fittings and brackets need extra attention and any loose line can pick up wear faster than expected. The fix is rarely complicated, but it does need discipline at the workshop bench and during commissioning on site.