Where a small fault turns into a larger one
On a multi-station line, each station depends on the last one being right. A part that is slightly out of position, lightly cracked or not fully formed can still look acceptable at the first stop, then fail the moment the next cylinder comes down. That is where an inspection point earns its place.
In practical terms, the check sits between stations and gives the operator a chance to confirm position, surface condition, hole location or formed height before the next stroke. It is not there to slow the line for the sake of it. It is there because a bad part in station one usually becomes a scrap part by station three.
- Misfeeds can be caught before tooling closes on the wrong position.
- Cracks around a formed area can be seen before they spread.
- Loose rivets or weak crimps can be removed from the line early.
- Stacked tolerances become easier to manage on busy shifts.
What an inspection point usually checks
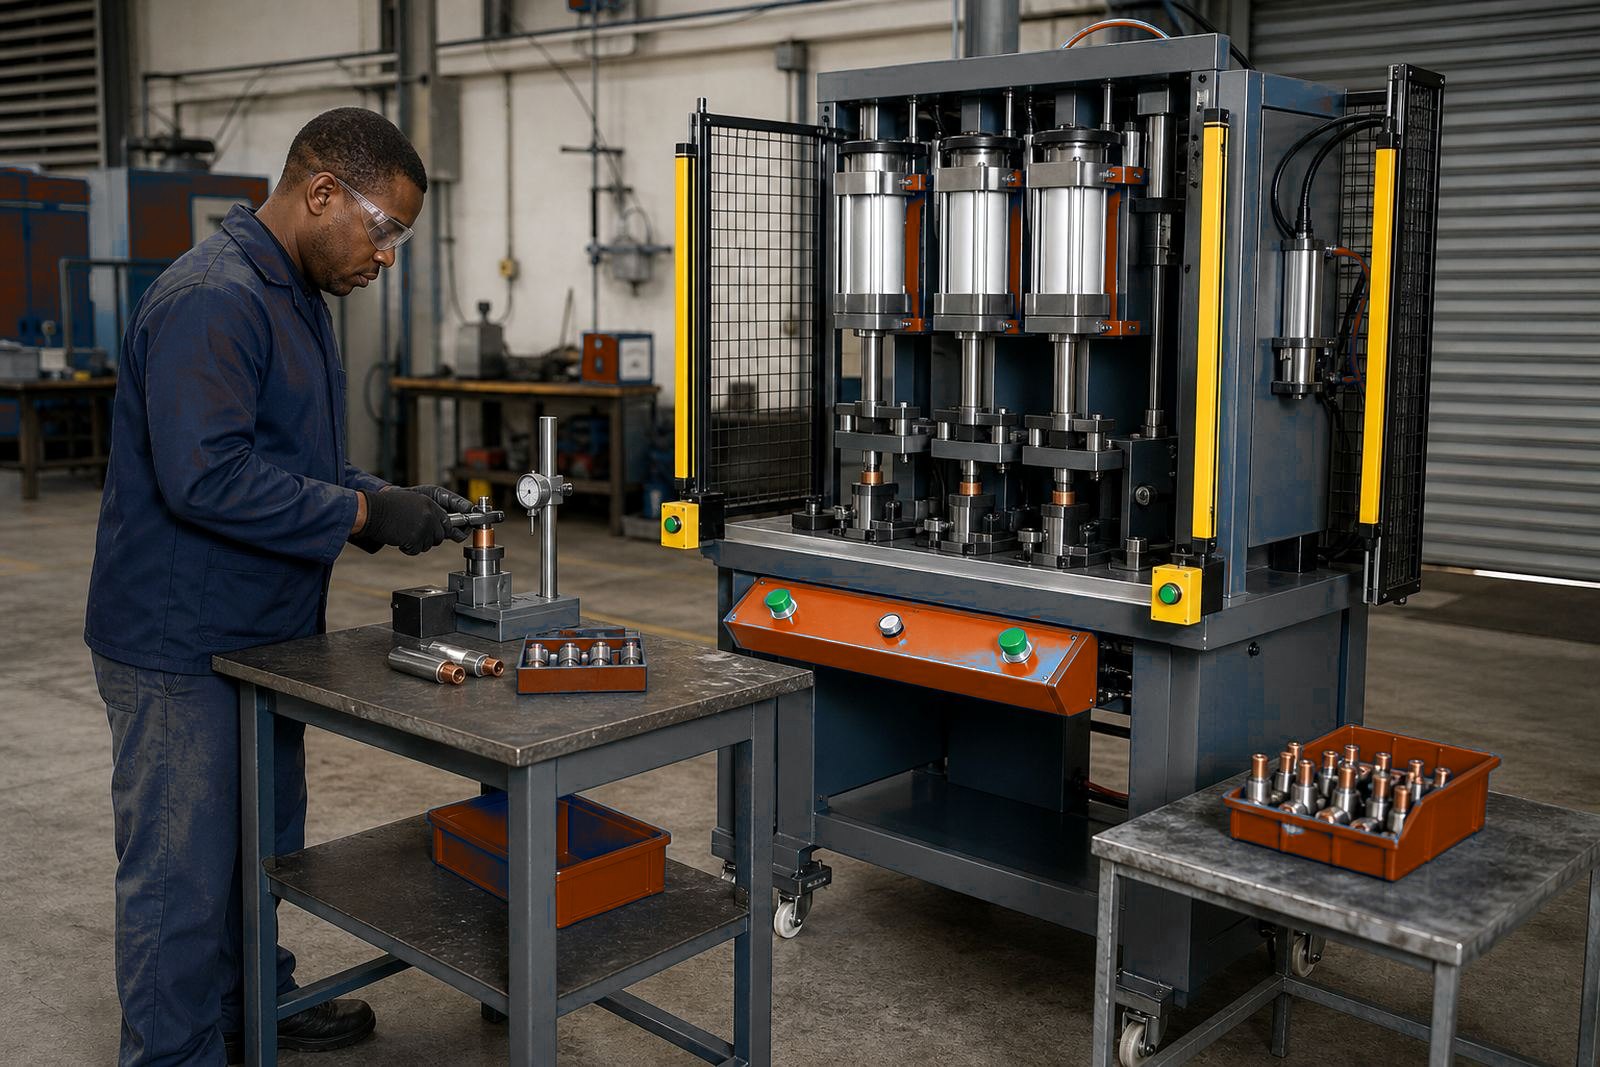
The inspection step depends on the job, the stroke and the tooling layout. On some lines it is a visual check, on others it is a gauge, a probe or a simple go no-go fixture. In pack sealing work, for example, the station between presses may be where seal height, fold position or edge alignment is checked before the next close.
For assembly, crimping, riveting or staking, the check may include depth, position, part seating and whether the material has moved during the cycle. With pneumatic presses, the air pressure and stroke length need to stay consistent, because a short stroke or uneven pressure can give a part that looks formed but is not fully secure.
- Part seating against the fixture face.
- Crimp depth and fold shape.
- Rivet upset and retention.
- Stake height or collapse point.
- Seal line position on pack work.
How the station fits into the press layout
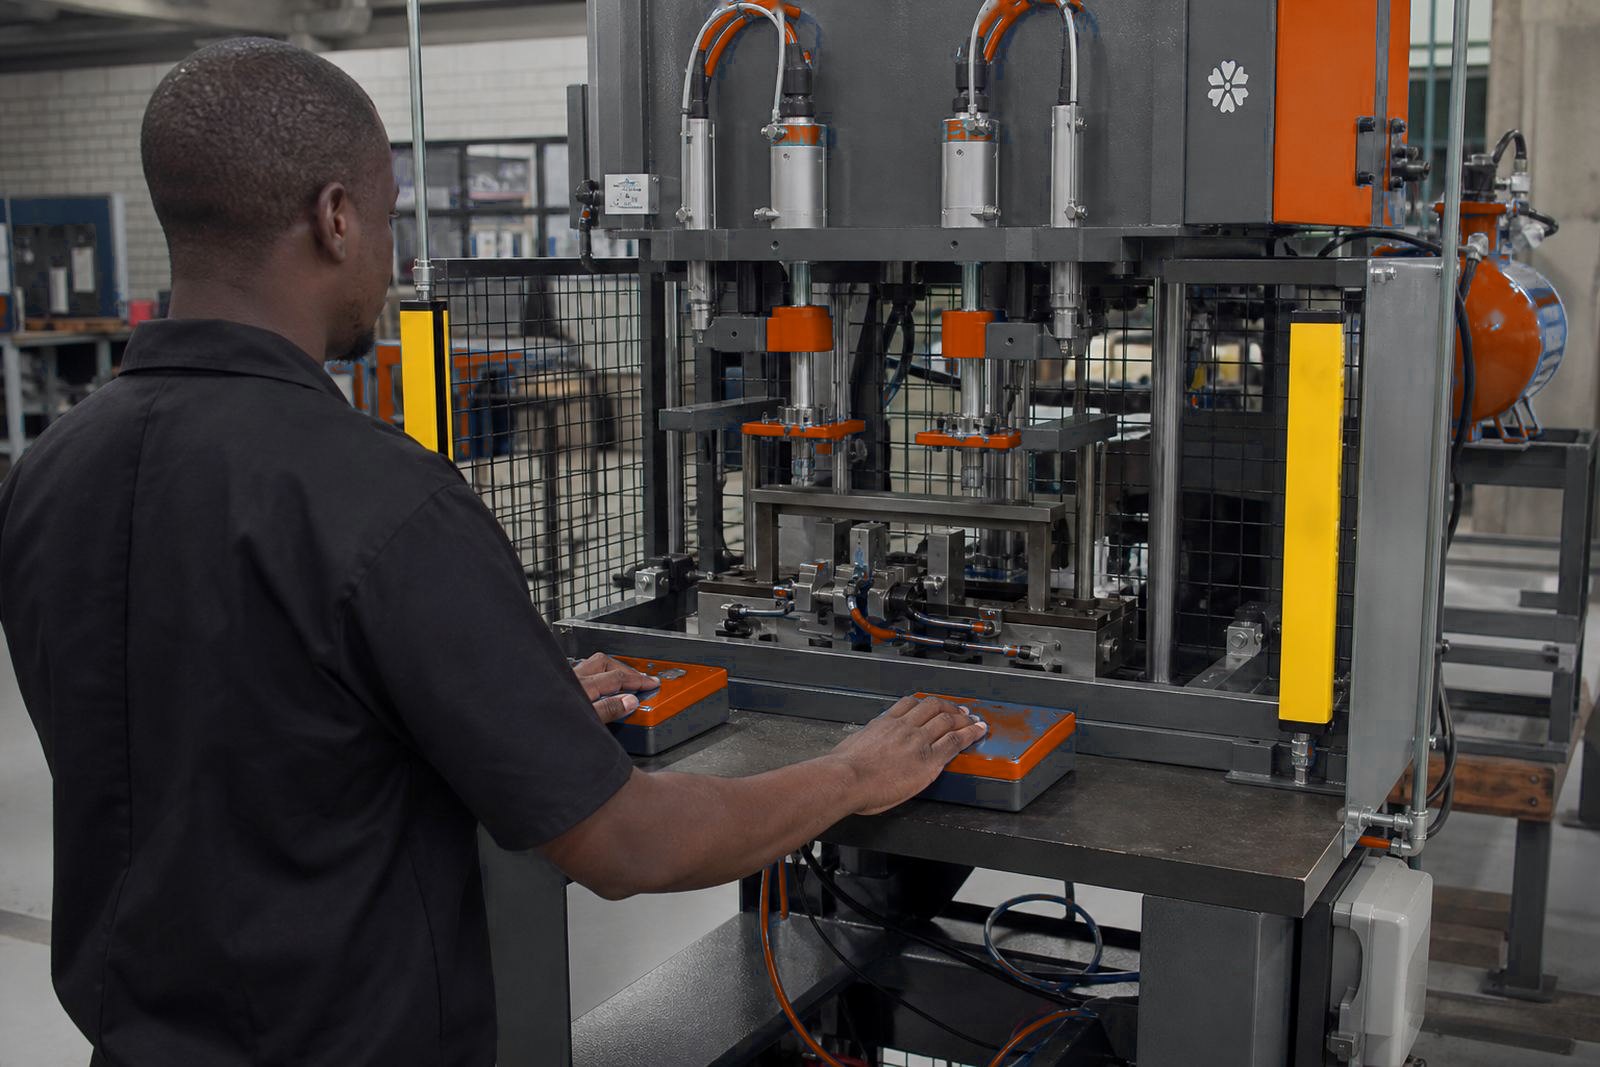
An inspection point is only useful if the line is built around it. If the transfer between stations is awkward, the operator may rush the check or skip it when the queue builds. That is why station spacing, guarding, two-hand controls and part presentation matter as much as the inspection itself.
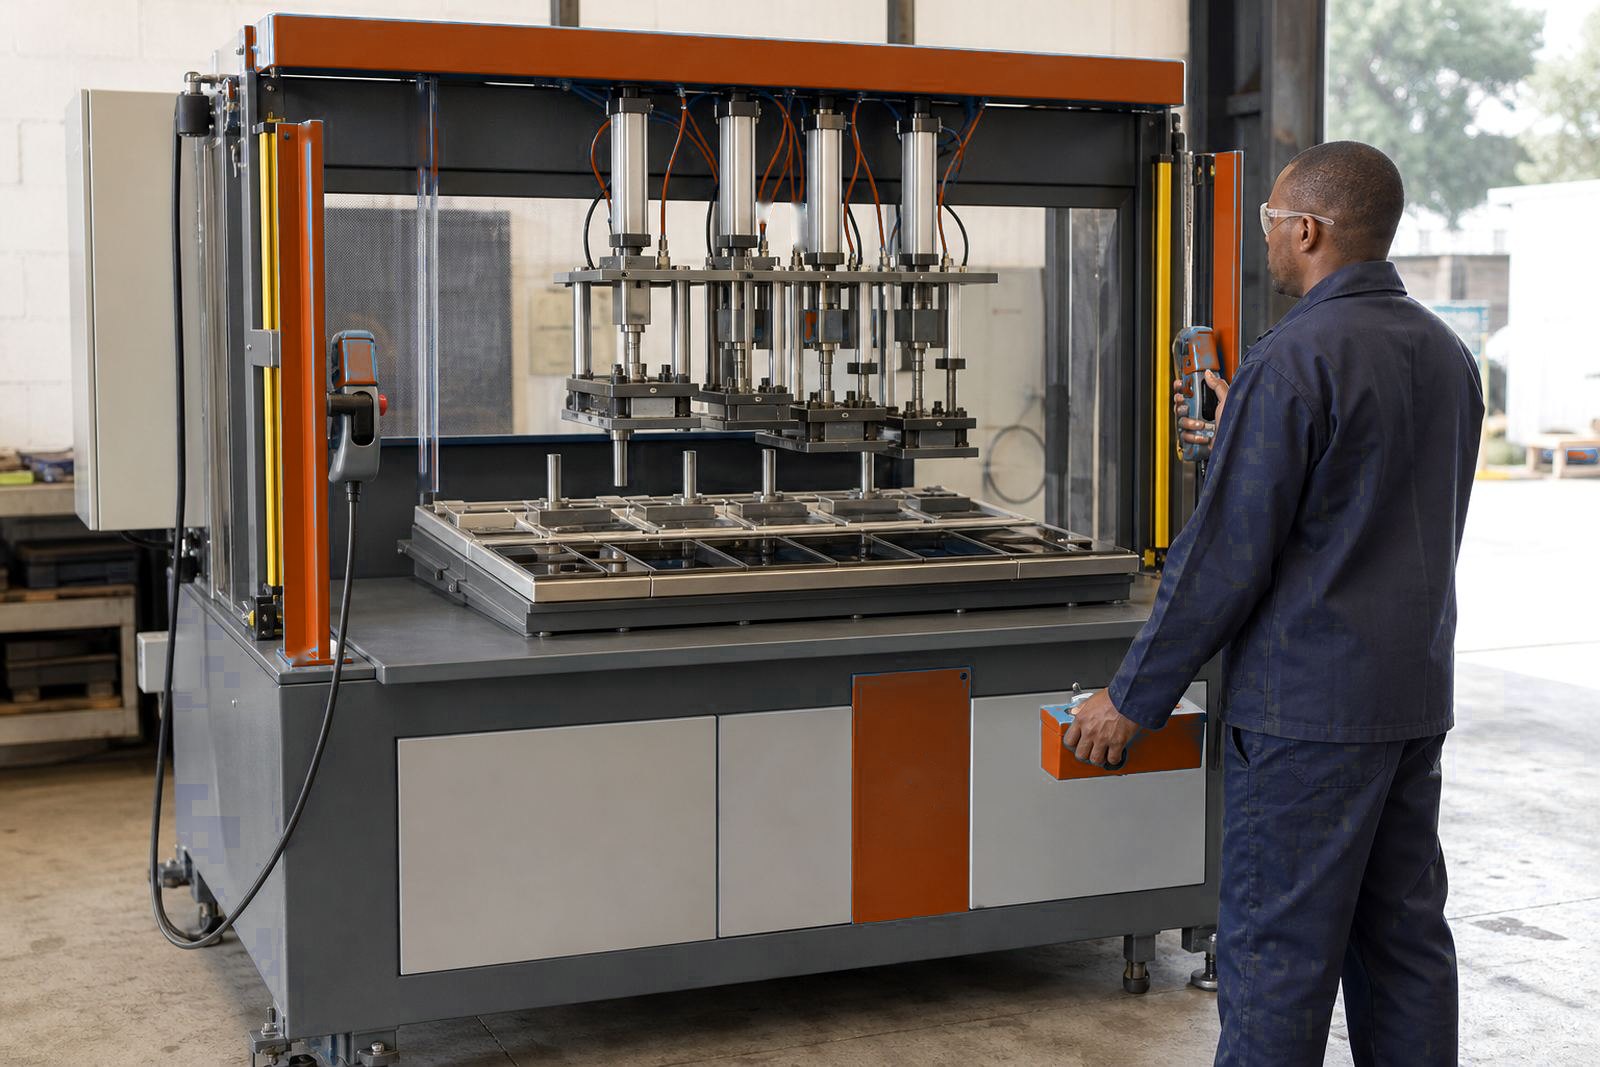
In a well-planned layout, the press, the tooling and the inspection position work together. The part enters, the cylinder performs the operation, the check happens, then the next station receives a part that has already been verified. On taller fixtures or wider frames, a light curtain may be a better safety answer than open access, especially where hands need to move near the working area for gauging or part removal.
At a workshop in Isando, a line may be built for repeated forming on small brackets while the inspection point watches for drift in the locating pins. In Durban, the same idea might be used for pack sealing where humidity and handling can affect the material feel, so the middle check catches a seal that has not taken properly before the next close.
Tooling, guarding and operator habits
An inspection point works best when the tooling makes the check easy to do. If the operator has to lift a part awkwardly or guess at the gauge position, the result will be uneven. Good fixture design gives a clear seat, a clear reading and a clear reject path.
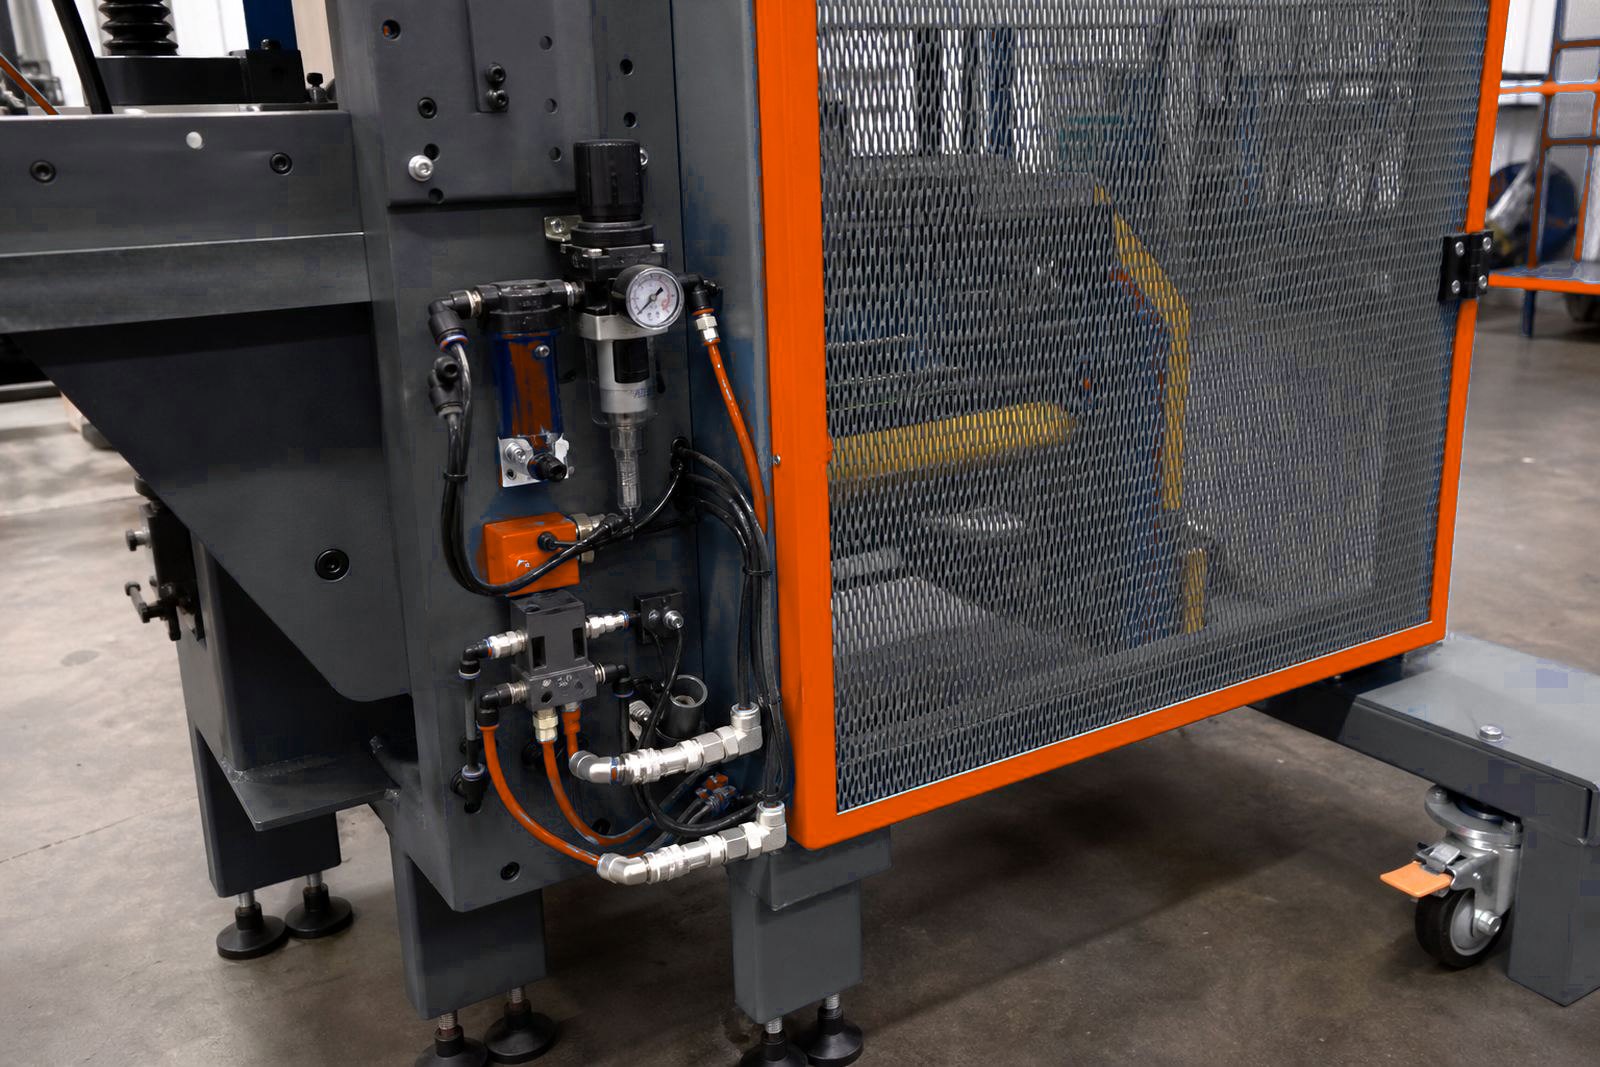
Guarding also has a role. If the area is too open, the urge to reach in and correct a part by hand becomes a risk. If it is too closed, the station becomes hard to use and the check gets skipped. The right balance depends on the stroke, the air pressure and the speed of the line.
- Tooling should hold the part in the same way every cycle.
- Guards need to protect fingers without blocking sight lines.
- Two-hand controls should suit the operator position, not fight it.
- Light curtains suit some layouts better than fixed barriers.
Ekurhuleni assembly line with crimping and staking
Consider a small assembly line in Ekurhuleni making pressed sub-assemblies for a larger factory in Johannesburg. Station one locates the part, station two performs a crimp and station three stakes a fastener. Between station two and three, an inspection point checks that the crimp is even and the fastener has seated fully. Without that check, a weak crimp can move into staking and split the material.
That sort of layout is common where parts are handed from one operation to the next under steady production pressure. Our inspection point need not be complex. A visual mark, a gauge block or a sensor-confirmed position can be enough. What matters is that the team knows exactly what must be true before the next cycle starts.
When the line moves between Isando, Kempton Park and Boksburg during commissioning, the same problem tends to show up in different clothing. The part is not always wrong in the same way, but the cost of missing it is always the same: waste, rework and a longer clean-up at the end of shift.
Setting the check before production starts
Before a line is handed over, the inspection step should be tested with real parts and not only dry cycles. The station must match the part shape, the cycle pace and the level of skill on the floor. A check that works in a quiet workshop can fail when production speed rises.
During commissioning, it helps to watch the line with the people who will run it. They will spot the awkward reach, the hard-to-read gauge and the part that shifts in a way a drawing will never show. That is where stroke setting, air line setup and tooling changes can be refined before the job settles into daily use.
- Check the part flow with full tooling installed.
- Test the gauge or visual standard under normal lighting.
- Confirm reject handling so bad parts do not mix back in.
- Train operators on what must stop the line, and what does not.