Hand path first, press second
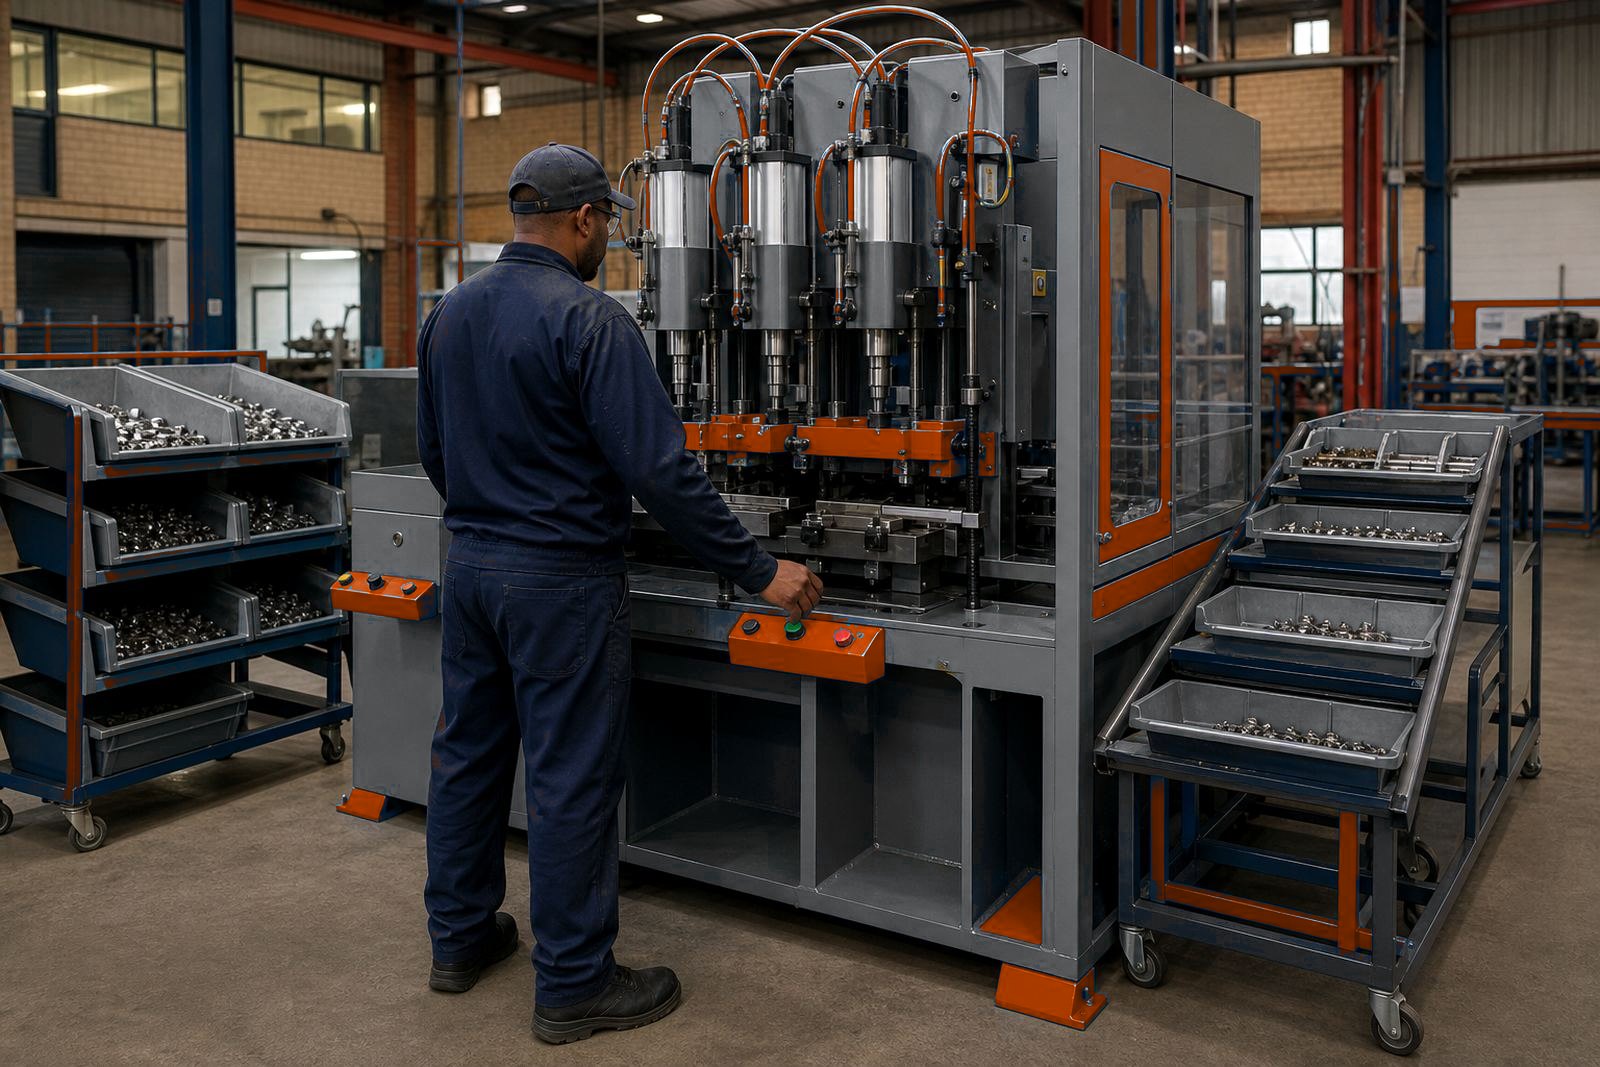
Manual loading starts with the movement of the hands, not the press frame. If an operator has to twist, reach across a sharp edge or guide a part through a narrow gap, the station slows down and the chance of a slip goes up. A good loading position gives clear access from the front, with enough knee and elbow room for a steady feed into the nest.
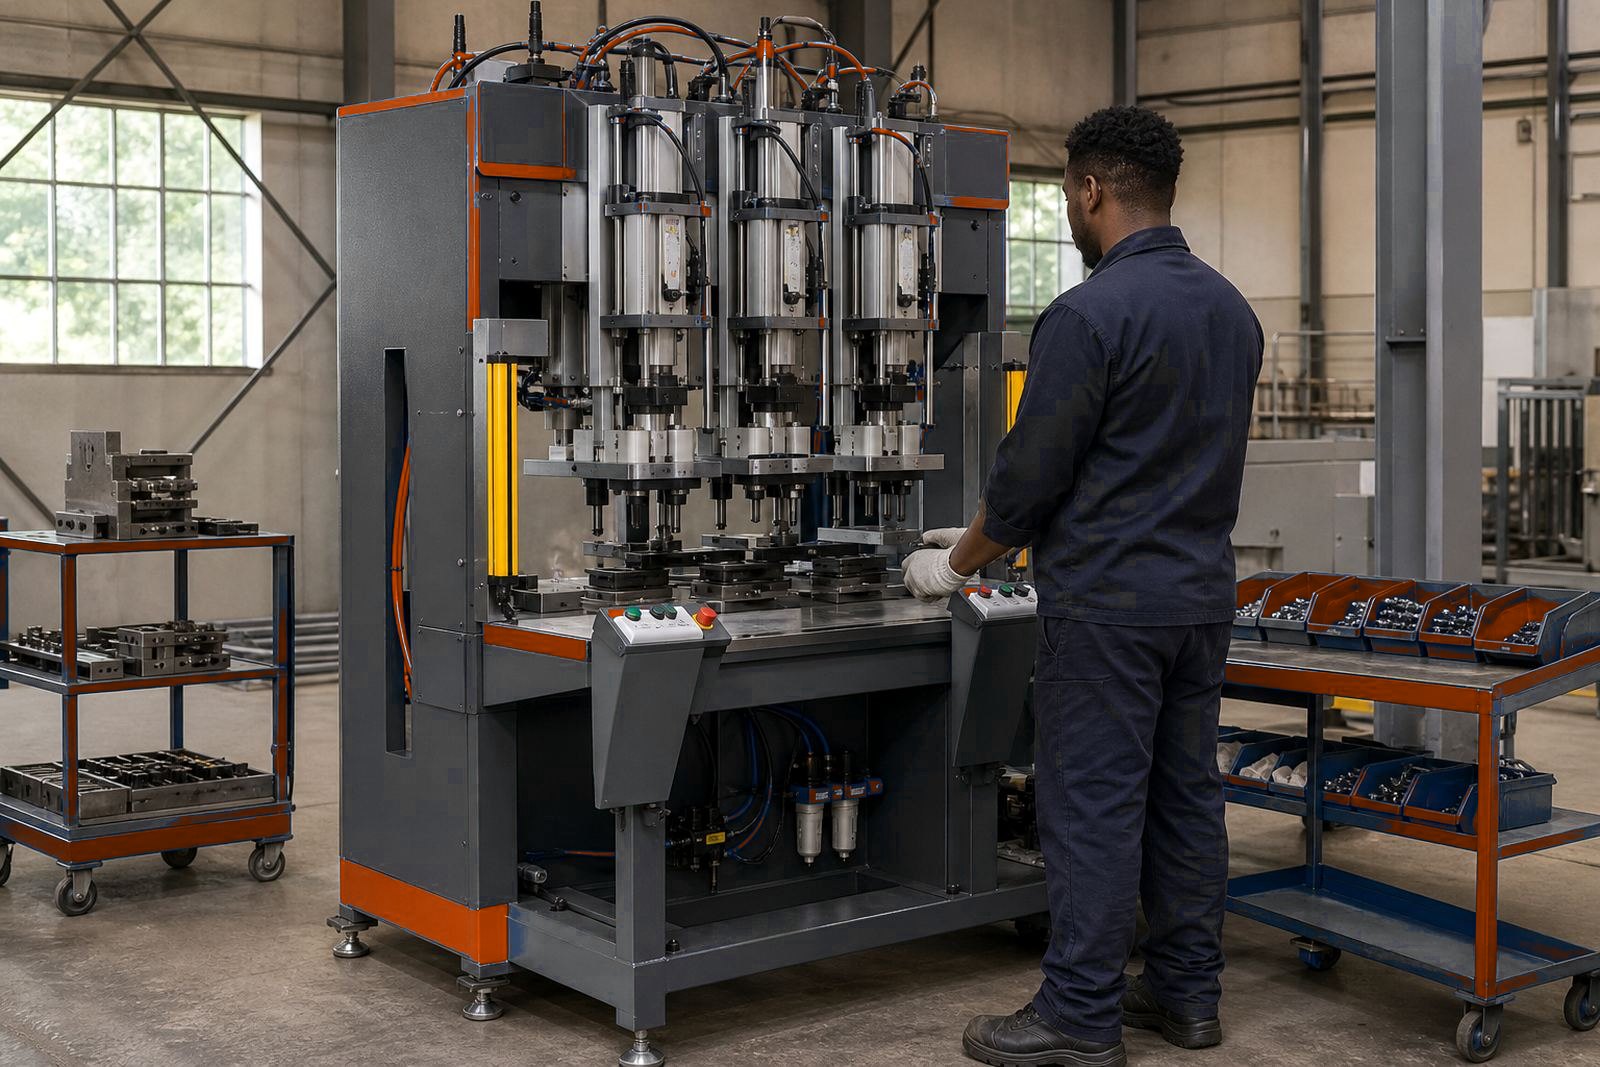
On a multi-station press, the loading side should match the way the part naturally sits in the tray or rack. Parts that arrive upside down, nested too tightly or with mixed orientation waste time at the station and invite mistakes. We often see better results when the loading face is kept simple, with one obvious entry point and no need for the operator to rotate the component in the air.
- Keep the load height near waist level where possible.
- Leave room for gloved hands and for visual checking.
- Avoid sharp edges at the loading lip and fixture face.
- Use guide pins or stops that make the part settle in one way only.
Stable fixtures stop the small errors
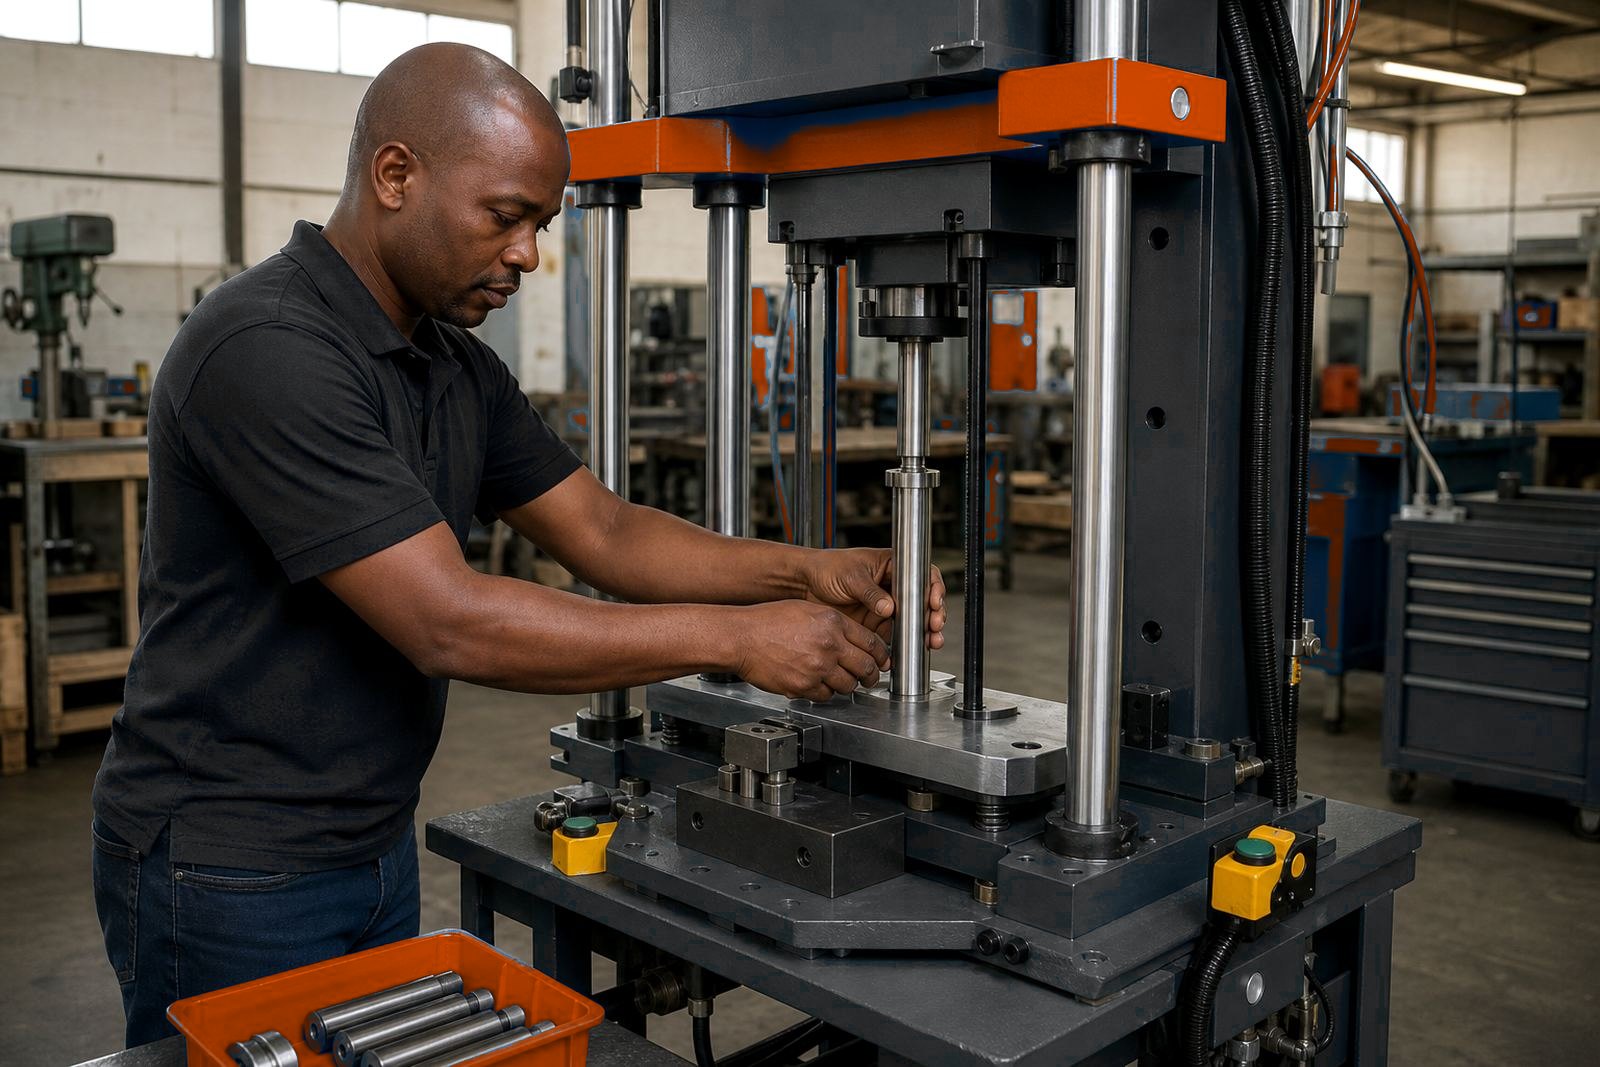
A manual load only works well when the fixture holds the part without moving under pressure. Pneumatic cylinders deliver force quickly, so even a slight shift at the start of the stroke can leave a crooked crimp, an uneven stake or a poor seal. The fixture should support the component across the whole contact area, not only at one corner or one thin edge.
Good fixture design also helps the operator understand when the part is sitting correctly. If the nest lets the part rock, float or catch halfway in, the operator has to fight the load. In Isando and other light manufacturing areas around Ekurhuleni, many factories run mixed product sizes on the same floor and the fixture has to handle those changes without turning every load into a puzzle.
- Use hard stops to set repeatable seating depth.
- Keep locating points visible from the loading side.
- Allow for wear on soft materials and formed parts.
- Make fixture clamps easy to inspect and clean.
Part orientation should be obvious at a glance
Manual loading works best when the operator can see the correct orientation before the part reaches the tool. If the part has one side with a flange, hole pattern or formed lip, the station should present that cue clearly. When the shape is ambiguous, the risk of upside-down loading rises and the press cycle turns into a correction process instead of a production process.
That matters on assembly lines where crimping, riveting and staking all depend on precise placement. A part that is half a millimetre off at loading can show up later as a loose joint, a damaged surface or a seal that does not sit cleanly. Simple orientation marks, shaped guides and tray layouts usually do more than extra instructions ever will.
- Design the tray to mirror the loading direction.
- Use part features as natural orientation cues.
- Keep the first contact point clear and unambiguous.
- Separate similar parts if they can be mixed at a glance.
Two-hand controls and guarded access belong together
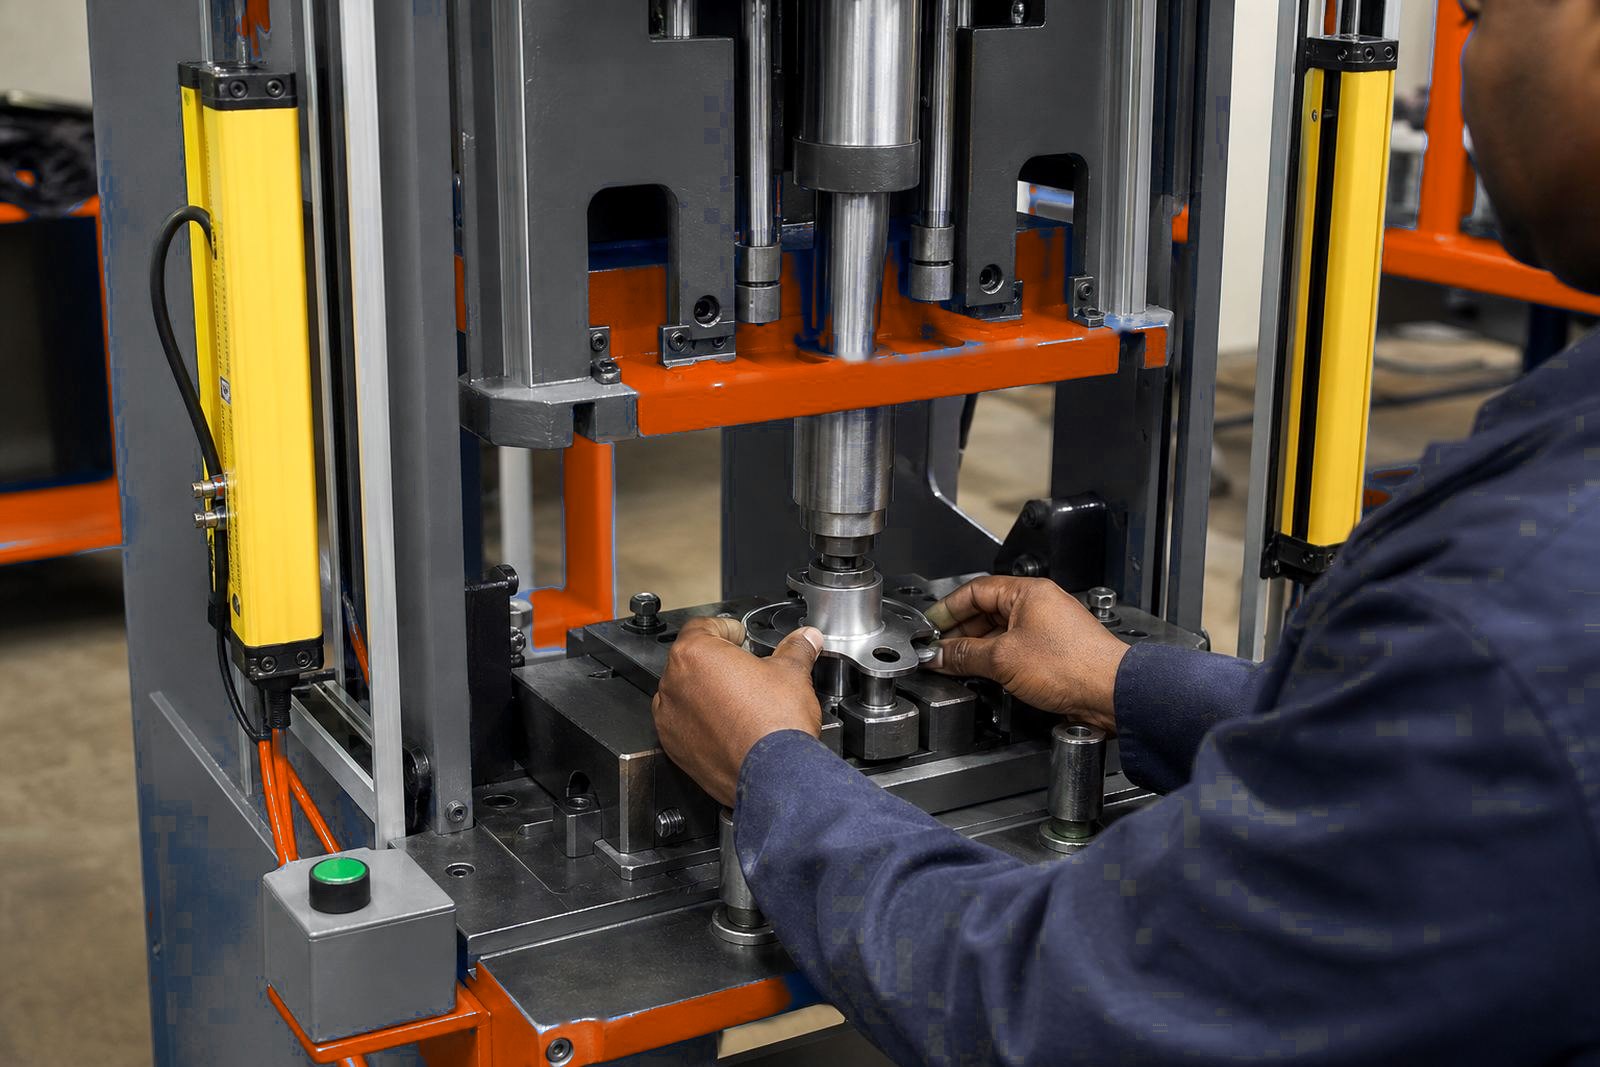
Where the operator loads by hand, the control method must match the station layout. Two-hand controls help keep both hands away from the die area during the stroke, while light curtains can protect open access zones where the part is inserted from the front. The choice depends on reach, stroke length and how much of the part must remain visible during loading.
Manual loading should never force a person to stretch into the tooling path just to start a cycle. If the operator has to lean over the press to hold a component in place, the station needs redesign. Guarding should support the working action rather than fight it, and the loading opening should be just wide enough for the part and the hands, not wider than needed.
- Match guarding to the actual load path.
- Keep cycle initiation separate from hand entry.
- Set the stroke so the tool closes cleanly without excess travel.
- Check that reset, stop and fault controls stay reachable.
Air pressure and stroke setting shape the load feel
On a pneumatic press, the loading experience is tied to air pressure, stroke setting and the way the cylinder comes onto the work. Too much force for a delicate load can make a part jump in the nest or distort a thin section before the main action even begins. Too little force can leave a crimp incomplete or a rivet under-formed, which sends the operator into repeated adjustment.
Stroke setting matters just as much. If the cylinder travels further than needed, the movement can feel abrupt and the station becomes harder to control. A shorter, well-set stroke keeps the action focused on the job and reduces unnecessary motion at the loading face. That is especially useful on pack sealing and light assembly work where the part has to stay flat and aligned throughout the cycle.
In practice, the best setting is the one that gives enough working force without making the station harsh to load. The operator should feel that the part enters, seats and cycles in one clear sequence.
Kempton Park line with mixed parts
On a Kempton Park production line we worked on a station sequence for small assembled parts that had to be loaded by hand, then crimped and checked before moving on. The first issue was not the tool itself, it was the load path. Operators were turning the part in mid-air, then setting it into a nest that did not tell them when the orientation was wrong. The result was stoppages, rework and a lot of unnecessary handling.
The fix was practical. The fixture face was reshaped to give a single entry direction, the loading side was opened up for clearer access, and the operator station was arranged so the part sat naturally in front of the hands. A light curtain protected the load opening, while the cycle start stayed outside the tooling area. Once the loading movement was simplified, the station became easier to run and easier to train.
- Look for places where the operator is forced to rotate the part.
- Watch for shallow nests that do not settle the component properly.
- Check whether the loading angle changes from one shift to another.
- Use the station layout to guide the hands, not the other way around.
Training keeps the loading method consistent
Even a well-built station drifts if the loading method is taught loosely. New operators need to know where the part sits, how it should feel when seated, what to watch for before the stroke starts and what to do when a part does not settle correctly. Operator training and production handover deserve the same attention as the tooling itself in our press shop.
When the loading method is clear, fewer parts are forced into the fixture and fewer cycles start on a bad seat. Clear work instructions, stable trays and a sensible loading height help keep the station steady across shifts. For factories in Johannesburg, Pretoria, Durban, Gqeberha and East London, that consistency is often what keeps manual loading practical on busy production floors.