Controls the operator must read before the first cycle
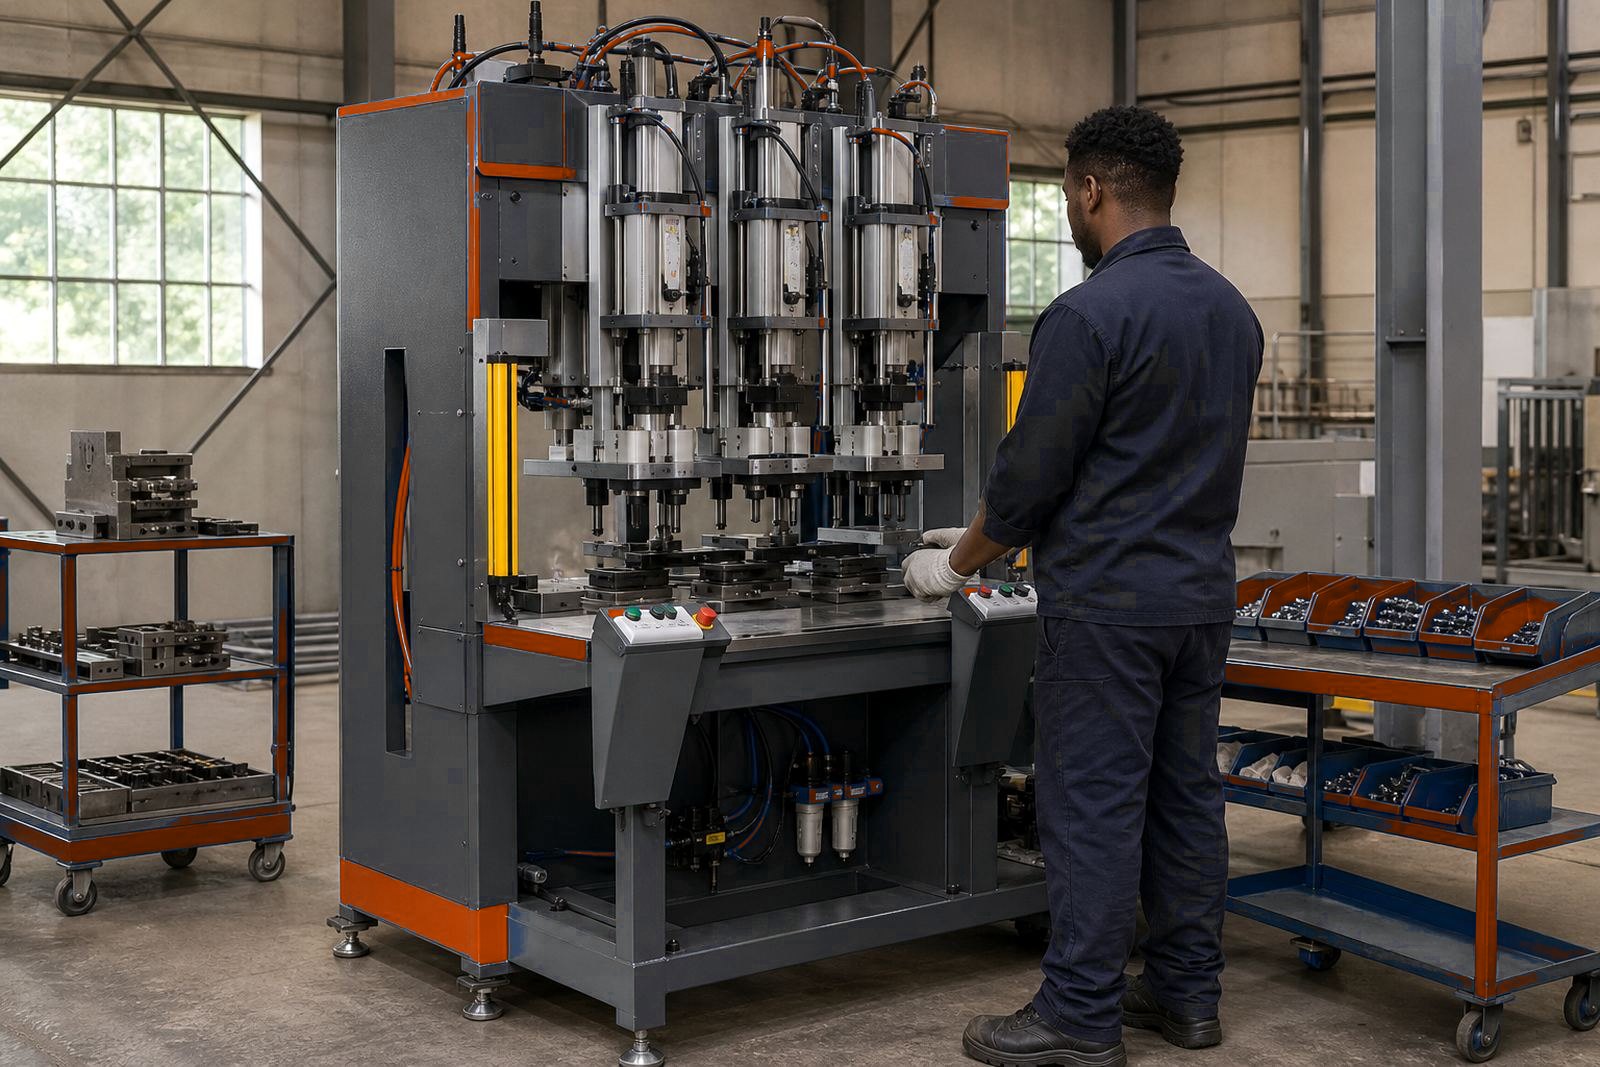
A training session on a pneumatic press begins at the control face, because that is where most mistakes start. Operators need to know the start sequence, the two hand controls, emergency stop points and the meaning of each signal lamp or screen prompt. On a multi-station machine, one station may close a crimp while another sets a rivet, so the operator must see which cycle is active before loading the next part.
We also cover air pressure checks, stroke setting and how the press behaves when a part is not seated properly. If the cylinder movement sounds different, or the guard is not in position, the correct action is to stop and inspect, not push through the cycle.
- Two hand control use and reset steps
- Emergency stop locations and restart checks
- Pressure gauge reading and safe operating range
- Stroke and dwell settings for the current job
- Signal lights, faults and cycle prompts
Loading parts without disturbing the tooling
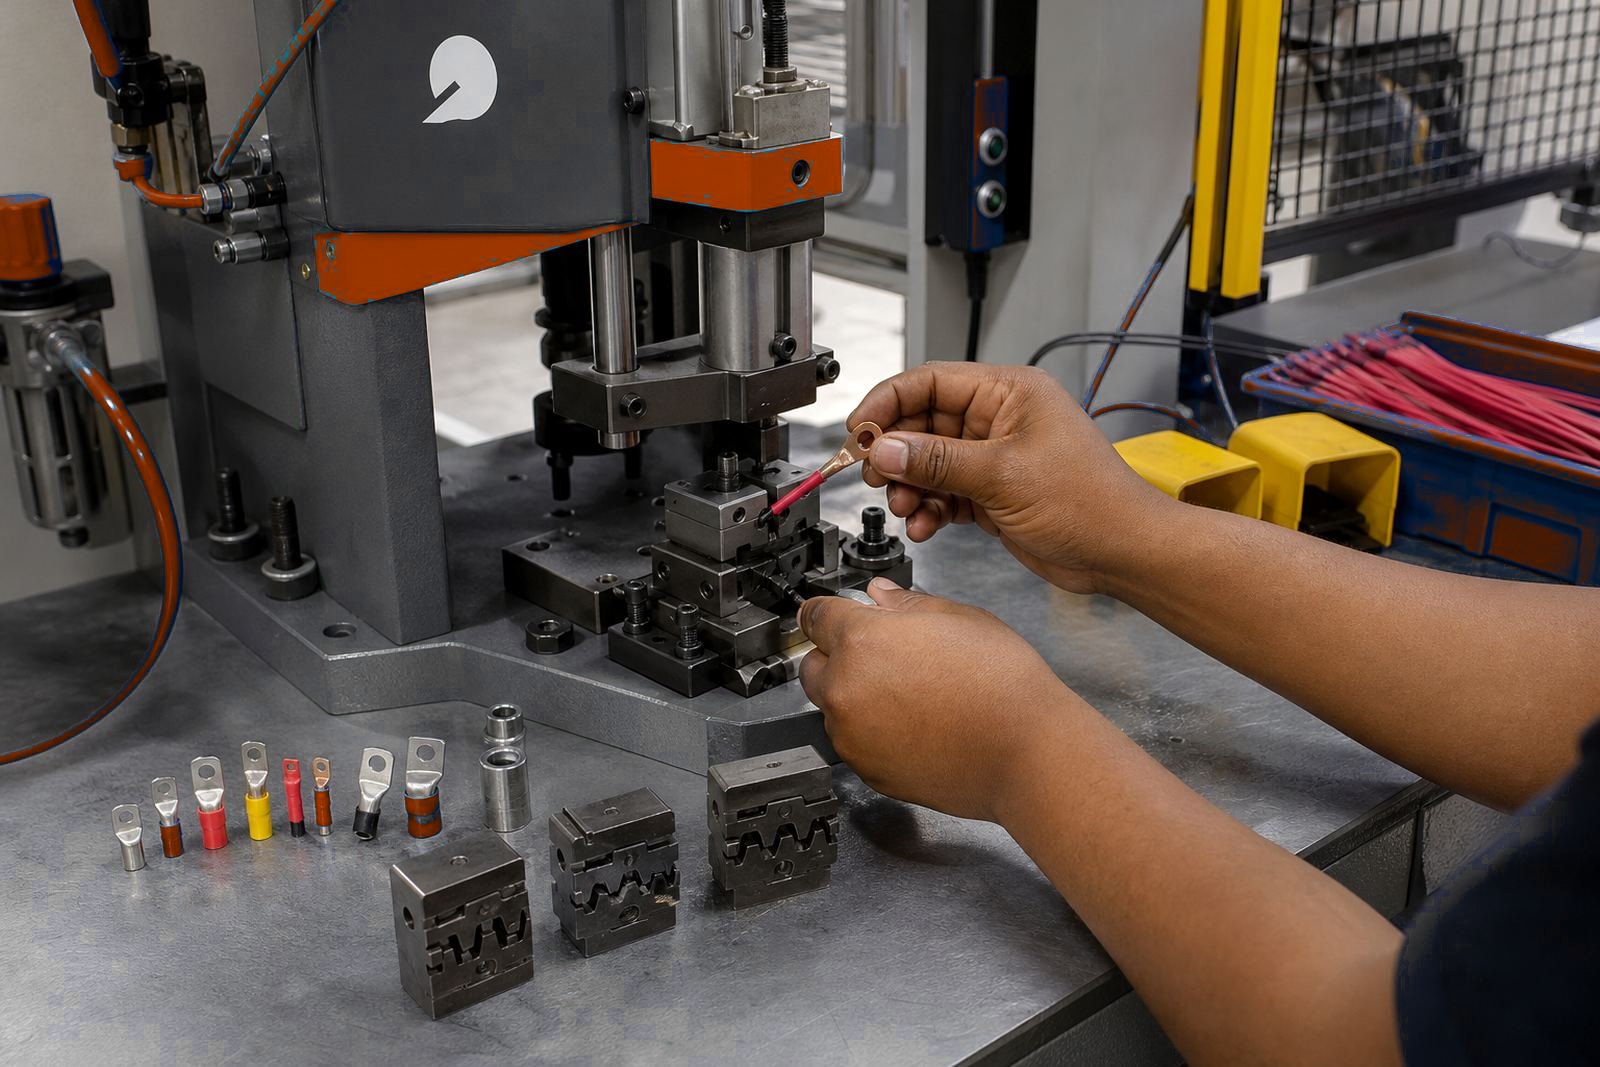
Loading is not just placing a component on the nest. The part has to sit square against the fixture, with fingers clear of the tooling path and any small clips, inserts or terminals already in position. Training covers where to place the workpiece, how to hold it steady and how to recognise when the locating pins are doing their job.
For assembly work, that discipline matters because a slightly misaligned part can carry through the whole station line and damage the next operation. For crimping and staking, a tilted component can produce uneven compression. For riveting, the force may spread where it should be forming. In pack sealing, poor loading can leave the seal uneven or weak at the edges.
- Correct placement against locators and stops
- Finger clearance around the closing area
- Visual checks before pressing the cycle button
- Handling small parts, inserts and clips
- What to do when a component shifts in the nest
Guarding awareness belongs in every shift handover
Guarding belongs in the process and protects the machine, the operator and the job at hand. A session should explain fixed guards, movable guards and light curtains in plain terms, so operators understand what each one protects. When a light curtain is fitted, the team must know why the beam is there and why a hand, tool or loose item cannot cross that line during operation.
We also talk through what happens after a guard fault, or when a panel is left open during tool change. Good habits around guarding are especially useful on busy South African factory floors, where one person may cover more than one machine and the shift handover can be rushed if nobody writes down the stoppage properly.
- Fixed guards and access panels
- Light curtain alignment and interruption checks
- Interlock use during changeover or clearing a jam
- Safe distance around moving cylinders and slides
- Handover notes when a guard fault stops production
Daily checks that keep a press honest
Daily checks need to be quick enough to finish, but serious enough to matter. Operators should inspect the air line, check for leaks, confirm pressure, look at tooling wear and make sure fasteners have not worked loose. On a machine used for riveting or crimping, worn tooling can hide under a decent looking first piece and then spoil the next batch.
We train teams to look at the pattern, not just the first sample. That means checking the pressed part, the stroke consistency, the clamp condition and the sound of the cycle. If the machine needs a slight adjustment, the operator should know what is allowed and what must be referred to the supervisor or maintenance team.
- Air pressure and line condition
- Tooling wear, chips and alignment
- Loose fixings on guards or fixtures
- Stroke repeatability and part finish
- First-off sample inspection before the run continues
Tooling changes and setting up for the next job
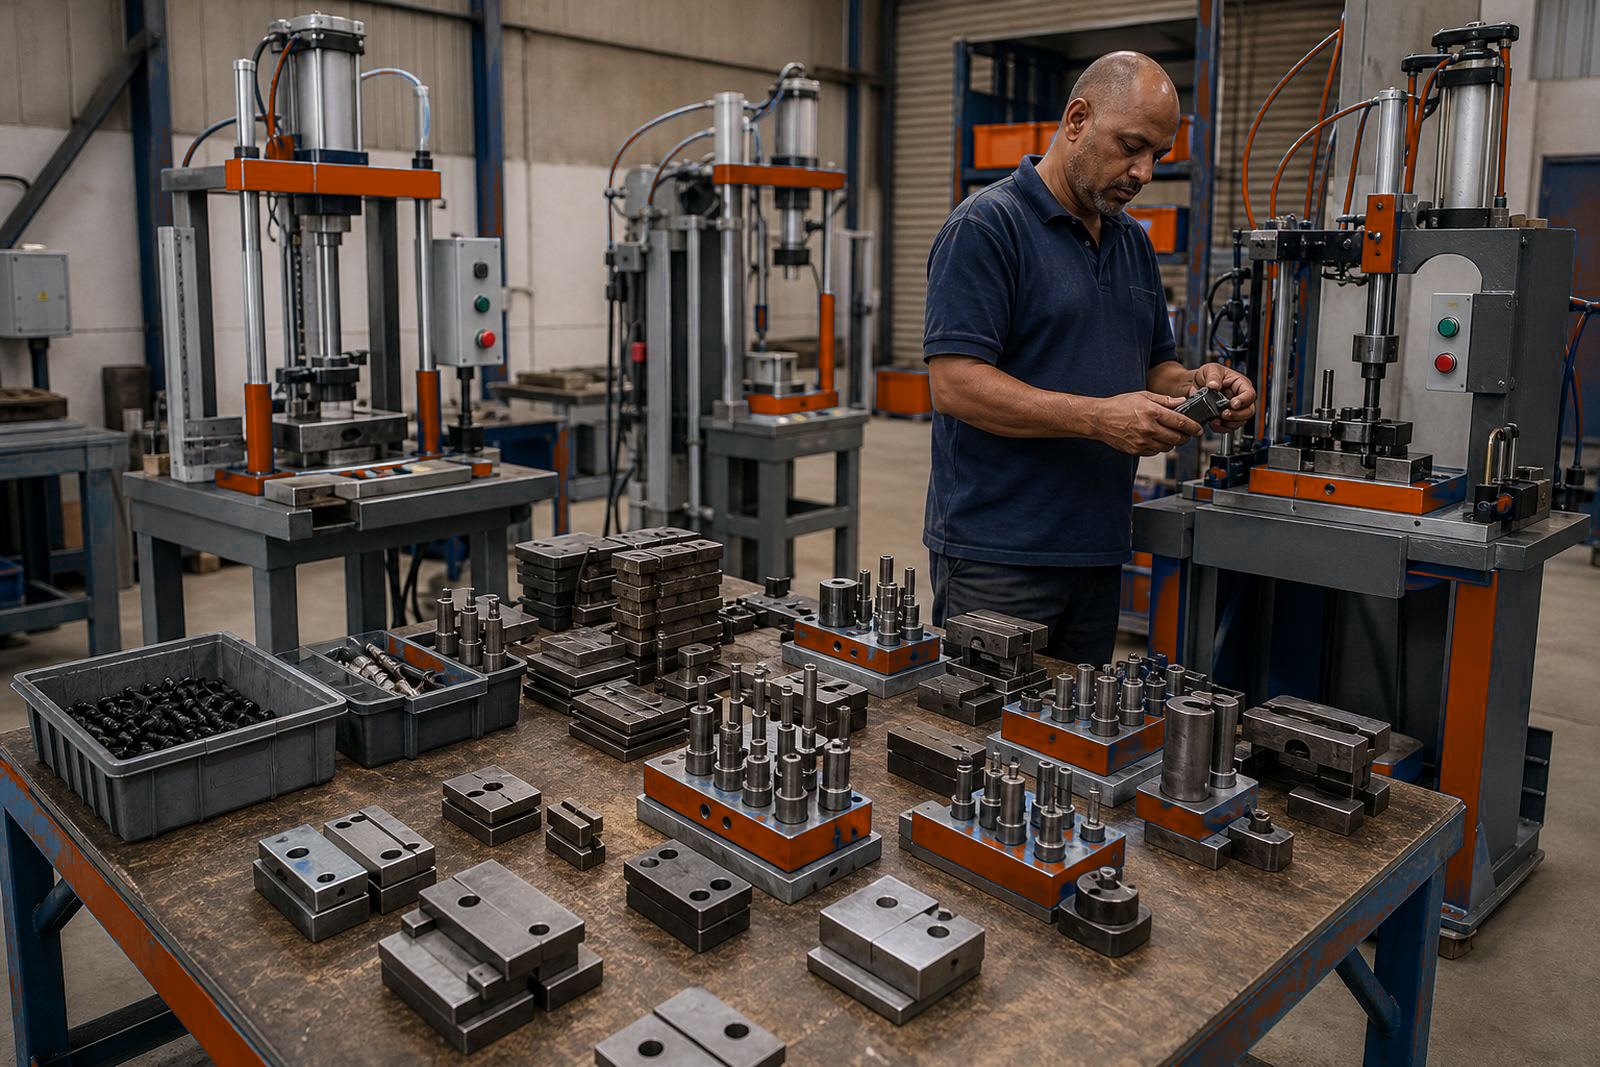
A clean tooling change saves time, but only if the operator understands the order of work. Training covers removing the old tool safely, fitting the new tooling, checking alignment and confirming the stroke before production starts. On a multi-station press, one bad setting can affect every station in the line, so the changeover is never just a bolt swap.
For pack sealing jobs, the heating or sealing geometry may differ from the assembly setup. For staking and riveting, the anvil or punch face may need a different profile. A good session shows the team how to recognise each setup, and how to keep the job card, tool and part together without confusion.
- Safe removal and fitting of tooling
- Alignment checks after a tool change
- Stroke verification before the first cycle
- Keeping job notes with the correct tool set
- Recognising setup differences between stations
A practical training day in Isando and beyond
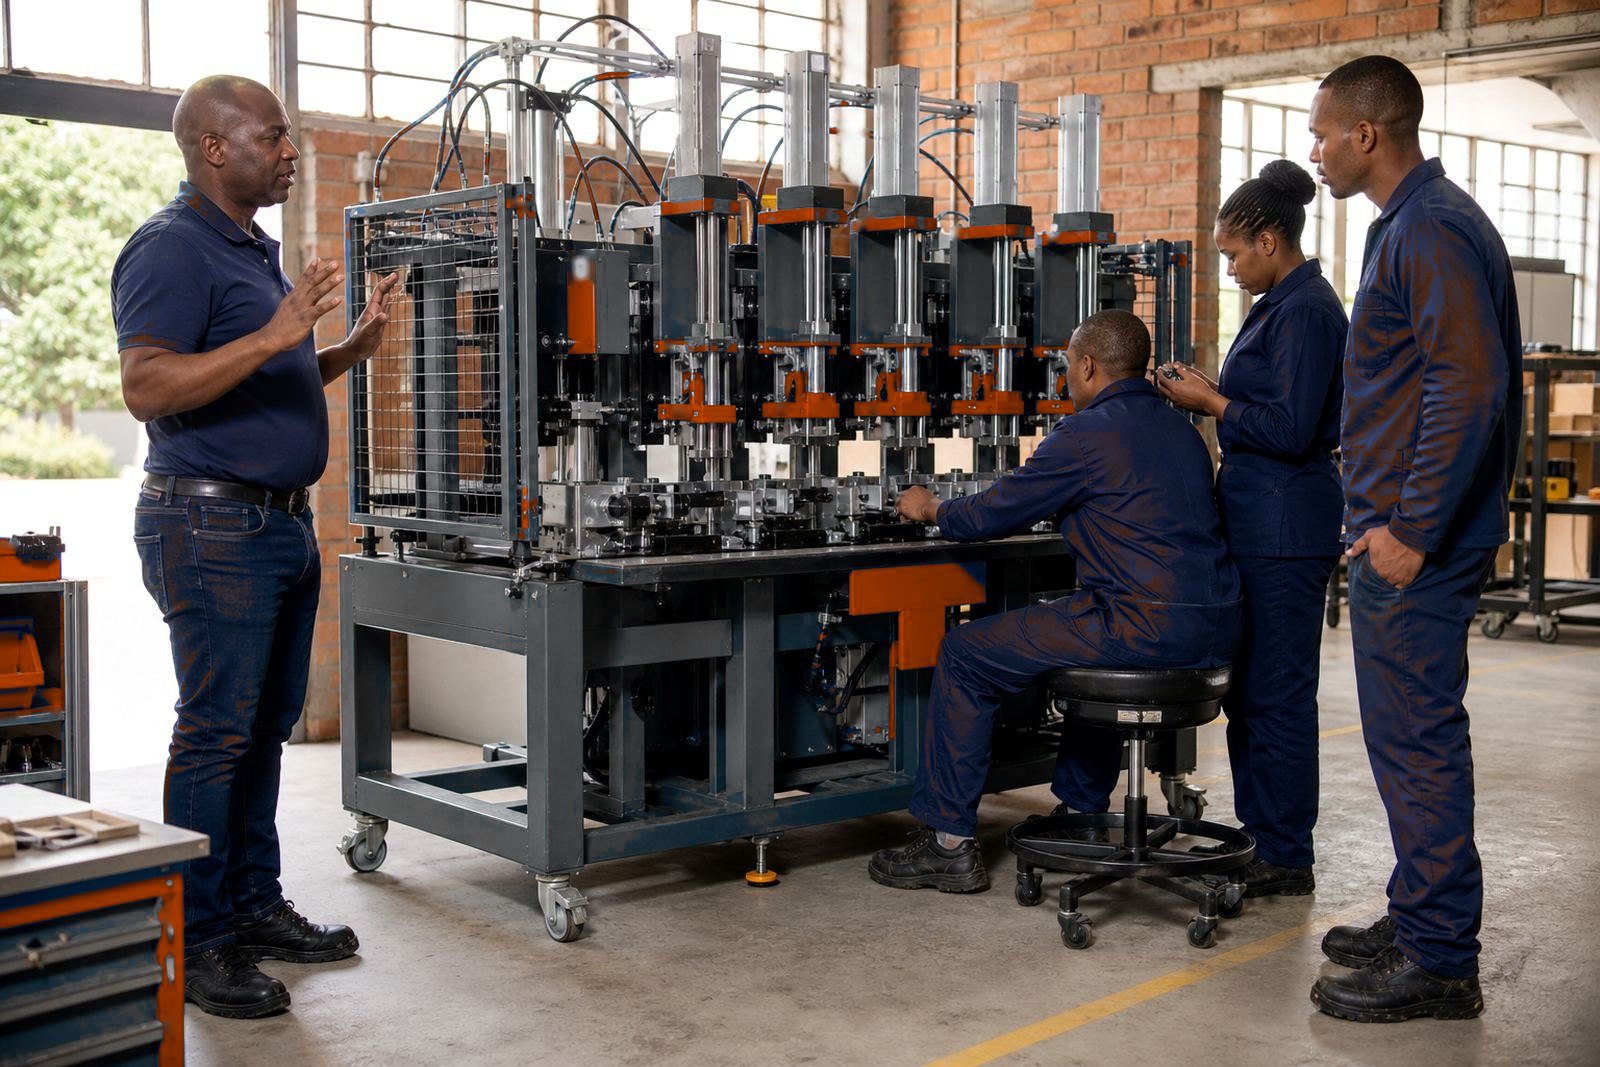
At our Isando workshop, training is usually tied to the machine the factory will actually run. A team from Kempton Park might need help with a compact assembly press, while a plant in Durban may be working with a heavier crimping line and more frequent tooling changes. The topics stay the same, but the emphasis shifts with the product, the line speed and the way the parts arrive from the previous process.
That is why the training has to speak to the floor conditions people live with every day. In a busy plant in Boksburg, the operator may need to manage short runs and fast changeovers. In Port Elizabeth or East London, humidity and air line maintenance can matter more than people expect. The point is not theory for its own sake, it is keeping the press running with fewer stoppages and cleaner parts.
- Multi-station press training matched to the part and line layout
- Operator habits for short runs and repeated changeovers
- Air system checks where moisture affects performance
- Clear handover notes between shifts and supervisors
- Commissioning support and production handover at the same time
What a competent operator should leave with
By the end of the session, the operator should know how the machine starts, how it stops and what normal looks like during a full cycle. They should be able to load parts correctly, recognise when a guard or curtain is not happy and spot the first signs of tooling wear. Just as important, they should know what belongs in a log book and what belongs with a technician.
That practical confidence is the real value of training. A press can be well built and still give trouble if the people using it do not understand the sequence. When the team knows the controls, the loading pattern and the daily checks, the line has a better chance of holding part quality through the shift.
For factories across Johannesburg, Pretoria, Durban, Gqeberha and East London, the training topics stay grounded in the same basics: safe use, consistent loading and respect for the tooling. Jobs vary from one MultiPress setup to another, but our working habits stay consistent.