The changeover starts with the parts tray, not the press
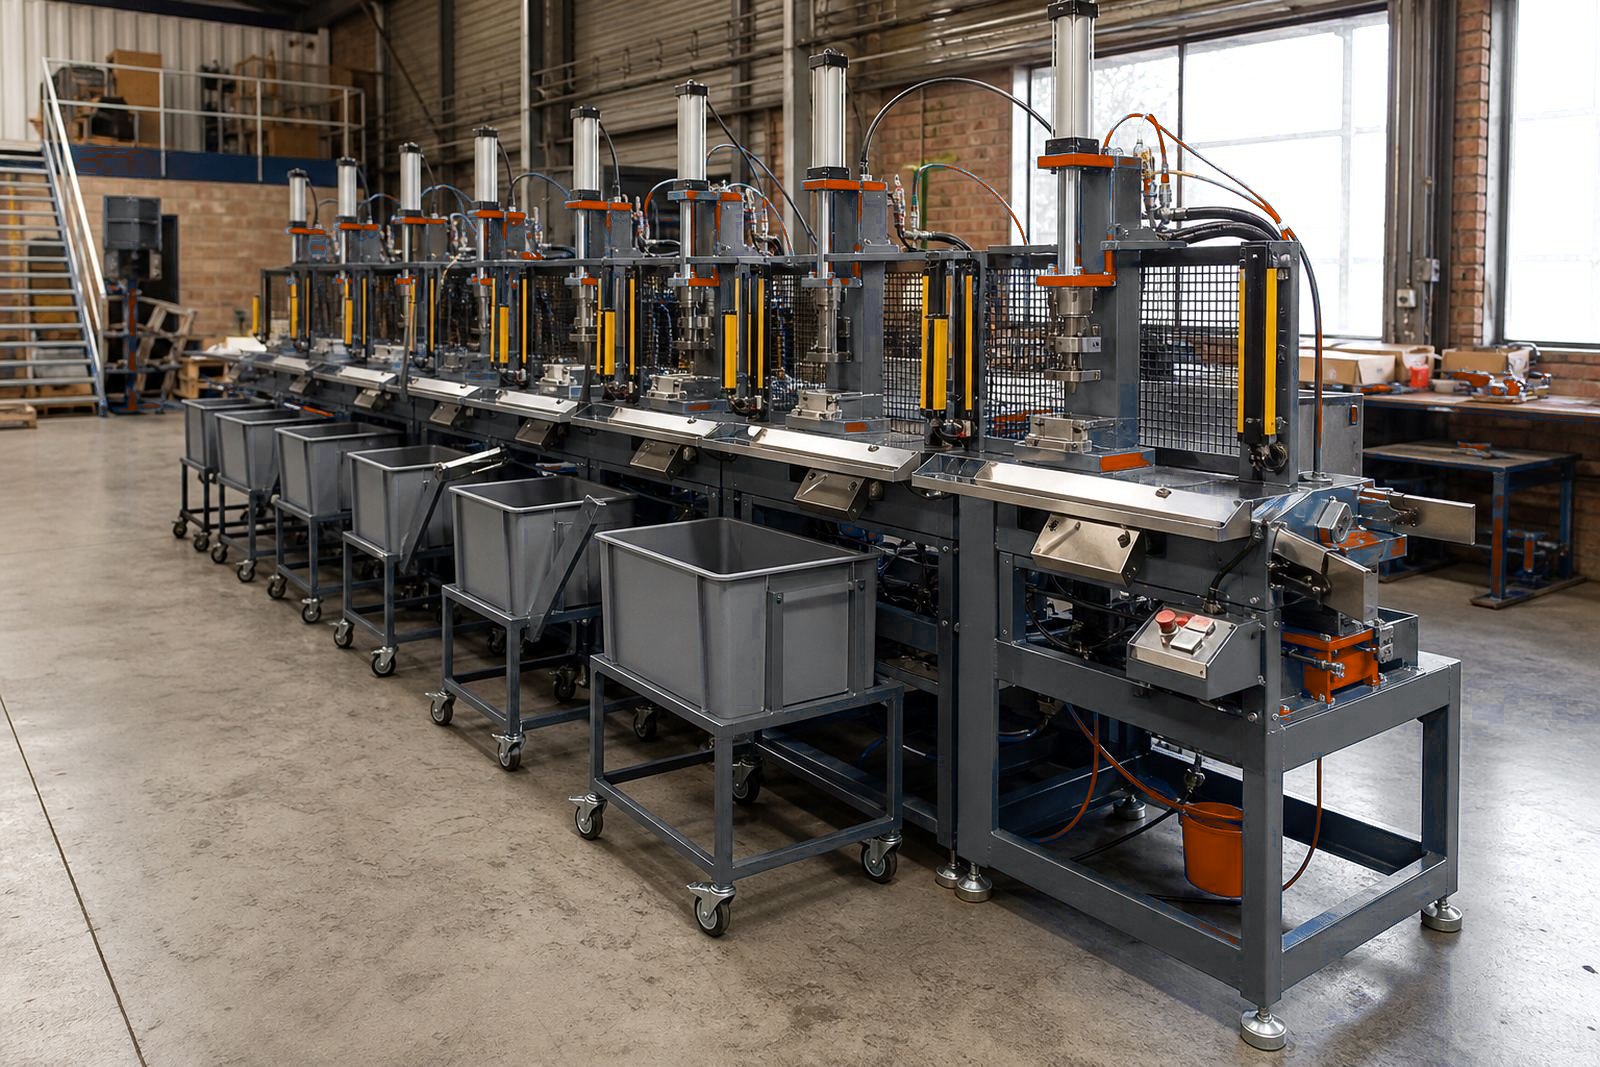
On a multi-station pneumatic press, a tool change is never only about swapping steel. The real risk sits in mixed fasteners, missing spacers, unclear part references and a tool that is half ready when the line is waiting.
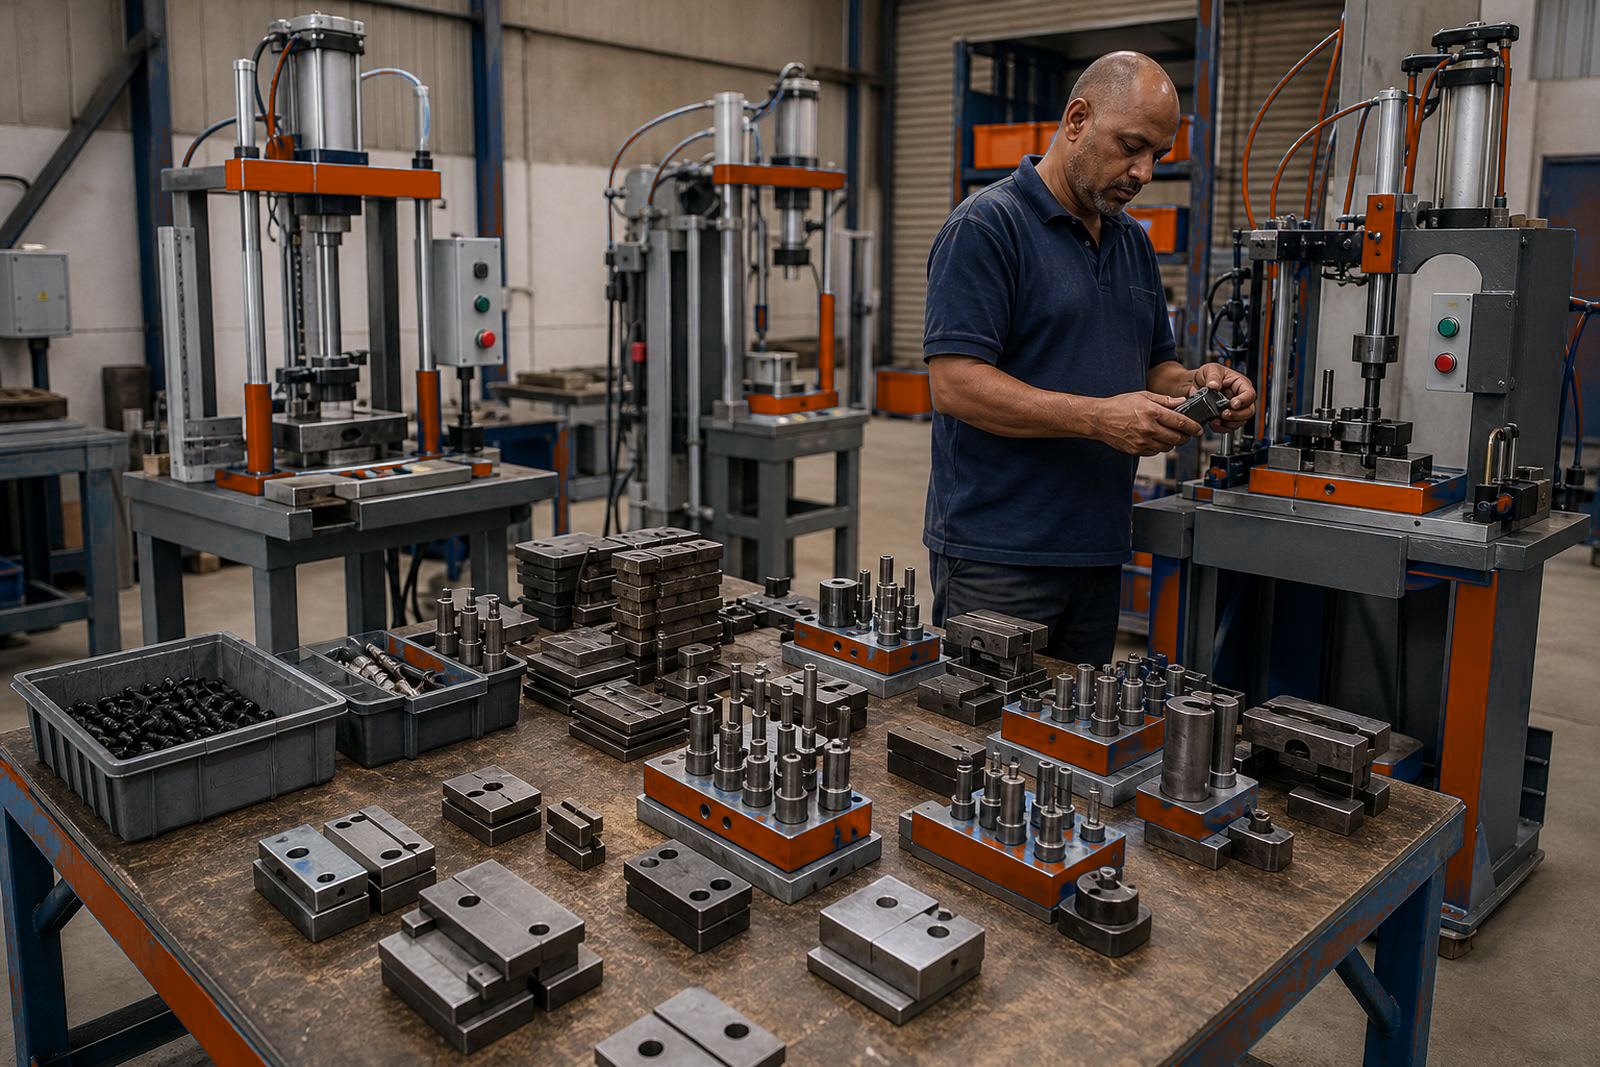
Before the old tool leaves the station, the next set should be laid out in the same order the fitter will use it. Keep bolts grouped by size, washers in trays, shims marked by thickness and inserts separated by station number. If the line handles assembly, crimping, riveting or staking, the tooling set should also carry the correct punch, nest and guide for that task, not just a general label.
In Isando and the rest of Ekurhuleni, many workshops work with tight floors and more than one job moving at once. A tidy change plan reduces walking back and forth, and that matters when a press has several stations and each cylinder needs its own setting checked again.
Heights, stroke and pressure need one sheet
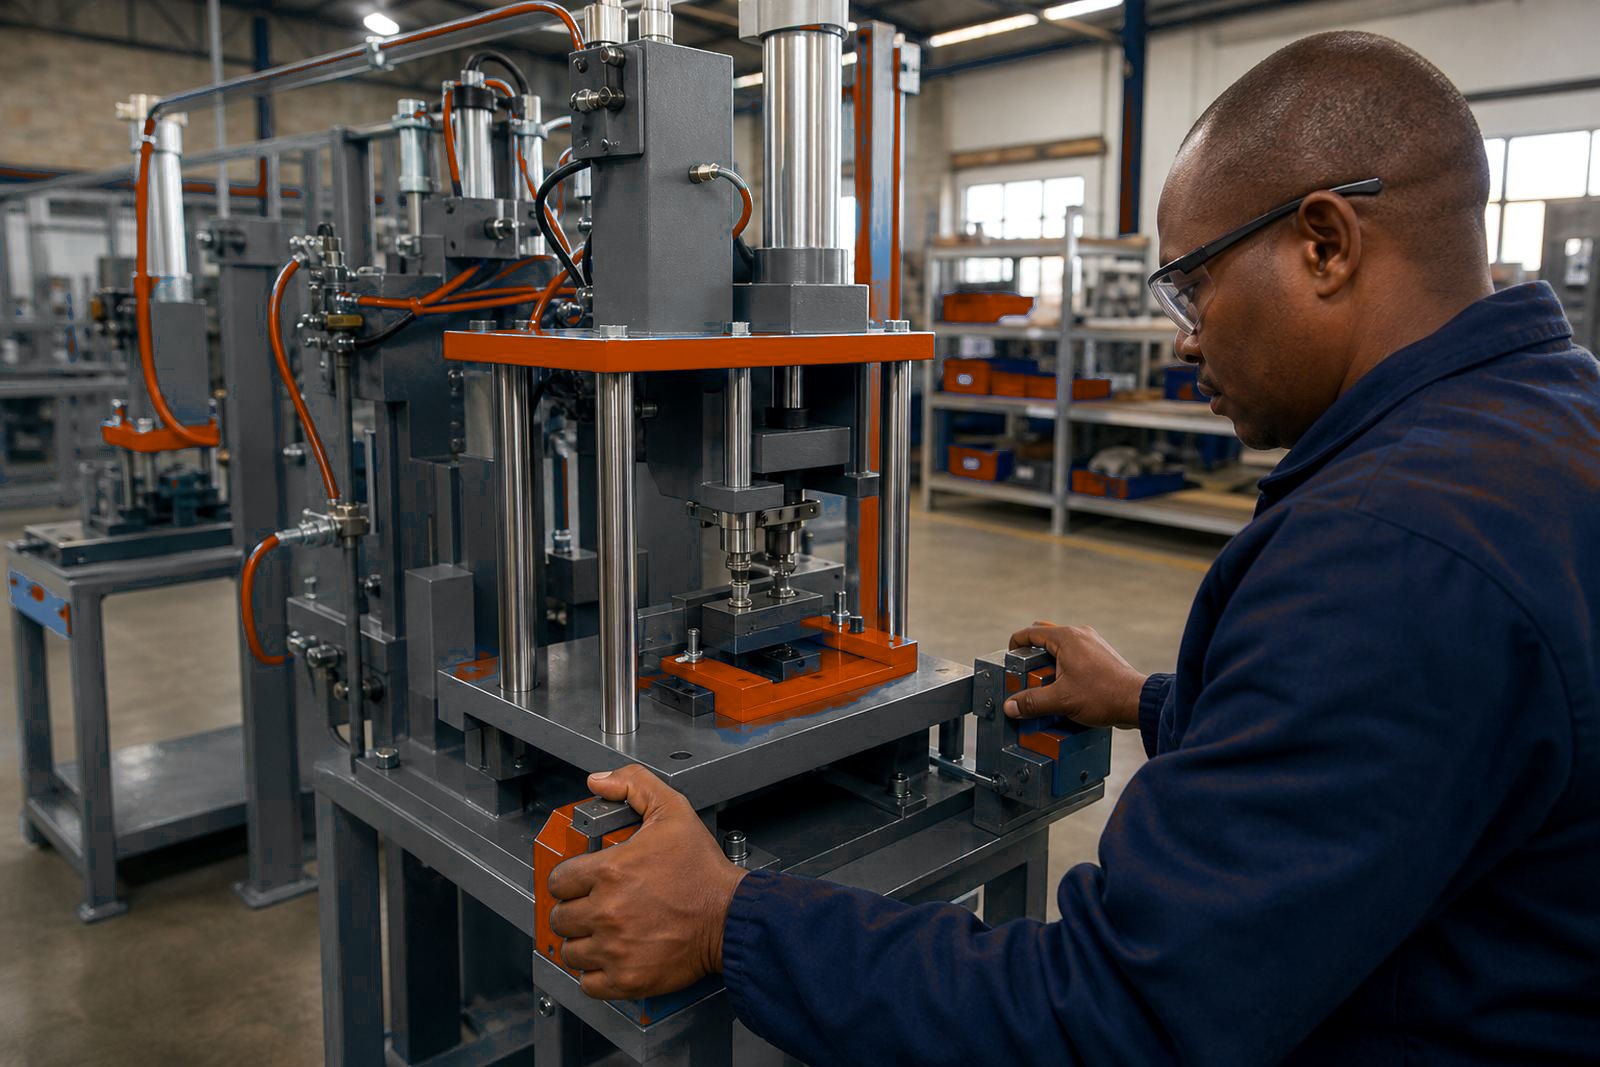
Tooling only behaves if the physical numbers are known. A press stroke that suits one job can crush a light component on the next, while too little stroke leaves a rivet loose or a seal incomplete. The same goes for working air pressure, because a pneumatic press depends on stable supply and the right setting at each station.
Keep one sheet for the job, and note the height at which the tool closes, the stroke required, the pressure range used on the trial run and the point where the two-hand controls should trigger the cycle. That sheet helps the operator, the foreman and the tooling designer work from the same set-up details.
- Closed height for each station
- Stroke setting and return position
- Air pressure used during setup
- Clamp, locator and guide heights
- Any shim pack fitted under the tool
When these figures are scattered across notebook pages or left in someone's head, the next shift spends time rediscovering them. That is avoidable waste, and it shows up fast on a line that runs repetitive work.
Part references should be visible from the bench
Part references need to be plain enough for the fitter and the operator to read without second-guessing. If a die set is marked only by an internal code that nobody uses at the machine, the changeover slows down. Better to carry the part number, station number and the matching job name on the tray, the folder and the tool body where possible.
For presses used in pack sealing or light assembly, small mix-ups are common. A sealing jaw from one run may look close to another, but the profile can differ just enough to spoil the edge. In riveting and staking work, a punch that is one size off will still fit into place and still produce a poor result. That is why the reference label must be checked before the tool is lifted in, not after the first sample.
At our Isando workshop, we have seen jobs slow down because a spacer plate was tagged correctly yet stored with the wrong station group. The plate itself was fine, the label was fine too, but the storage system was not. That kind of confusion is small on paper and costly on the floor.
We include guarding and control setup in the change plan from the start.
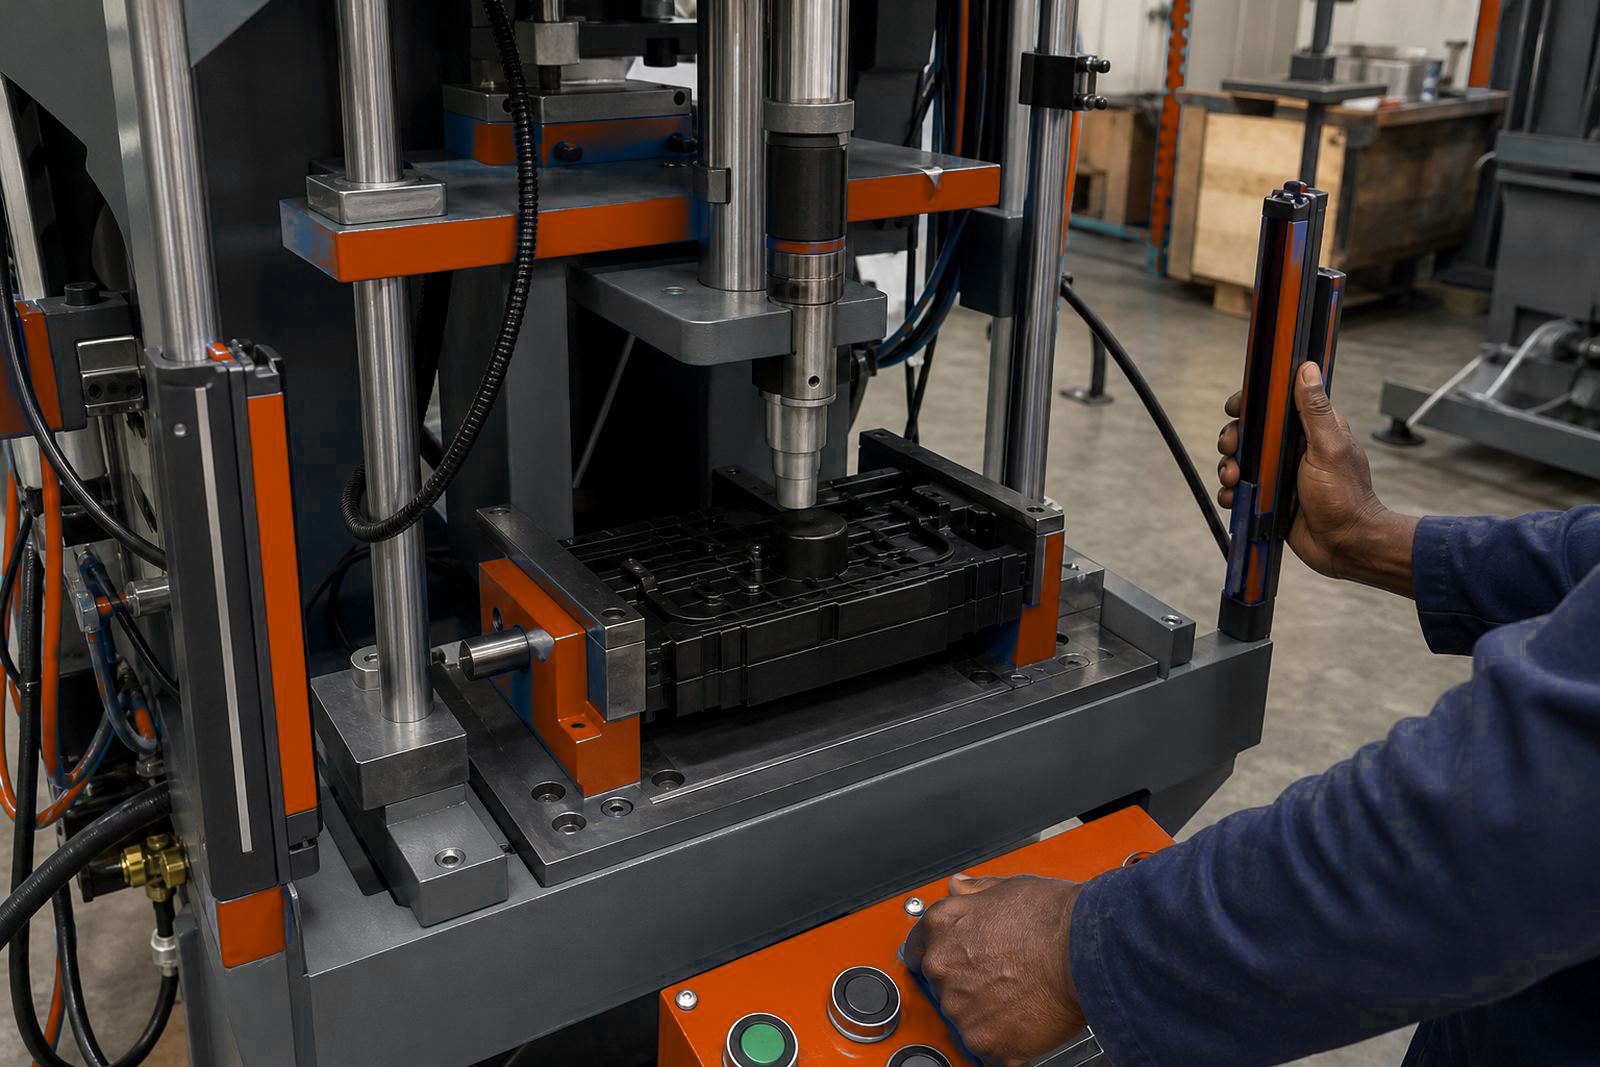
Tool changes affect guarding as much as they affect tooling. If the press uses fixed guarding, interlocked guards or light curtains, the new setup must leave enough space for safe loading and unloading. The same applies to two-hand controls, which need to stay practical for the actual operator position, not only for the drawing.
When a tool change alters the reach, the cycle height or the hand position, the guard layout may need adjustment. That does not mean starting from zero each time. It means checking that the guarded zone still suits the product, the stroke and the way the hands move through the cycle.
- Confirm guard opening matches the new part size
- Check light curtain position against the reach of the operator
- Test two-hand control spacing after the new tool is fitted
- Check interlock function before trial pieces are run
A good change plan includes the safety pieces from the start. If the guard is treated as a separate job, the press loses time and the team ends up adjusting under pressure.
A Durban line with humidity and frequent changeovers
A coastal factory in Durban gave a useful example. The line handled small riveted assemblies in the morning and pack sealing in the afternoon, with a multi-station pneumatic press doing the main work. The tool sets were sound, but changeovers kept drifting because fasteners were mixed in open tubs and the spacer stacks were not marked by thickness.
The fix was simple but exact. Each station received its own tray, the bolt sizes were grouped, the shim packs were measured again and the part references were printed on laminated cards kept at the bench. The team also checked the air line setup after every swap, because moisture and long hose runs can change the feel of a pneumatic tool if the line is neglected.
Once the change routine was written in the order the fitter actually follows, the job settled down. There was less climbing around the machine, fewer repeated checks and a cleaner handover to the next operator. The press was still the same machine, but the changeover no longer fought the people using it.
Training matters when the tool leaves the workshop
A change plan is only useful if the operator can follow it on the floor. That means showing the sequence in the same order every time: isolate, remove, clean, inspect, fit, set stroke, check pressure, test guarding and run the first pieces. Training should also cover what to do when a locator sticks, a rivet head forms poorly or a seal looks uneven.
It helps to keep the notes short and physical. A hanging card by the press, a labelled tray at the change point and a photo of the correct tool stack can save more time than a long file stored elsewhere. For factories in Johannesburg, Pretoria, Gqeberha and East London, that kind of clarity matters because shift teams often share the same press across different production runs.
Tool change planning is not about making the job look fancy. It is about ensuring every station, cylinder and clamp returns to service with the correct parts in the correct order, so the press can do exactly what it was set up to do.