Location starts before the cylinder moves
A press can have the right tonnage, stroke and tooling, yet still make poor parts if the component is not sitting in the same place every cycle. In multi-station work, the operator needs a clear lead-in, a firm landing point and a repeatable seat before the two-hand controls are pressed. That is where pins, stops and pockets do the real work.
They hold the part in relation to the tooling, so the punch, die, crimp form or rivet nest meets the same point each time. On a line in Isando or Kempton Park, that matters as much on a small brass insert as it does on a larger steel bracket.
Pins that find the hole or edge first
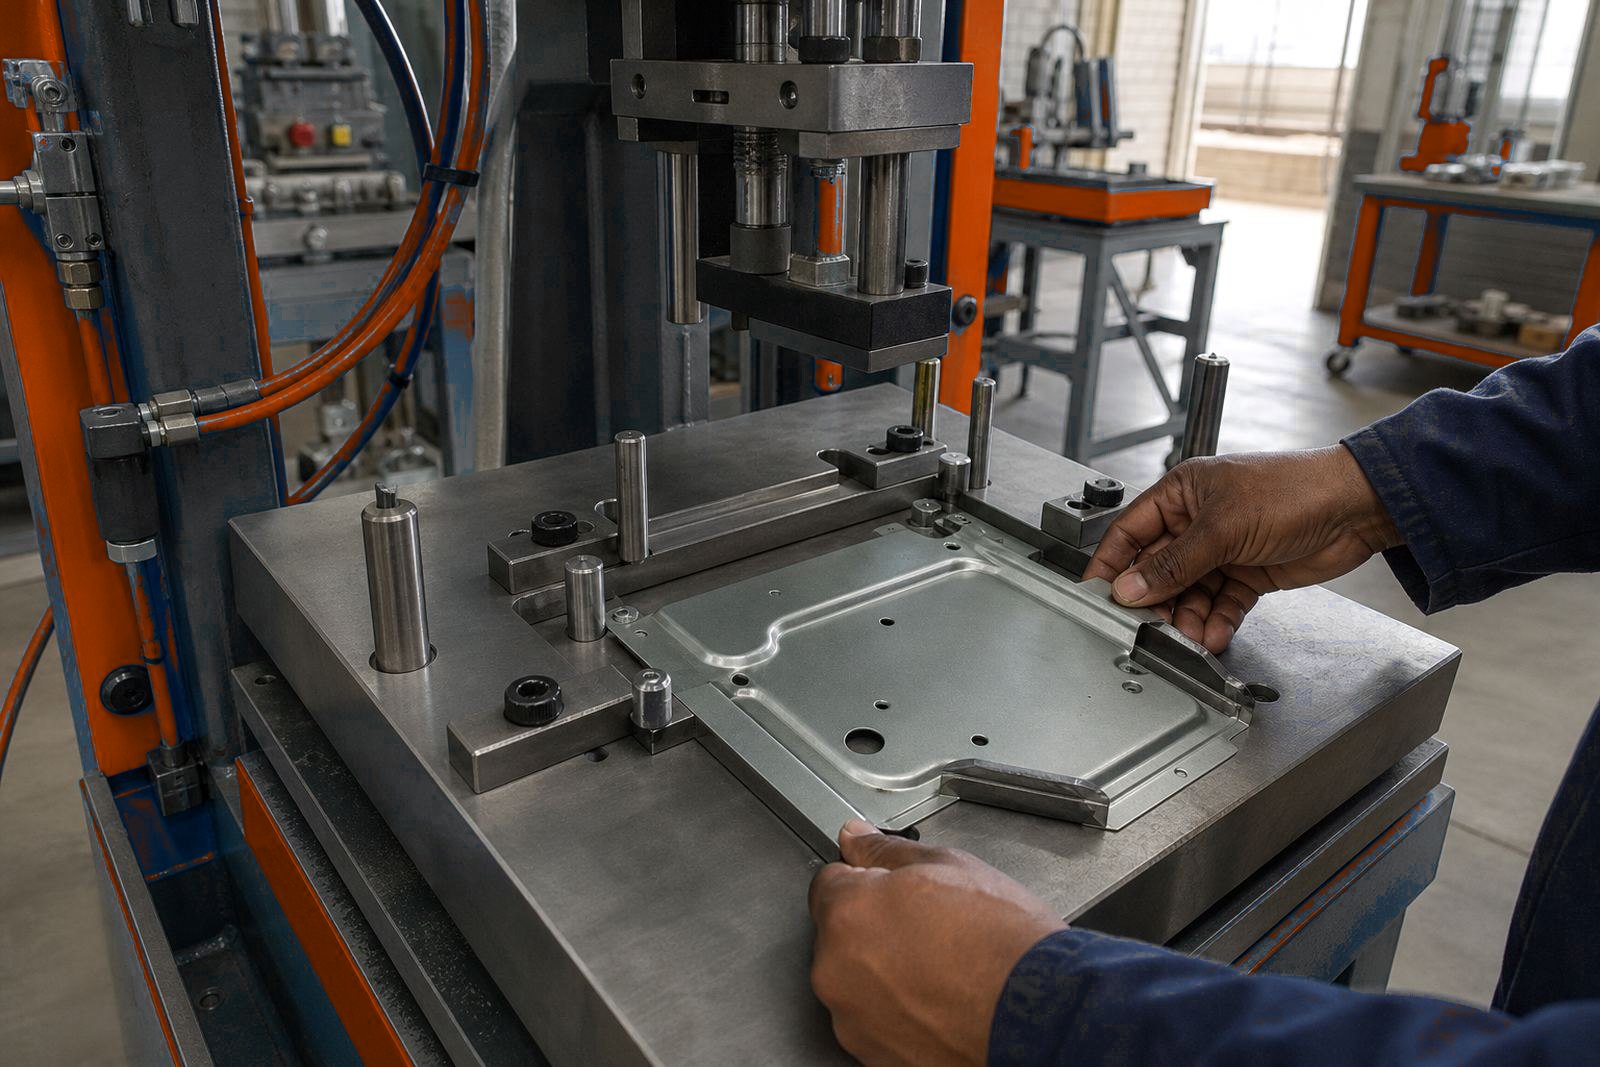
Location pins are useful when the part already has a pilot hole, slot or formed opening. They guide the component into position before the tooling closes, and they can be fixed or retracting depending on the cycle. A good pin should be sized to the real part, not just close enough on paper.
- Use pins where a pre-punched hole gives a reliable reference.
- Allow clearance for plating, burrs and minor material spread.
- Keep the entry angle gentle so the operator does not fight the fixture.
- Place the pin where it cannot distort thin material during loading.
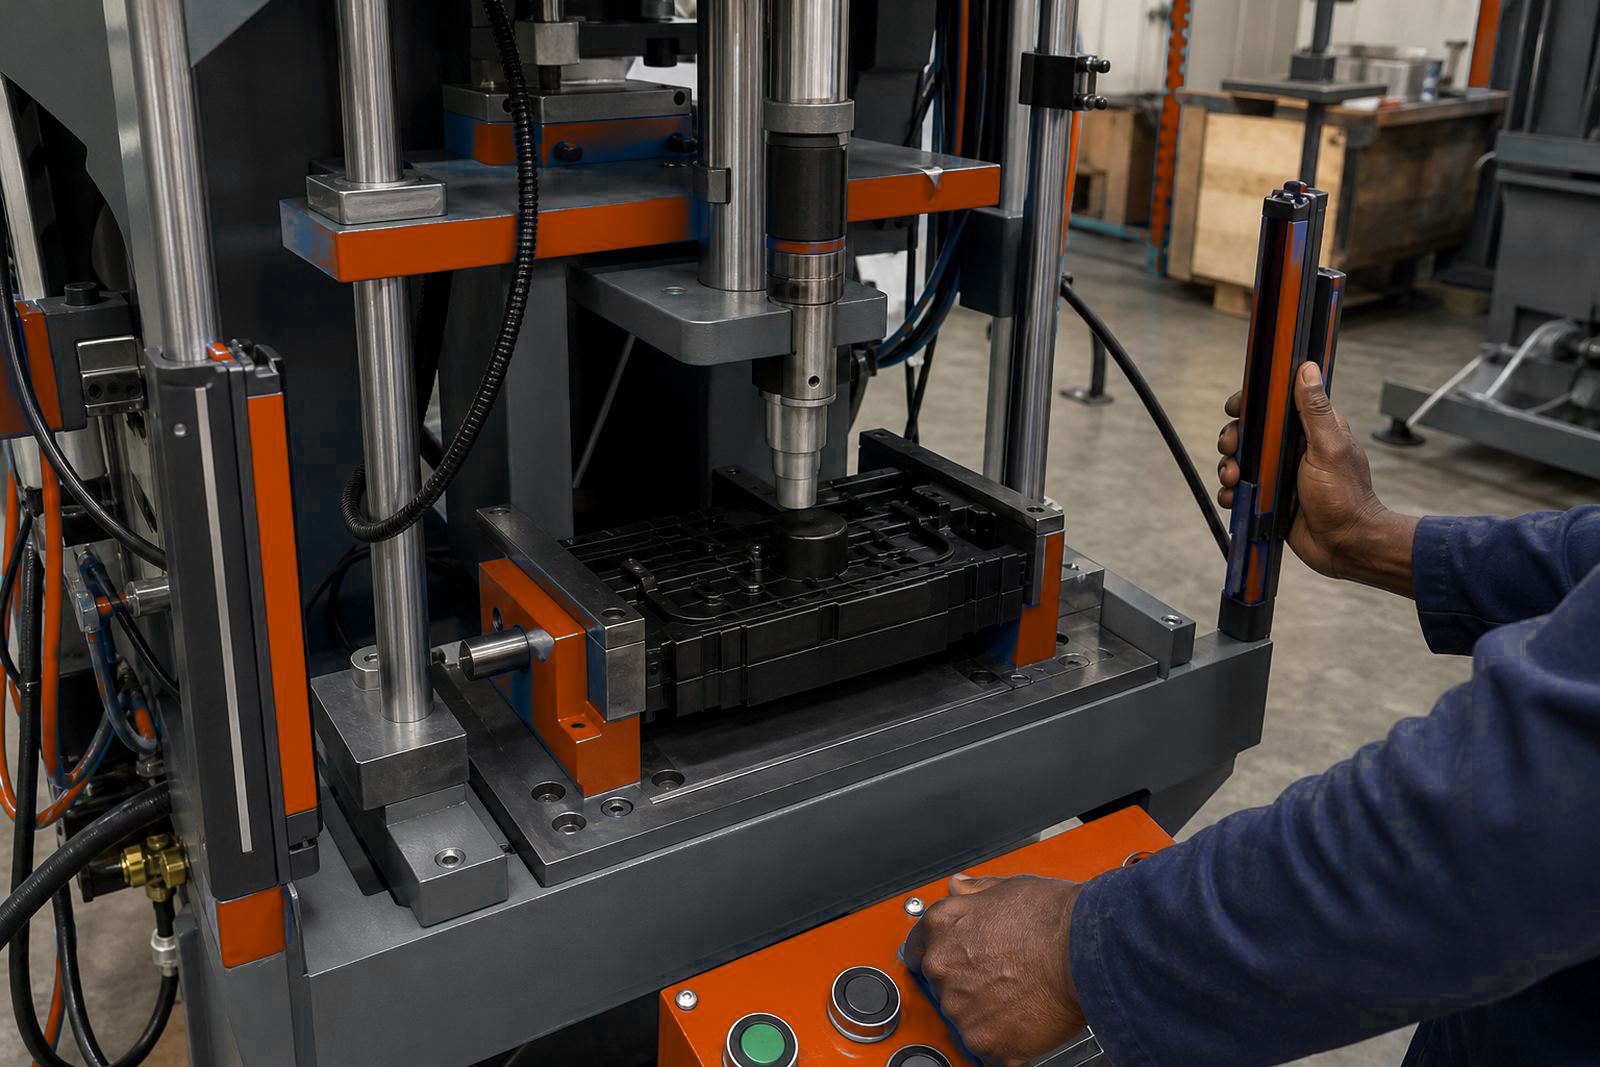
On a riveting station, pins often work with a nest that holds the body while the fastener is set. On a staking job, the pin may only guide the first position, then a pocket takes over once the part is seated. That difference sounds small, but it changes how stable the job feels in production.
Stops that set the edge and keep it there
Edge stops are common when the part has a formed side, a flat face or a cut length that must sit against a fixed point. They are simple, but they need to be hard-wearing and placed where the operator can see them. If the stop is hidden, loading errors creep in very fast.
For pack sealing or light assembly, stops often set the leading edge of the pack or tray before the upper tooling closes. For metal parts, a stop can control the front edge while side guides control the width. The best setups leave no doubt about where the part belongs, and they make misfeed obvious before the cycle starts.
- Fixed stops suit repeat work with tight part shape control.
- Adjustable stops help when one press handles more than one component size.
- Dual stops can square a part that tends to twist in the fixture.
- Hard stop faces should resist wear from repeated loading and unloading.
Pockets that cradle the part properly
Pockets are the most forgiving location method when the part has an uneven profile, a curved face or a shape that would otherwise rock on the table. A pocket can be cut, machined or built up from plates and inserts, depending on the product. The aim is to let the part settle into one position without forcing it.
In South African factories, pockets are often used where humidity, dust and day-to-day handling affect consistency. A shallow pocket may be enough for a small pressed shell, while a deeper form nest is better for a housing or cap that must stay upright. If the pocket is too tight, loading becomes awkward. If it is too loose, the part can drift before the stroke begins.
When location must match guarding and controls
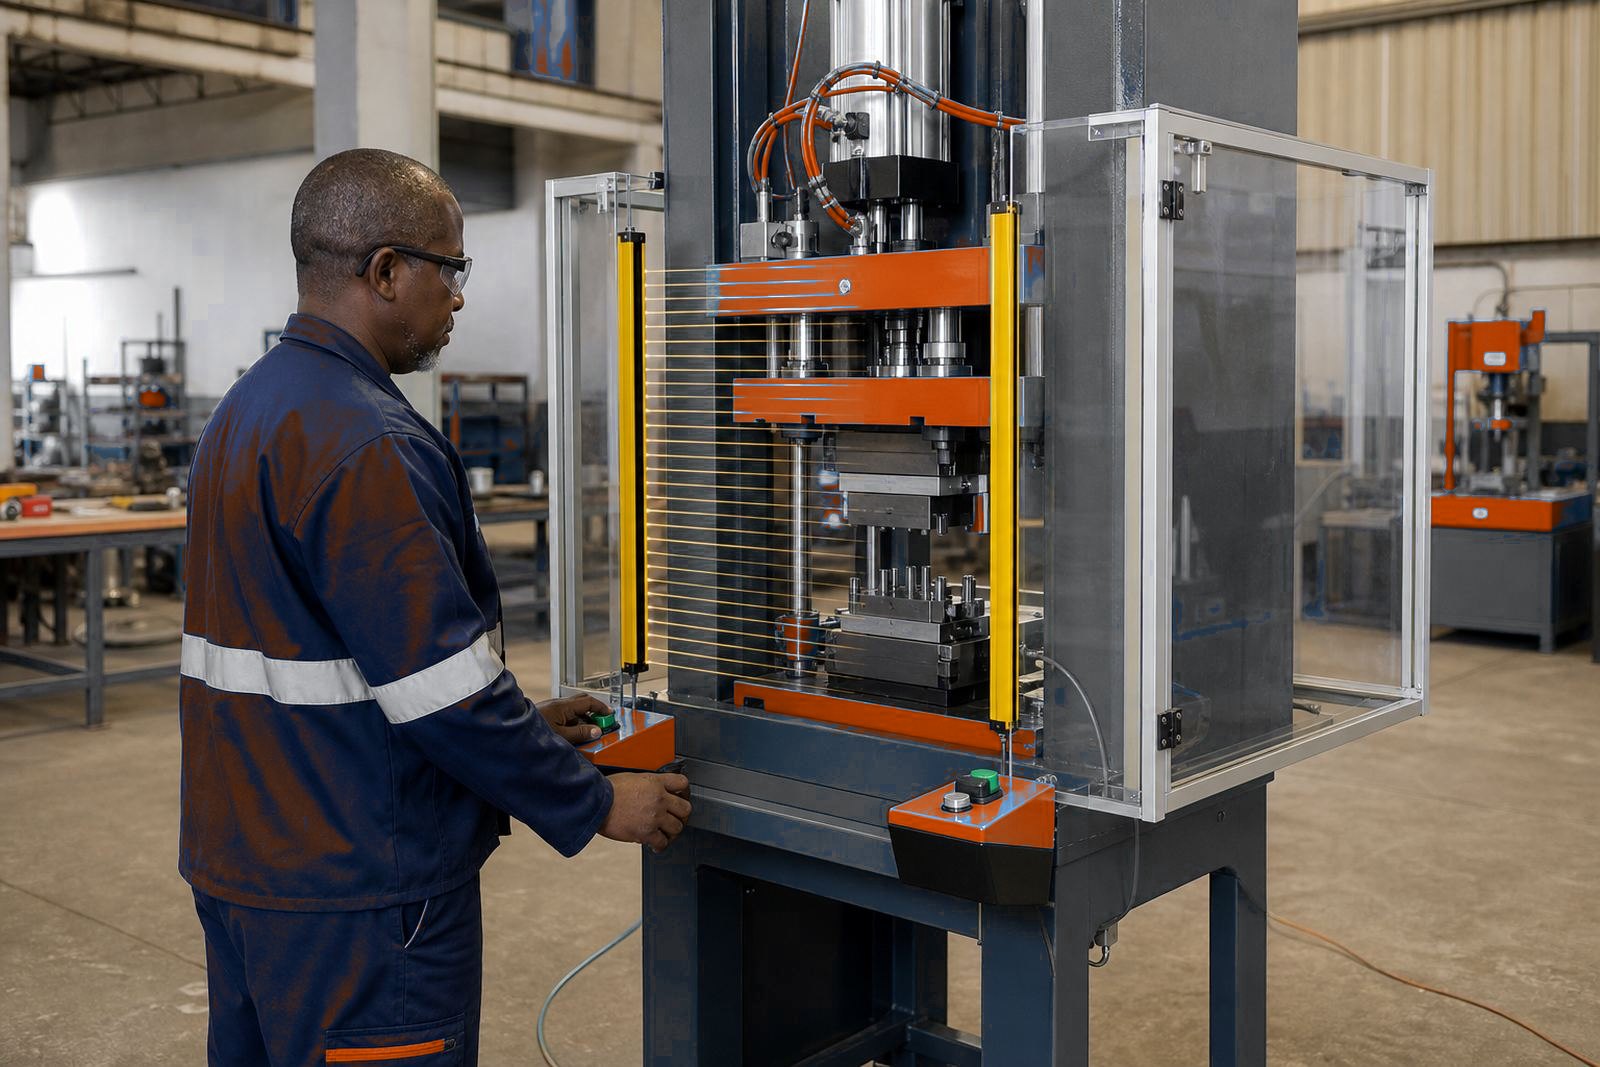
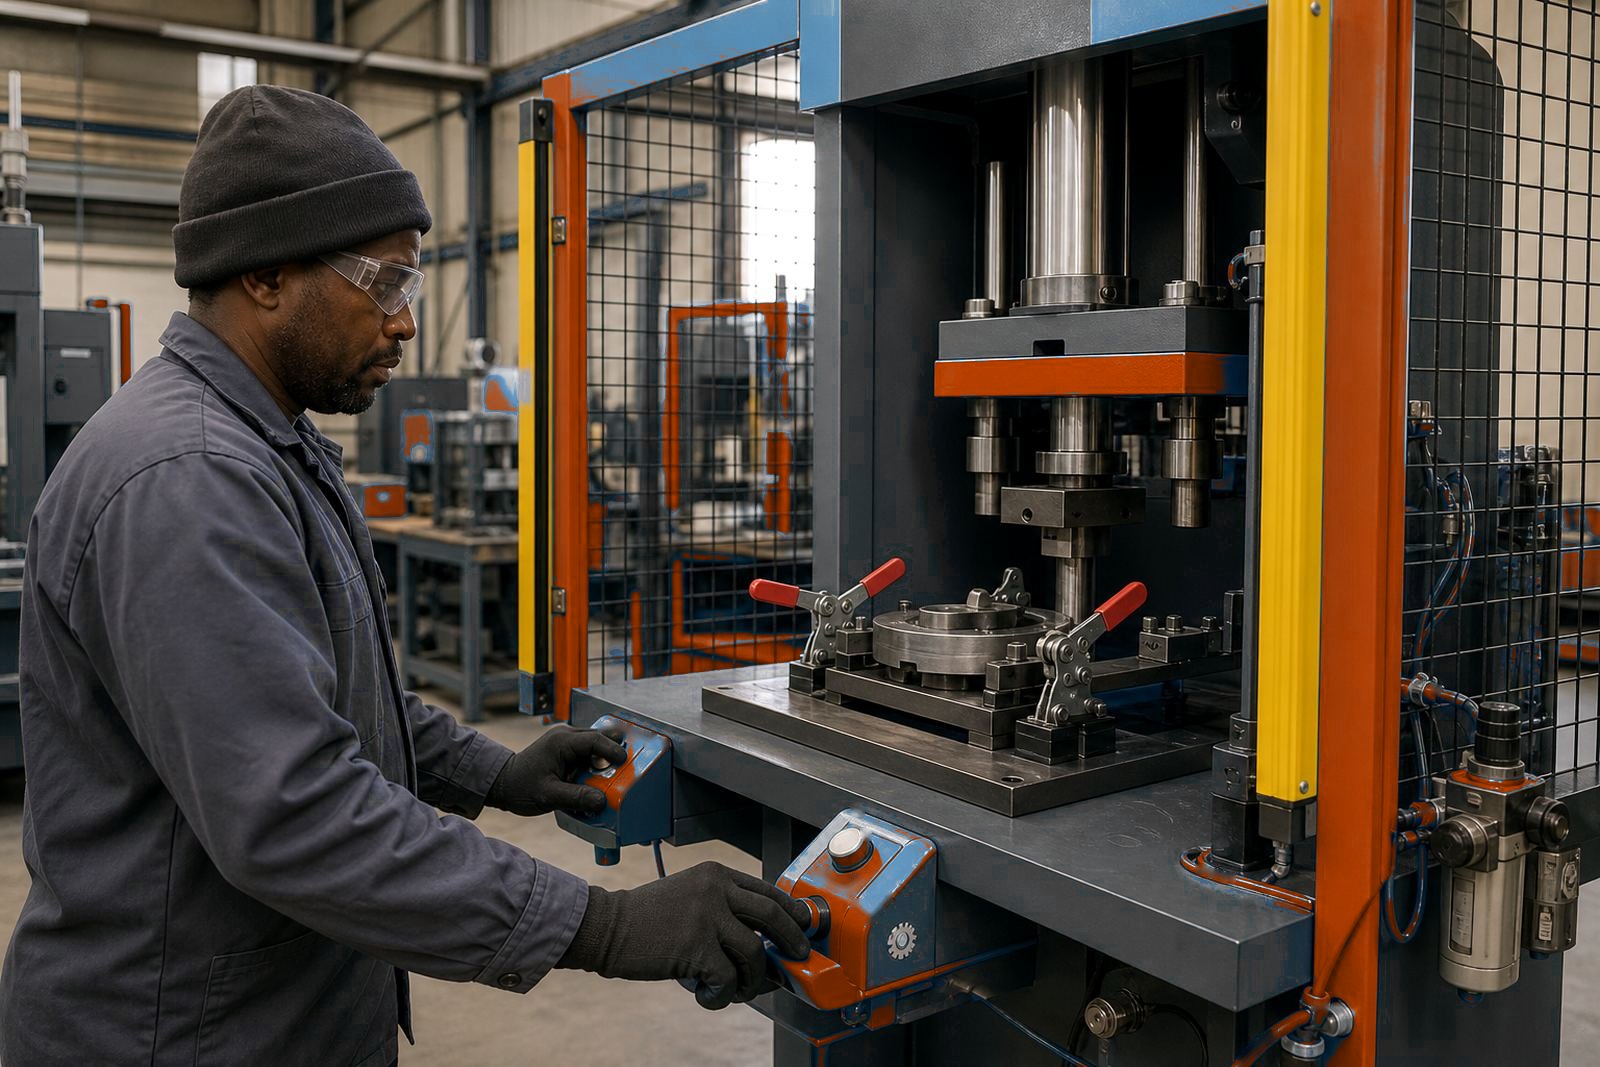
Good part location does not work alone. It has to sit with guarding, light curtains and two-hand controls so the operator can load safely and keep the cycle controlled. If the fixture allows the hand to stay too close to the tooling, the set-up is wrong, even if the parts look neat on the first run.
On multi-station pneumatic presses, we often check how the locating method affects reach, sight lines and clearing the finished part. A pocket that is too deep can slow loading. A stop that sits too far back can make the operator overreach. A pin placed in the wrong corner can interfere with a clamp or a transfer arm. These are practical things, and they matter more than theory on the workshop floor.
An Ekurhuleni press line in active daily production
A part in a suburban fabrication shop near the airport industrial area needed accurate crimping on one station and clean pack sealing on the next. The component had a thin flange, so a hard stop alone was not enough. We used a shallow pocket to settle the body, then added two guide pins to keep the flange square while the tooling closed.
That small change helped the operator load faster and reduced the chance of the part sitting crooked after a long shift. It also made tooling changes easier, because the pocket insert could be swapped without rebuilding the whole table. On a line like that, in and around Johannesburg or Boksburg, the best location method is usually the one that suits the real part shape, not the neatest drawing.
Practical signs the location method needs another look
When location is weak, the press usually shows it before the paperwork does. You can see it in slight misalignment, inconsistent crimp depth, uneven rivet heads or a seal that lands off-centre. Sometimes the part still fits, but the finish varies enough to create rework later in the day.
- Parts shift when the operator closes the guards or closes the hands.
- The tooling marks one side harder than the other.
- The part rocks or springs out of the nest after loading.
- Set-up changes keep taking longer than they should.
- Finished pieces need extra sorting after the cycle.
If those signs keep showing up, the answer is not always more air pressure or a longer stroke. Often the better fix is a better pin, a better stop or a pocket that matches the actual component more closely.