The underside carries more than the part
When a staking operation starts, the upper tool drives material into position, but the lower support has to carry the part cleanly and keep it stable through the full stroke. If the support flexes, the force spreads in the wrong place and the stake can close unevenly, leaving one side tight and the other side loose.
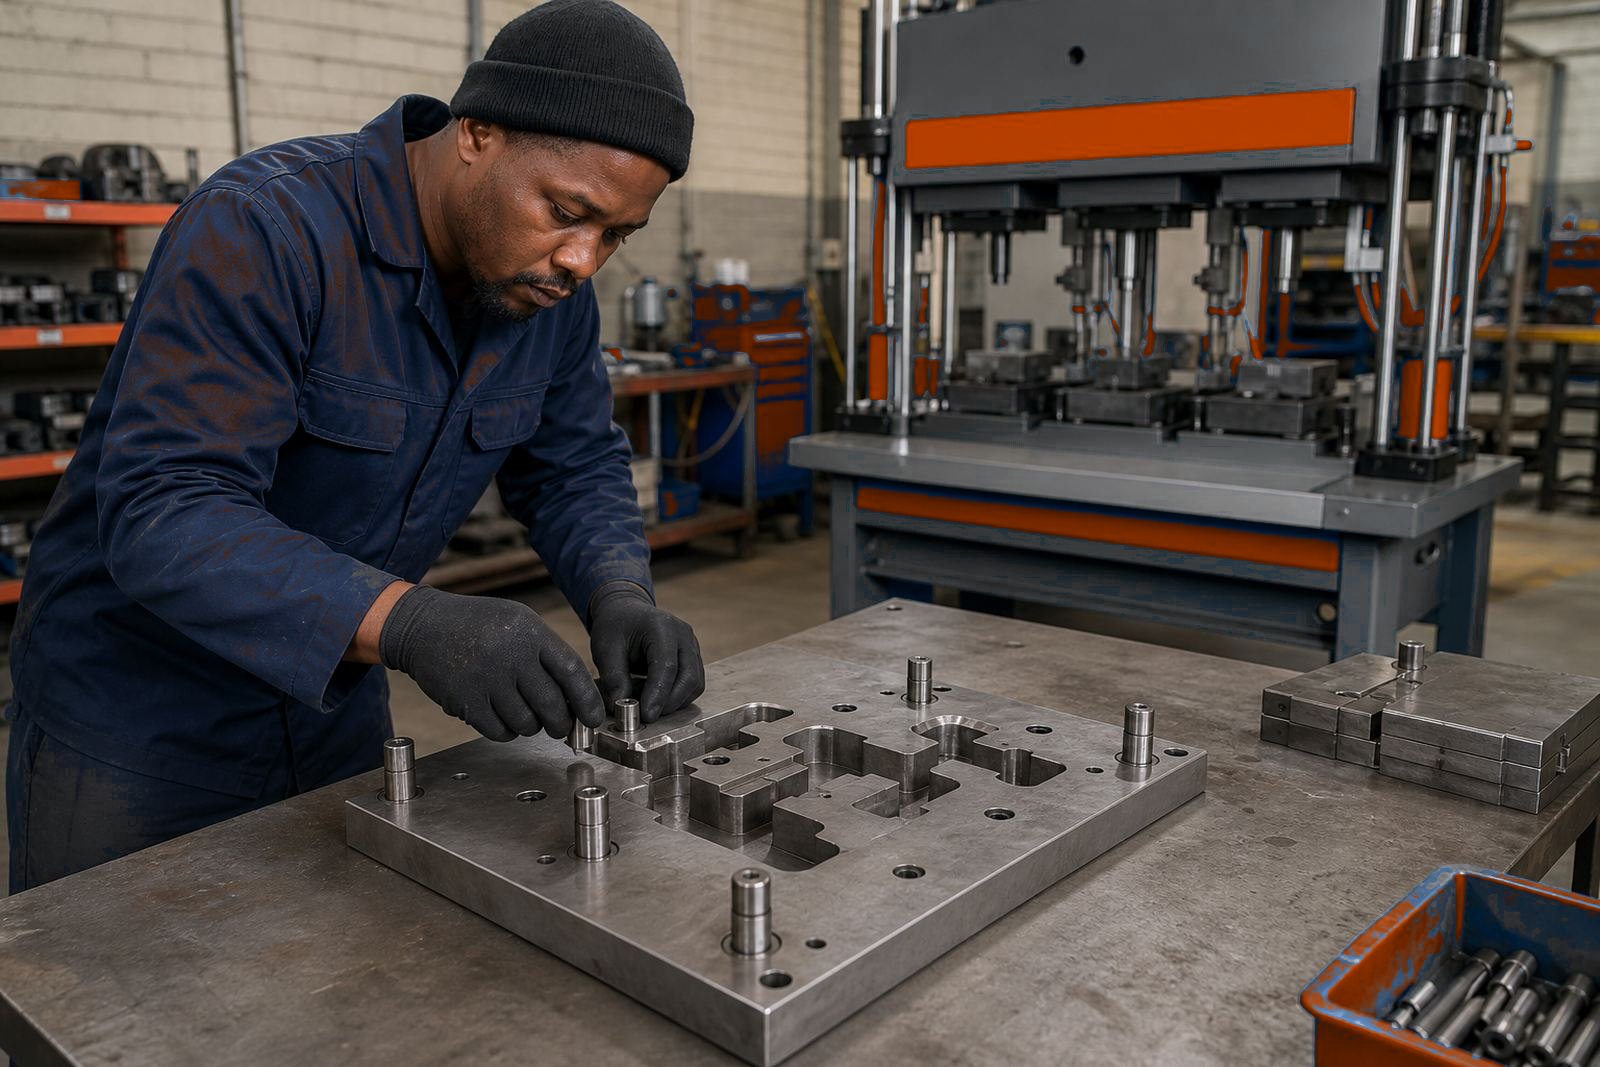
That support can be a machined nest, a shaped fixture, or a hardened pad built to suit the component geometry. The goal is not only to hold the part still, but to give the material a clear path for flow so the staking feature forms where it should. On thin sections, even a small gap under the workpiece can change the result more than many people expect.
Signs the support is not holding the part properly
Operators usually spot support trouble before maintenance does. The press may sound normal, yet the finished part tells a different story. A part that rocks in the fixture or sits on high spots will move as the cylinder comes down, and that movement changes the formed profile.
- Shallow stake marks on one side only
- Crushed edges where the part was not fully backed up
- Visible witness marks from a hard or uneven nest
- Height variation between pieces from the same batch
- Parts that need hand correction before packing
These faults do not always point to air pressure alone. A staking station can run at the correct pressure and still produce poor results if the support is tired, loose or set to the wrong height.
Setting support height and stroke together
Support height and stroke setting work as a pair. If the part sits too high, the tool may bite early and deform the top surface before the lower section is ready to take load. If it sits too low, the cylinder may travel further than needed, and the stake can flatten instead of forming cleanly.
During commissioning, the team should check the first contact point, the finished depth and the recovery of the part after release. On many jobs, a small change in support height or a simple spacer adjustment gives a cleaner stake than increasing pressure. It is slower work on the front end, but it saves time once the line starts running in batches.
- Confirm the part sits level across the full contact area
- Set the stroke to finish at the same depth every cycle
- Check whether the support allows for part thickness variation
- Inspect the underside for witness marks after test cycles
Tooling shape decides how the load lands
Staking tool support is not only about holding weight. The shape of the nest controls where the load lands and how the material reacts under pressure. A flat support suits some parts, while others need a pocket, a step or a local relief so the feature can form without pinching the surrounding area.
For parts with ribs, bosses or folded edges, the support must avoid creating a false contact point. If the tool presses on the wrong ridge, the stake may look acceptable at first but fail during handling or vibration. Good support takes the part geometry seriously and leaves the forming zone free to move in a controlled way.
What changes on real production floors
In an Isando workshop, a staking job might be part of a small assembly sequence where the operator loads a bracket, checks the location, and cycles the press in a matter of seconds. In that setting, support wear builds quietly. Dust, oil film and small burrs collect in the nest, then the part starts to sit differently from one shift to the next.
That is why support design should account for cleaning, access and repeat location. If an operator must fight the fixture to seat the part, the process slows down and the stakes drift out of tolerance. On humid coastal routes too, mild corrosion on a support face can alter how a component settles, especially where tinplate or light-gauge steel is involved.
Pack-sealing line in Johannesburg and Durban
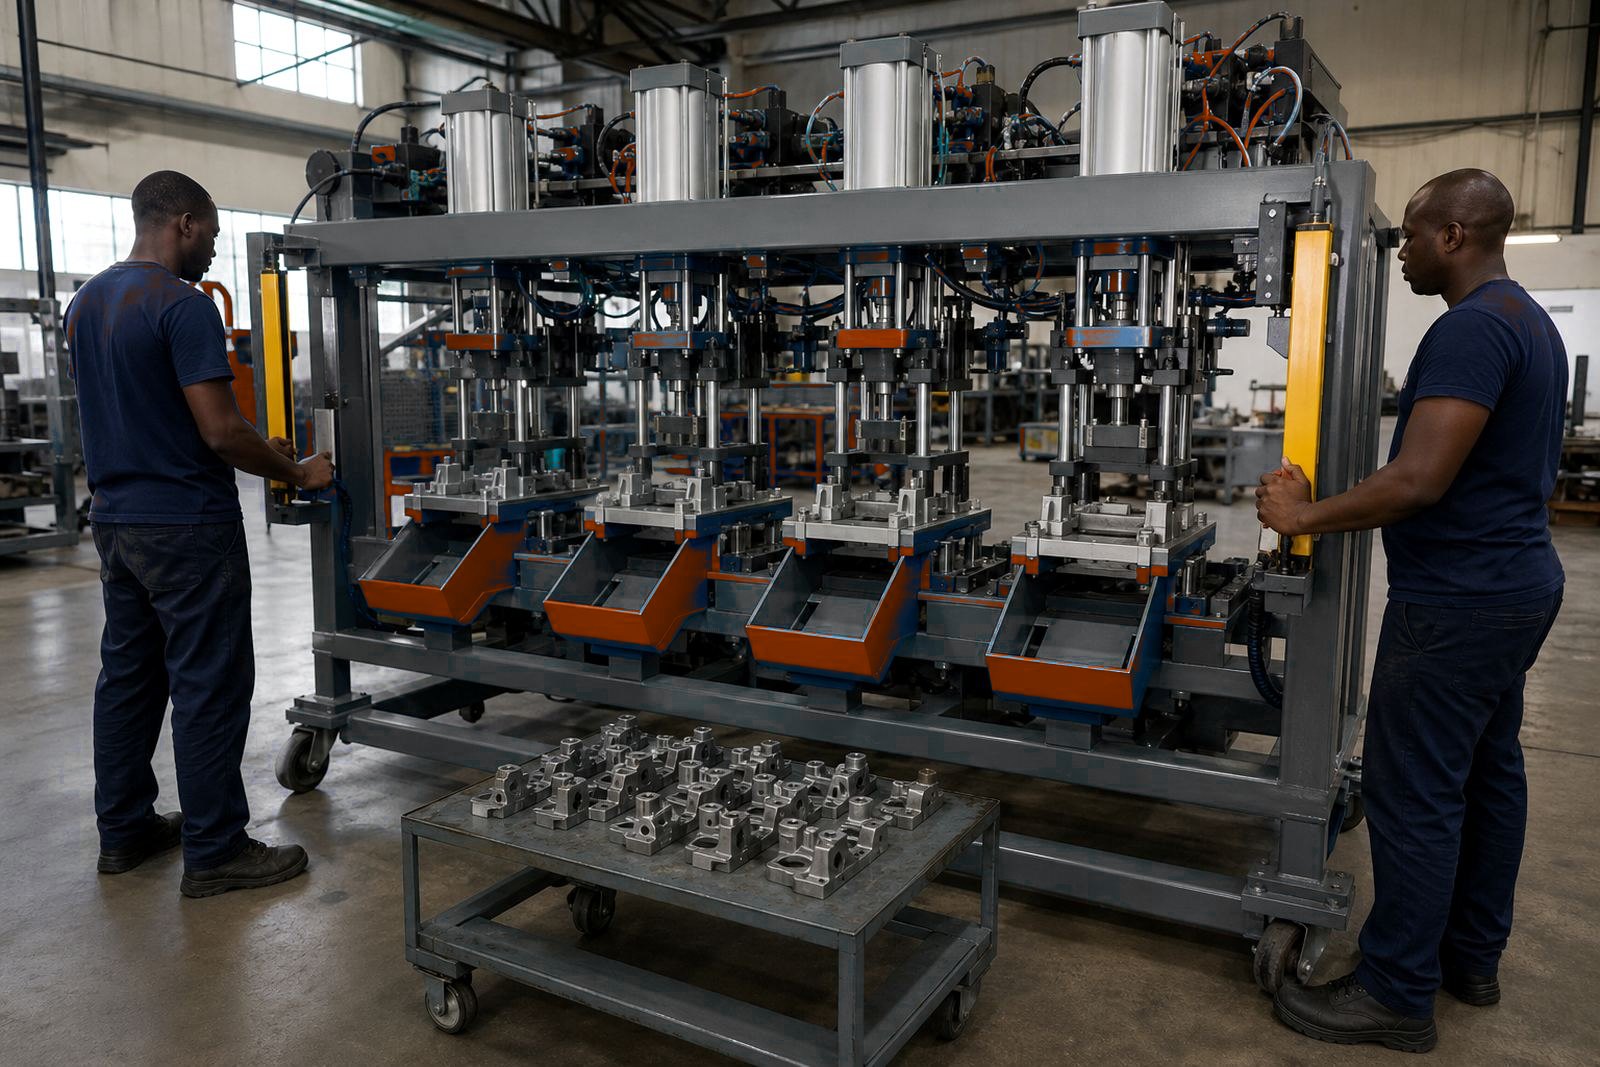
A packaging line moving between Johannesburg and Durban may use staking to secure a small closure feature before final sealing. The part itself is modest, yet the support beneath it has to be exact, because the joint faces upward once the press closes. If the nest lifts one corner, the stake closes lopsided and the pack does not sit square in the next station.
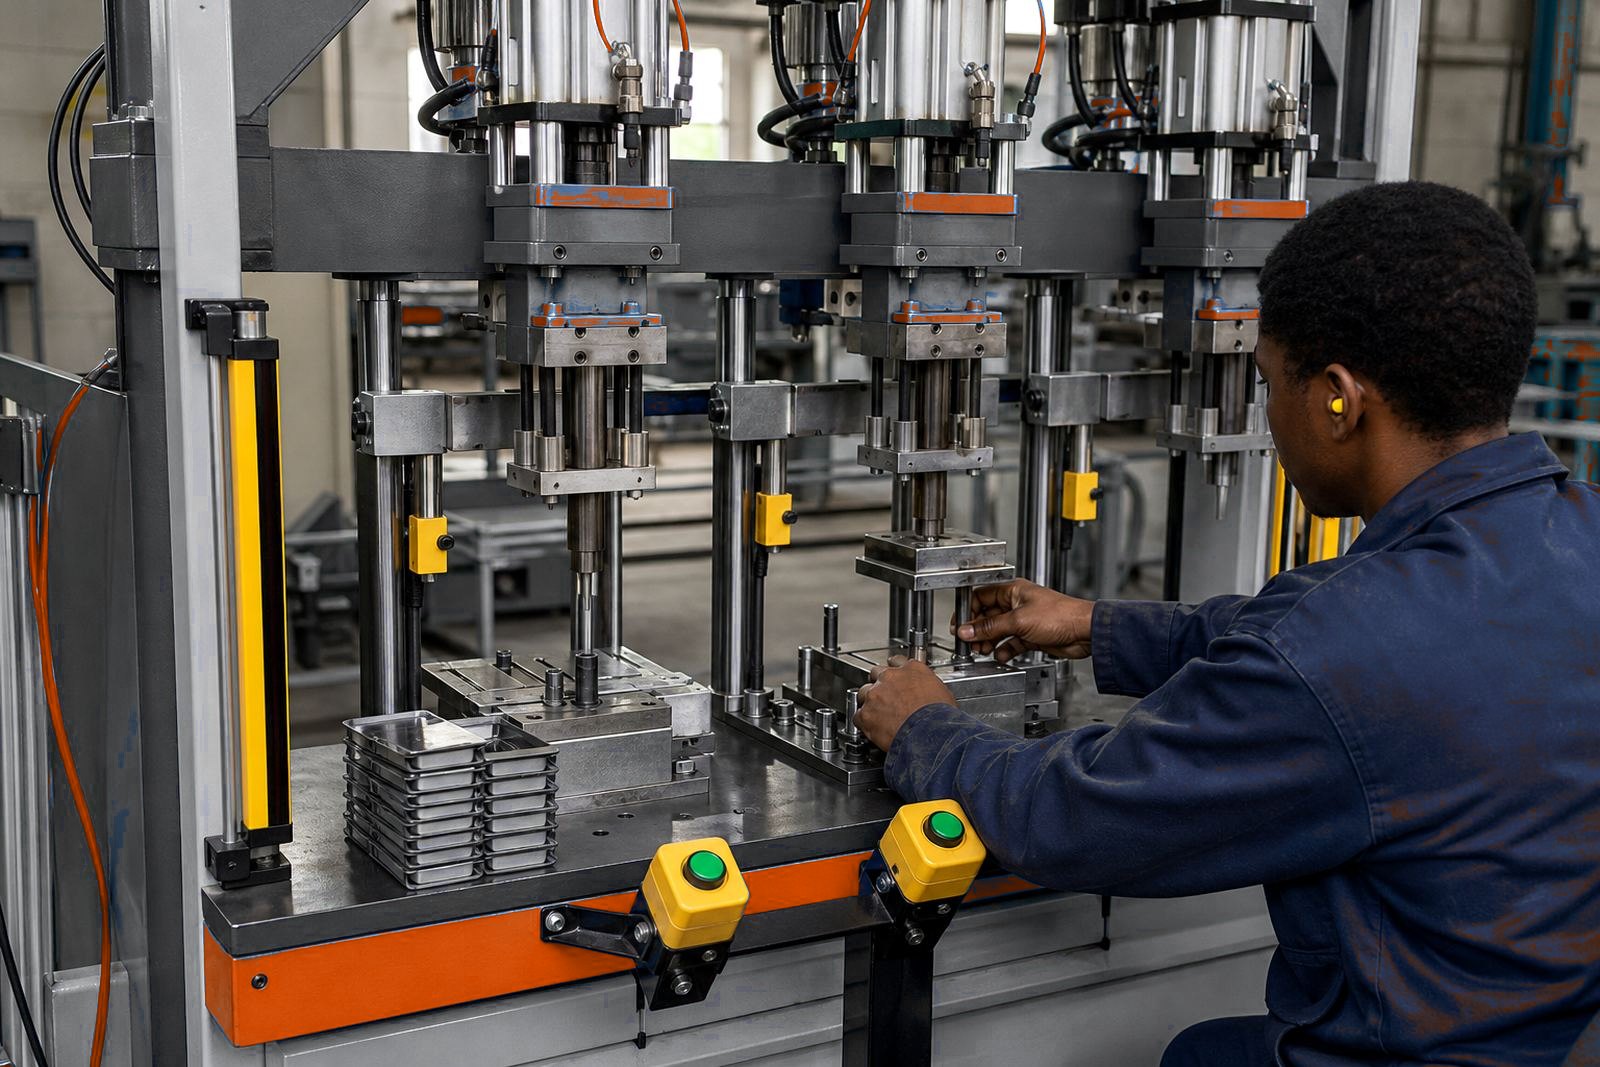
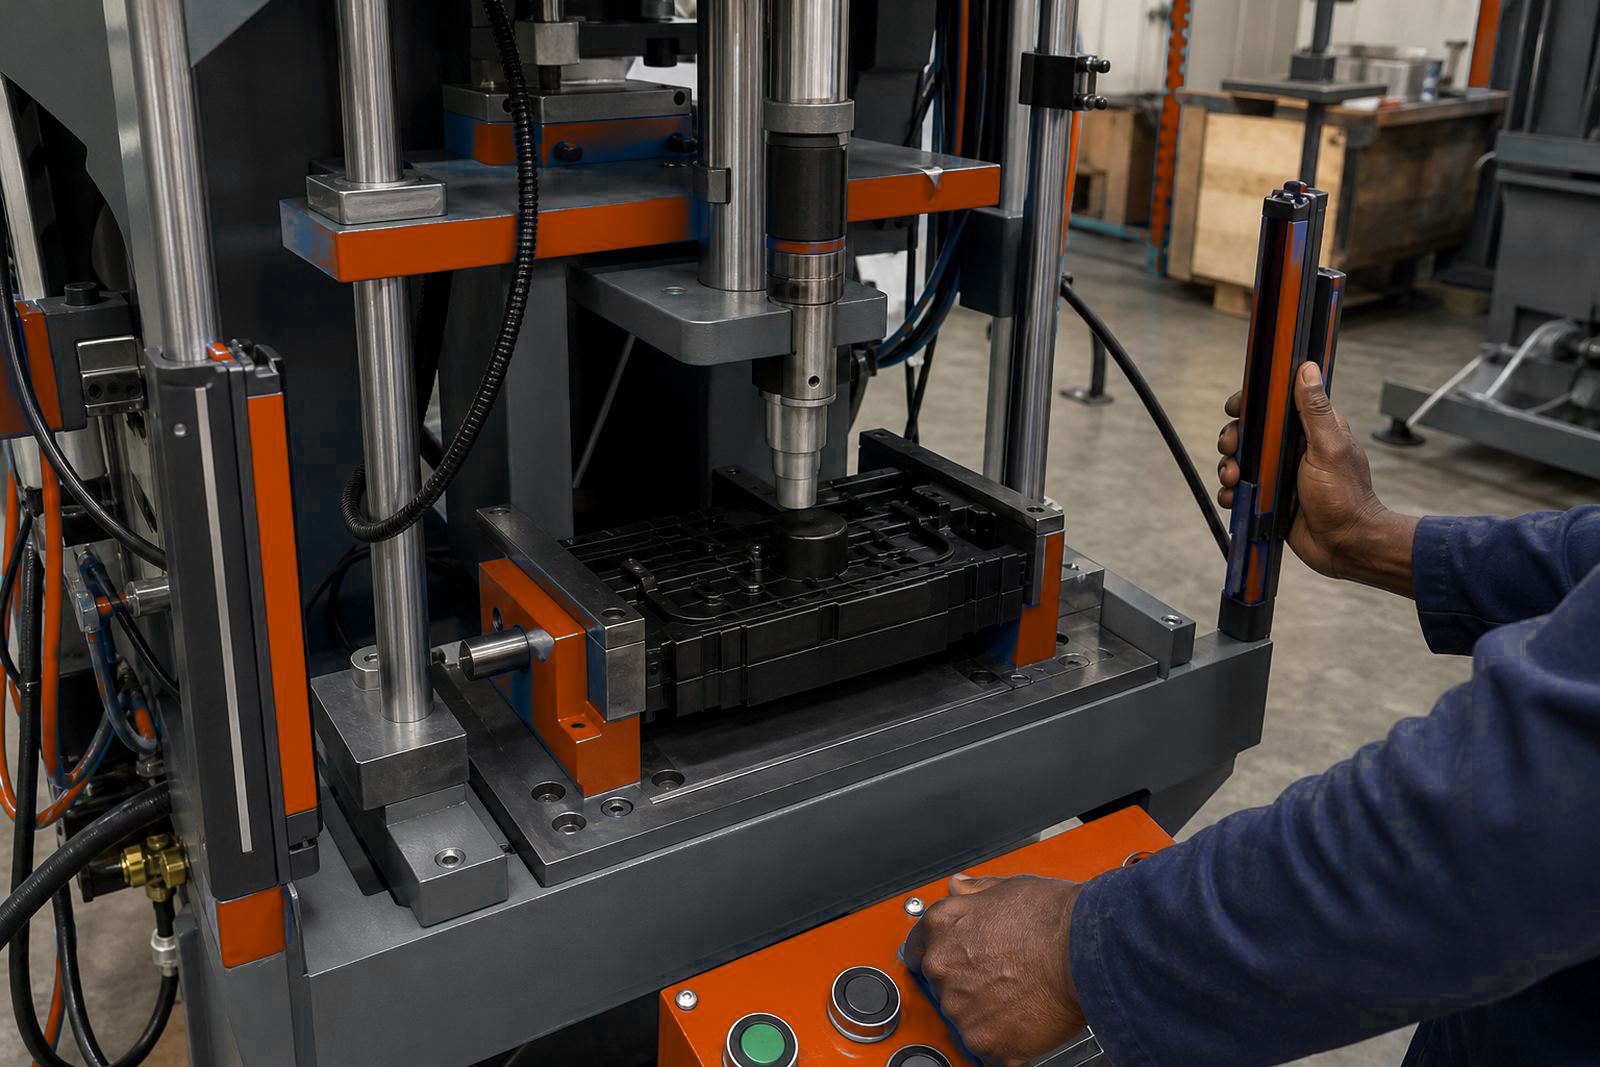
In that kind of line, the support has to match the part, the stroke and the hand motion of the operator. A two-hand control keeps the cycle deliberate, but the support still does the quiet work of keeping the component in place. When the support is right, the operator feels a steady press and the finished part releases cleanly with less sorting later.
- Keep the nest surface free of burrs and trapped scrap
- Match the support to the actual part thickness
- Use guards and light curtains where access is exposed
- Check the first pieces after any tooling change
Support checks that save grief later
Check staking support during the tool change routine, before a bad batch shows up. Look for loose dowels, worn pads, cracked inserts and any spot where the part can rock. If the support has softened or shifted, the press will still cycle, but the part quality starts moving around long before the issue becomes obvious.
It helps to keep a short record of the support setting, the stroke position and the pressure used for each job. That record makes it easier to return to a proven setup after maintenance or a tooling change. On a factory floor, small notes often prevent bigger interruptions.