Guarding Starts With the Movement, Not the Fence
A good layout follows the motion of the press first. The ram drops, the tooling closes, the part moves and the operator reaches in or stays clear, so the guarding needs to respect those steps rather than sit around the machine as an afterthought.
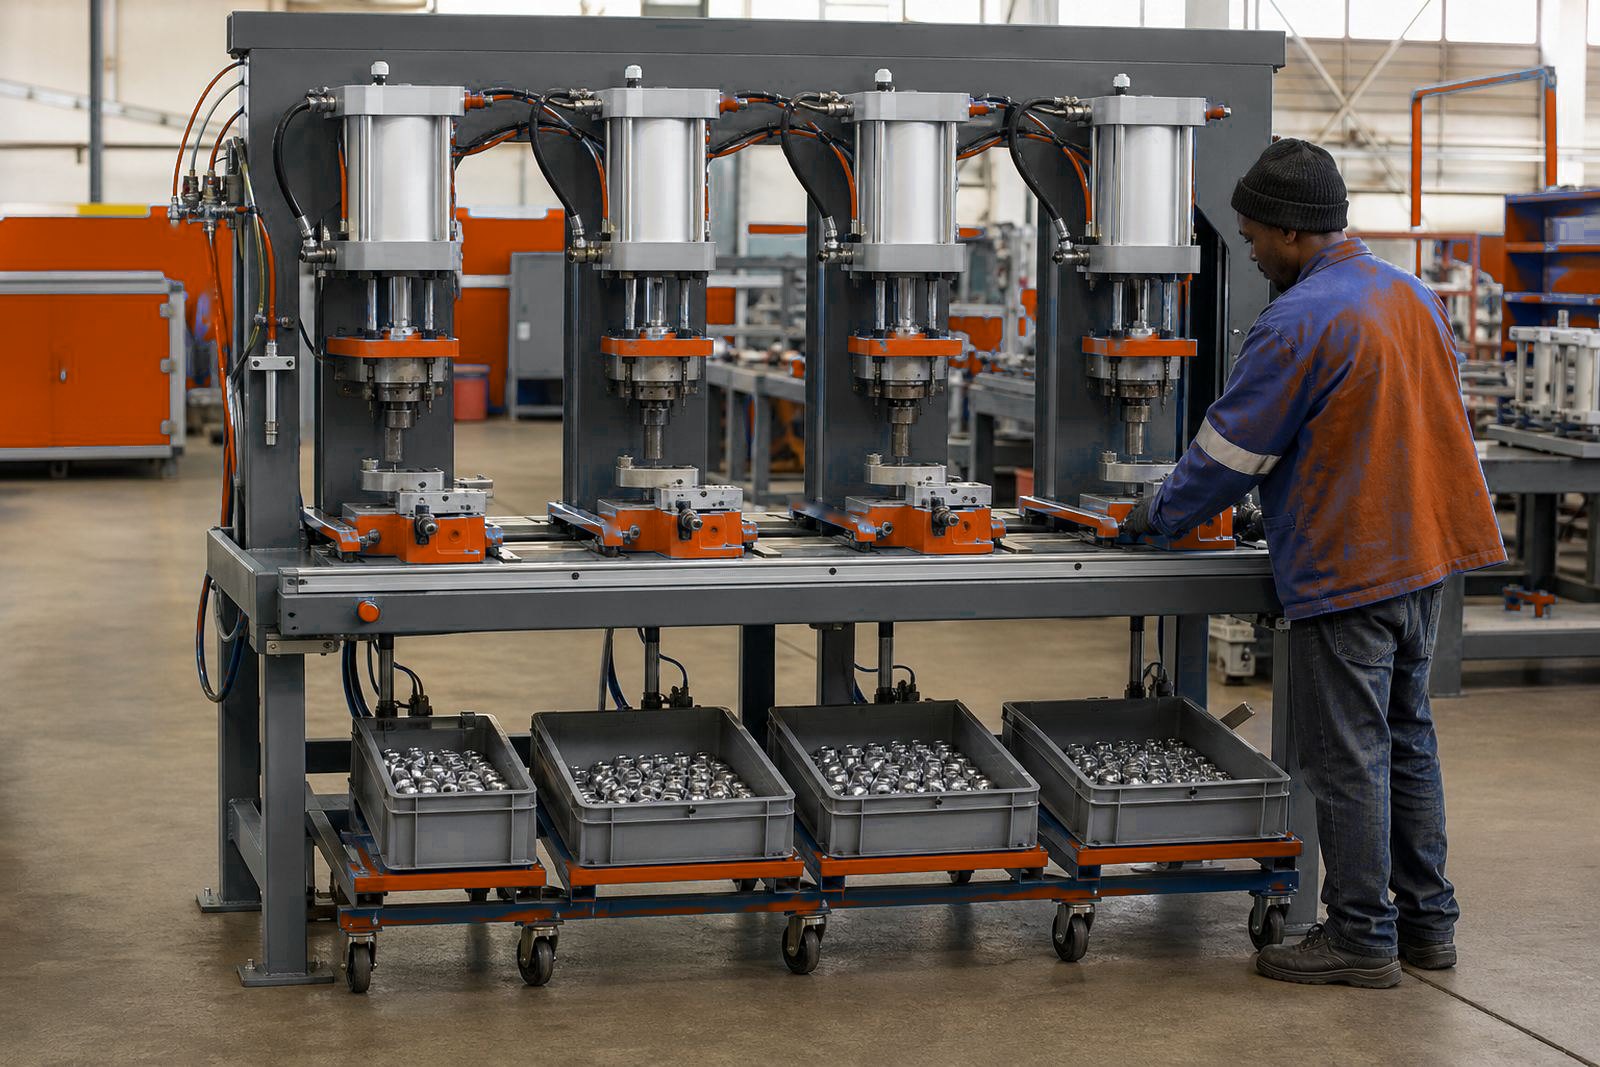
On a single-station unit, a fixed front guard may be enough. On a multi-station press, the layout often changes from station to station because one station may be for loading, another for crimping and another for inspection or pack sealing. That is where clear access paths matter, especially when tooling changes are part of the daily routine.
- Fixed panels work well where access is rarely needed.
- Interlocked gates suit tool change areas and maintenance access.
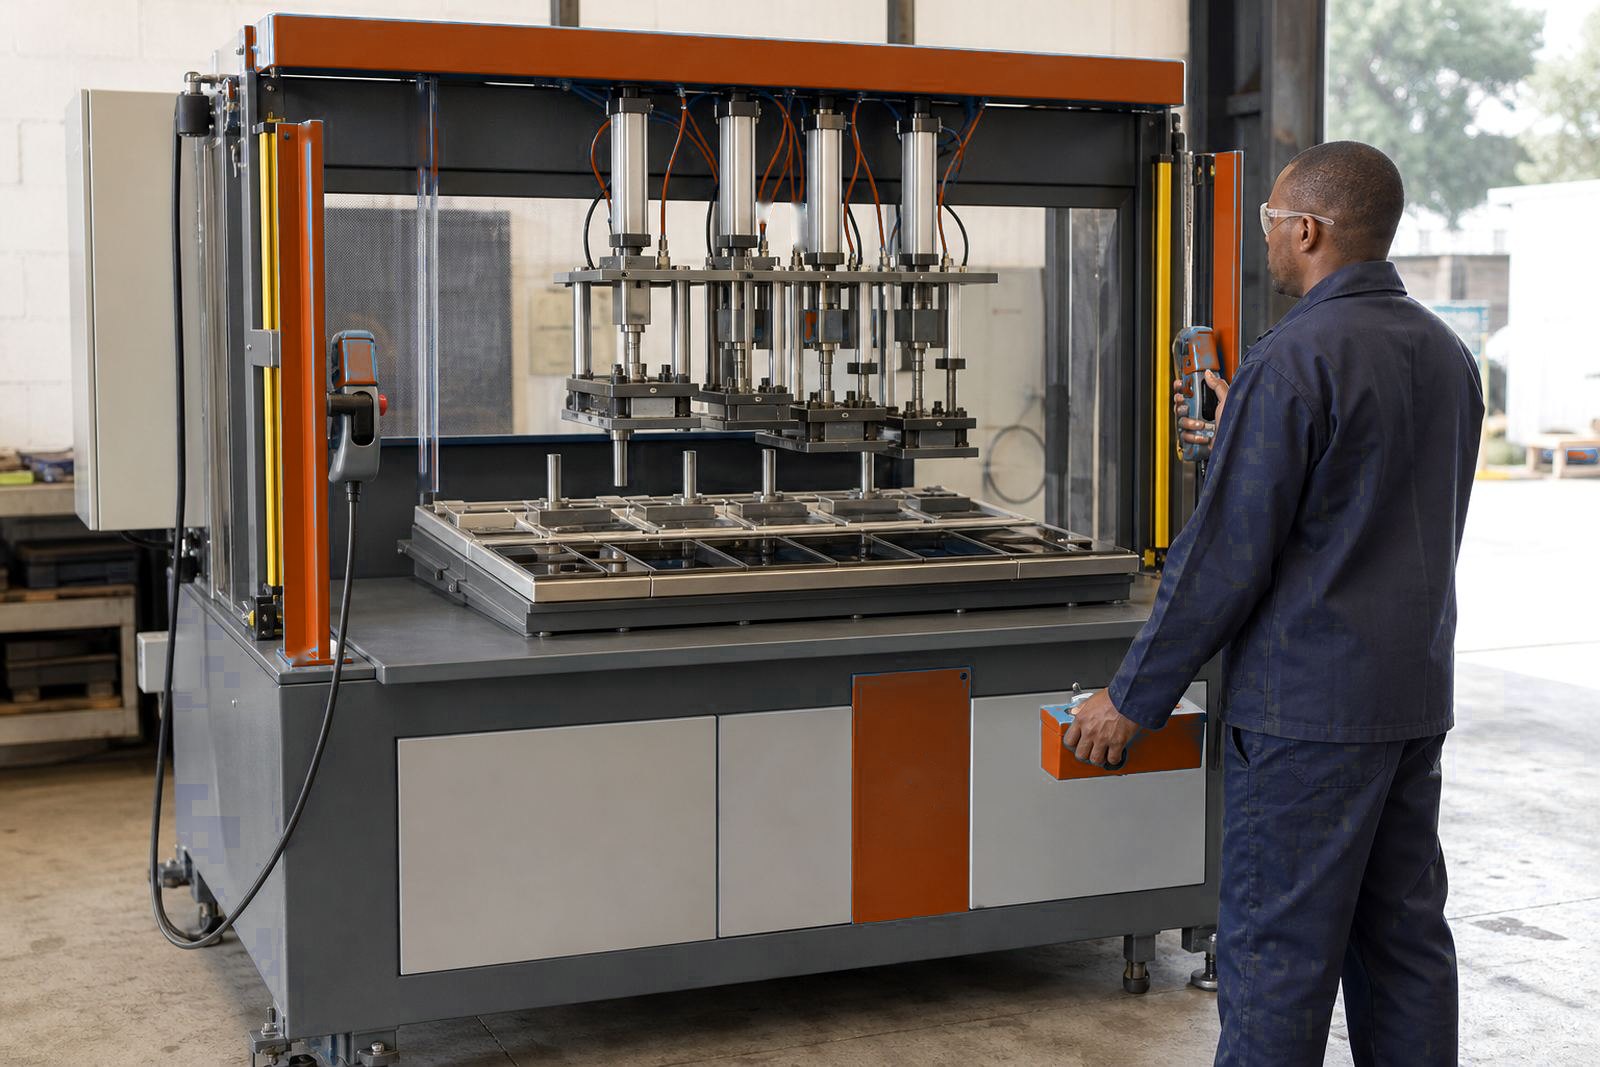
- Light curtains help where the operator must feed from the front.
- Physical barriers can separate adjacent stations on a longer frame.
Open Front, Closed Sides, or Full Cage
The shape of the guard depends on how the press is used. An open front may suit a line where the operator loads one part, steps back and the cycle starts under two-hand control. A closed side and rear arrangement suits stations where other staff walk past, or where parts are transferred by hand from one end.
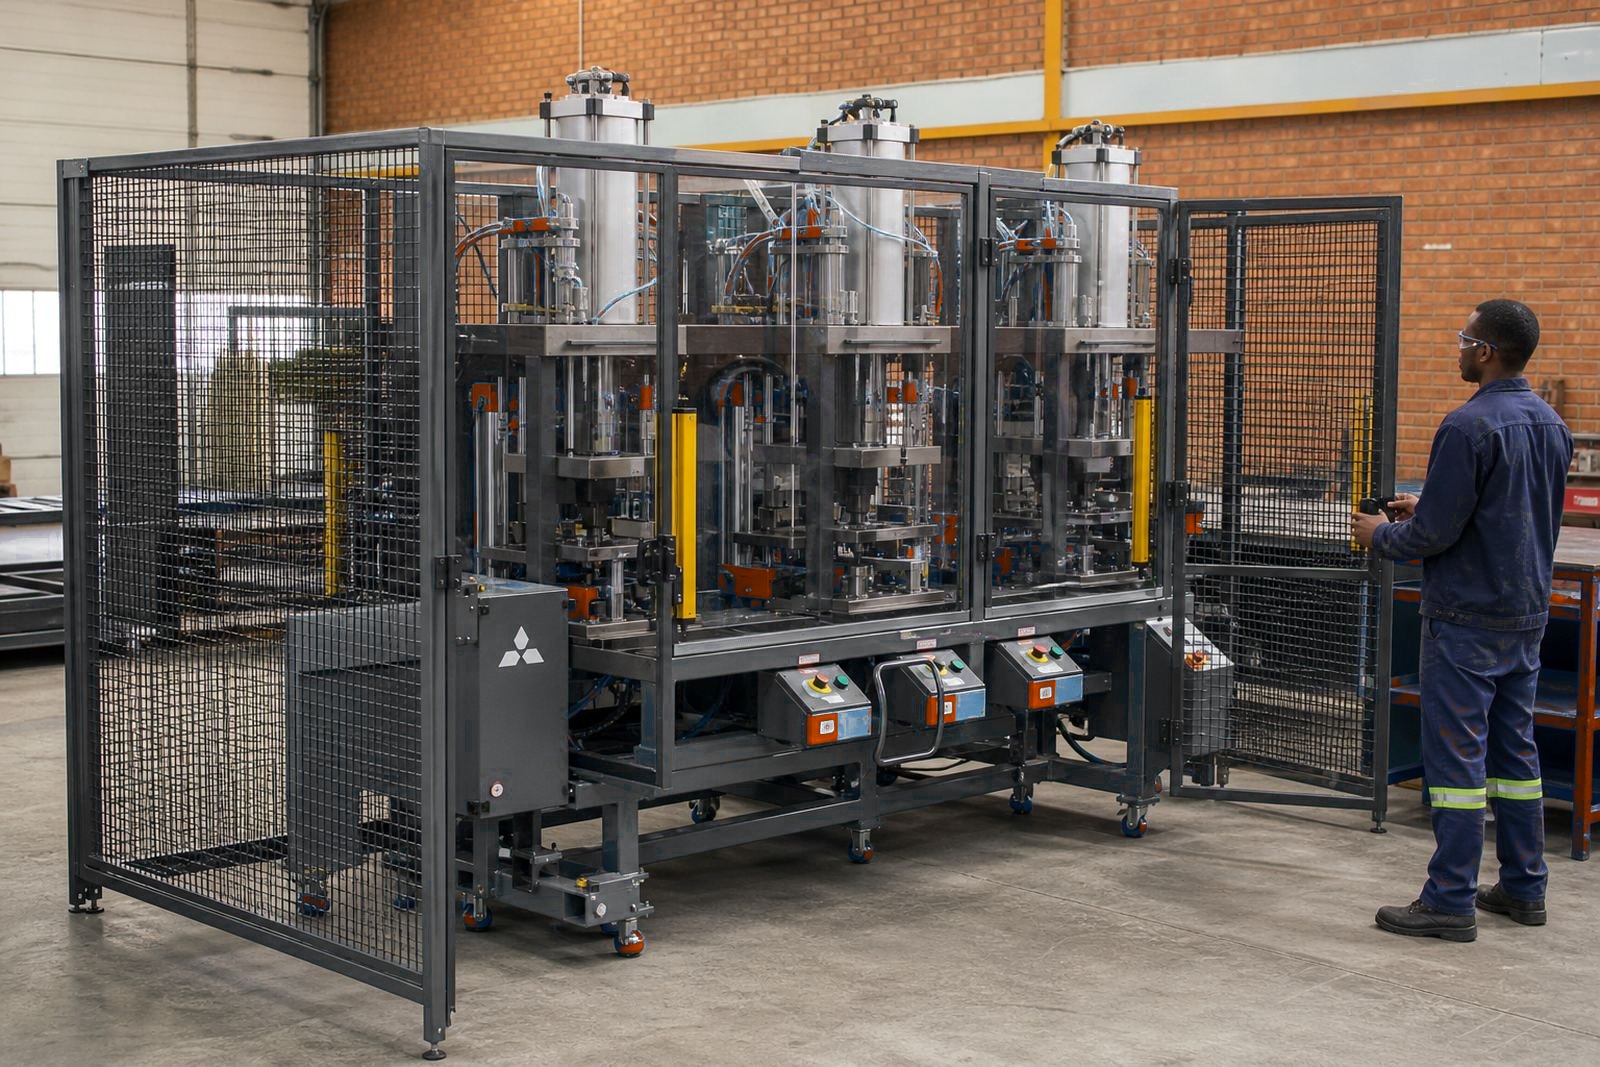
Full cages are common when the stroke is deep, the tooling is exposed, or the job involves riveting and staking with small components that can shift. In a busy factory in Isando or Kempton Park, the right answer is often not the biggest cage but the one that leaves the least awkward reach and the clearest sightline to the tooling.
- Open fronts support regular loading, but need strong control logic.
- Closed sides reduce side entry and stray contact near moving parts.
- Rear access doors help with setup and maintenance.
- Transparent panels can improve visibility without opening the zone.
Two-Hand Controls and Light Curtains Need Clear Roles
Two-hand controls and light curtains solve different problems. Two-hand controls keep both hands away from the danger zone at the start of the cycle. Light curtains protect access openings where the process still needs a visible opening for loading or removal.
Our aim is not to fit both and hope for the best. On some stations, a well placed two-hand station is the cleanest option. On others, especially where a tool throat needs frequent access, a curtain tied into the safety circuit makes more sense. The layout must also account for reach distance, reset positions and the way the operator stands during the cycle.
- Two-hand controls suit repeat cycles with consistent part placement.
- Light curtains suit access openings that cannot stay closed.
- Safety relays and interlocks must match the guard layout.
- Reset buttons should be outside the hazard zone and easy to see.
In practice, the best result often comes from combining a front curtain with side barriers and a controlled rear entry point. That keeps the operator visible to the station, while still limiting access to the stroke area.
Tooling Changes Need a Guard You Can Live With
If the guard makes every die swap or fixture adjustment a slow, awkward job, people start bypassing it. That is where a practical layout earns its place. The opening must be wide enough for the tool change method, but not so generous that the station becomes exposed during production.
Multi-station presses often need one station for assembly and another for crimping or riveting. Each of those may use different tooling heights, different stroke settings and different access points. A guard that works on one station can fail on the next if the panel lines or gate positions are copied without checking the actual reach and part path.
- Keep service access clear for tooling alignment and cleaning.
- Use removable panels only where they are truly needed.
- Mark the safe entry point for the operator and the setter.
- Leave room for clamps, gauges and locating pins.
Local Factory Reality in Isando and the East Rand
In Isando and across Ekurhuleni, many shops run mixed work: metal components, small assemblies, cable terminations and packed units on the same floor. That is where guarding has to cope with narrow walkways, forklifts, trolley movement and different product sizes sharing the same room. A guard that looks neat on paper can fail if the operator has to turn sideways just to place a part.
A practical example is a line with three stations: one for loading, one for crimping, one for pack sealing. The loading side may use a light curtain, the crimp station may need a fixed enclosure with a controlled entry, and the pack sealing station may need a simpler shield because the motion is shorter. The layout stays useful because each station is guarded for its own duty, not copied from the one next to it.
That same thinking helps on sites in Johannesburg, Pretoria, Durban, Gqeberha and East London. The floor space changes, but the question stays the same: can the operator reach the job safely, can the setter service the tooling, and can the line run without awkward workarounds.
A Guarding Plan Has to Match the Press Build
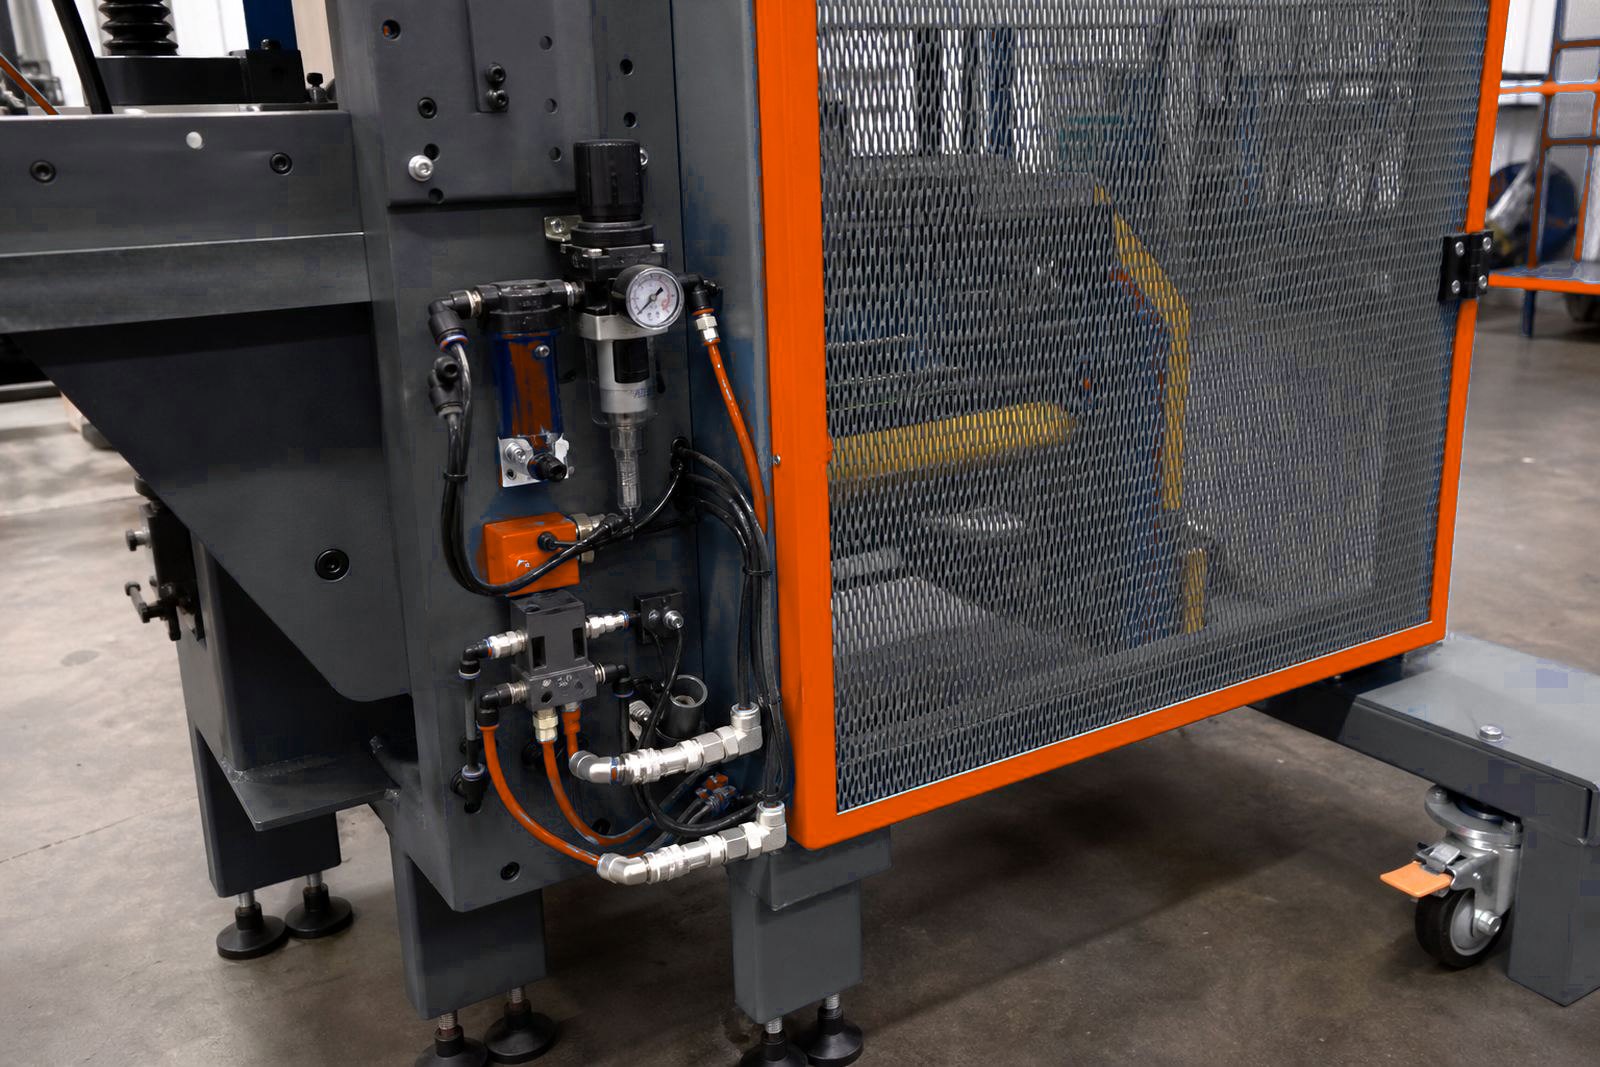
Press guarding works best when it is planned with the frame, cylinders, tooling and air setup at the same time. Stroke length affects the hazard zone. Air pressure affects cycle force. Station spacing affects where people stand. If those details are not joined up, the guard ends up fighting the machine.
For a multi-station build, the guarding layout should be set beside the fixture design, the two-hand logic, the stroke setting and the final production handover. That is how the press stays practical for operators and maintenance staff without leaving open gaps around the working zone.
- Map every station before the guarding is cut or fixed.
- Check operator reach, part flow and tool entry points.
- Set the safety devices to suit the actual cycle.
- Test the layout with the real parts and the real loading height.
When the guard follows the job, the press is easier to use and safer to supervise. That is the real value of a layout that respects both access and control.