The under-side of riveting is where consistency starts
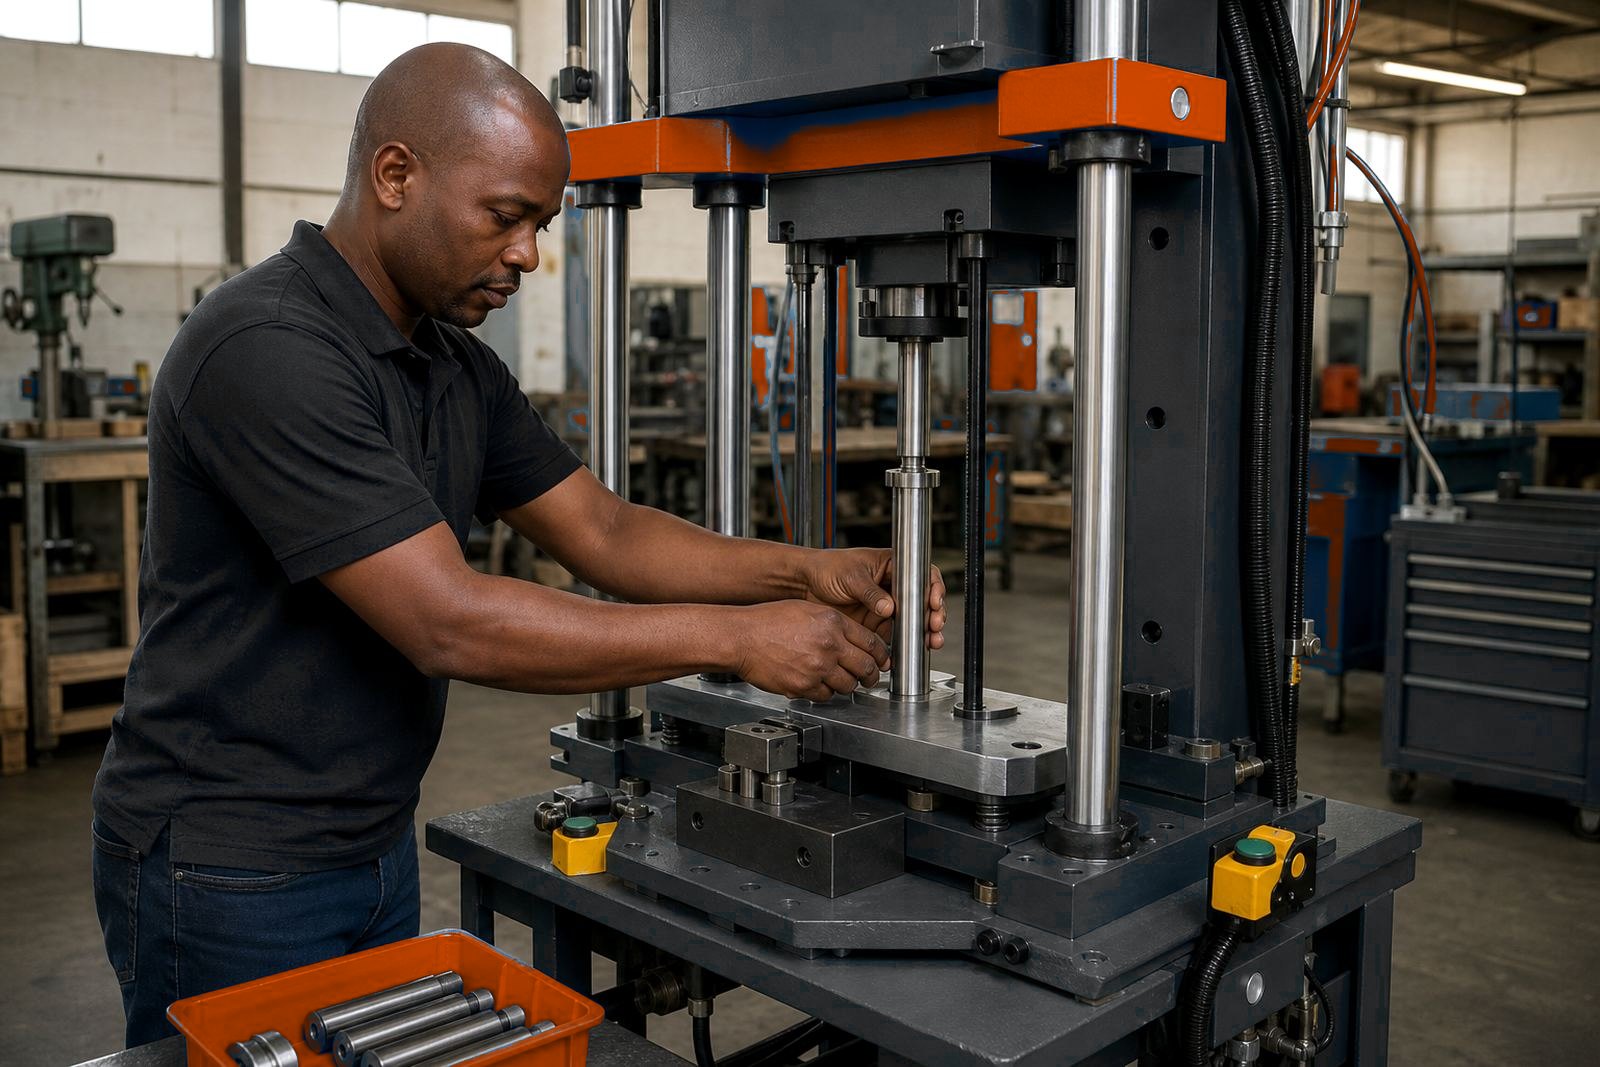
On a pneumatic riveting station, the upper tool gets most of the attention because it moves. The lower side often decides whether the joint is clean, square and repeatable. A support tool or lower anvil gives the part a hard reference, so the shank forms properly and the head does not tilt when the press comes down.
That matters on repetitive work. Once a batch starts running, a part that flexes or rocks will throw off hole alignment, leave witness marks, or force the operator to hold pieces by feel. In a pack sealing line or an assembly cell, that sort of drift becomes a steady drain on output. A well made support tool reduces that drift by giving every cycle the same foundation.
In practice, the lower tool has to match the part shape, the rivet length, and the press stroke. If the support face is too broad, small parts can skate. If it is too narrow, the load concentrates and dents the component. The best setup carries the force where it belongs and leaves the surrounding surface clean.
What a support tool has to handle on a live line
Riveting looks simple until the line starts moving at production pace. Then the lower tooling has to manage pressure, vibration, heat from repeated cycles, and minor part variation. In stainless, mild steel or aluminium assemblies, the tool also needs a finish that will not mark the job when parts are handled by hand later in the shift.
- It must locate the part without chasing it across the table.
- It needs enough mass and stiffness to resist bounce under air pressure.
- It should match the rivet head form and the support face underneath.
- It has to suit the press stroke, or the tool will bottom out too early.
- It should allow the operator to load and unload without fighting the setup.
On many stations, the lower tool sits inside a fixture with guide pins, stops and a simple clamp arrangement. That fixture does not need to be heavy for the sake of it. It needs to be accurate where the part sits, and practical where the hands move. In a South African workshop, that often means a tool that can handle dust, humidity and cleaning between shifts without losing its shape or position.
How lower anvils reduce bruising and crooked rivets
When the support is wrong, the riveting force travels into the part in a messy way. The result can be a distorted head, a loose joint, or a surface bruise that shows up only after final inspection. Lower anvils help by spreading the load evenly and by holding the workpiece still while the upper cylinder finishes the form.
A good support tool also controls the angle of the part. If a bracket sits a little off level, the rivet will follow that angle and the joint can lean. On a multi-station press, one station may be forming, another checking, and another loading. The support tool keeps the geometry steady from one cycle to the next, even when the operator is working under time pressure.
Where small metal parts are being joined, a polished but not slippery contact face usually works well. It gives grip without chewing the material. For plastic or coated parts, the contact profile needs to be kinder still, otherwise the finish starts to suffer long before the rivet fails mechanically.
Matching the tool to stroke, pressure and part shape
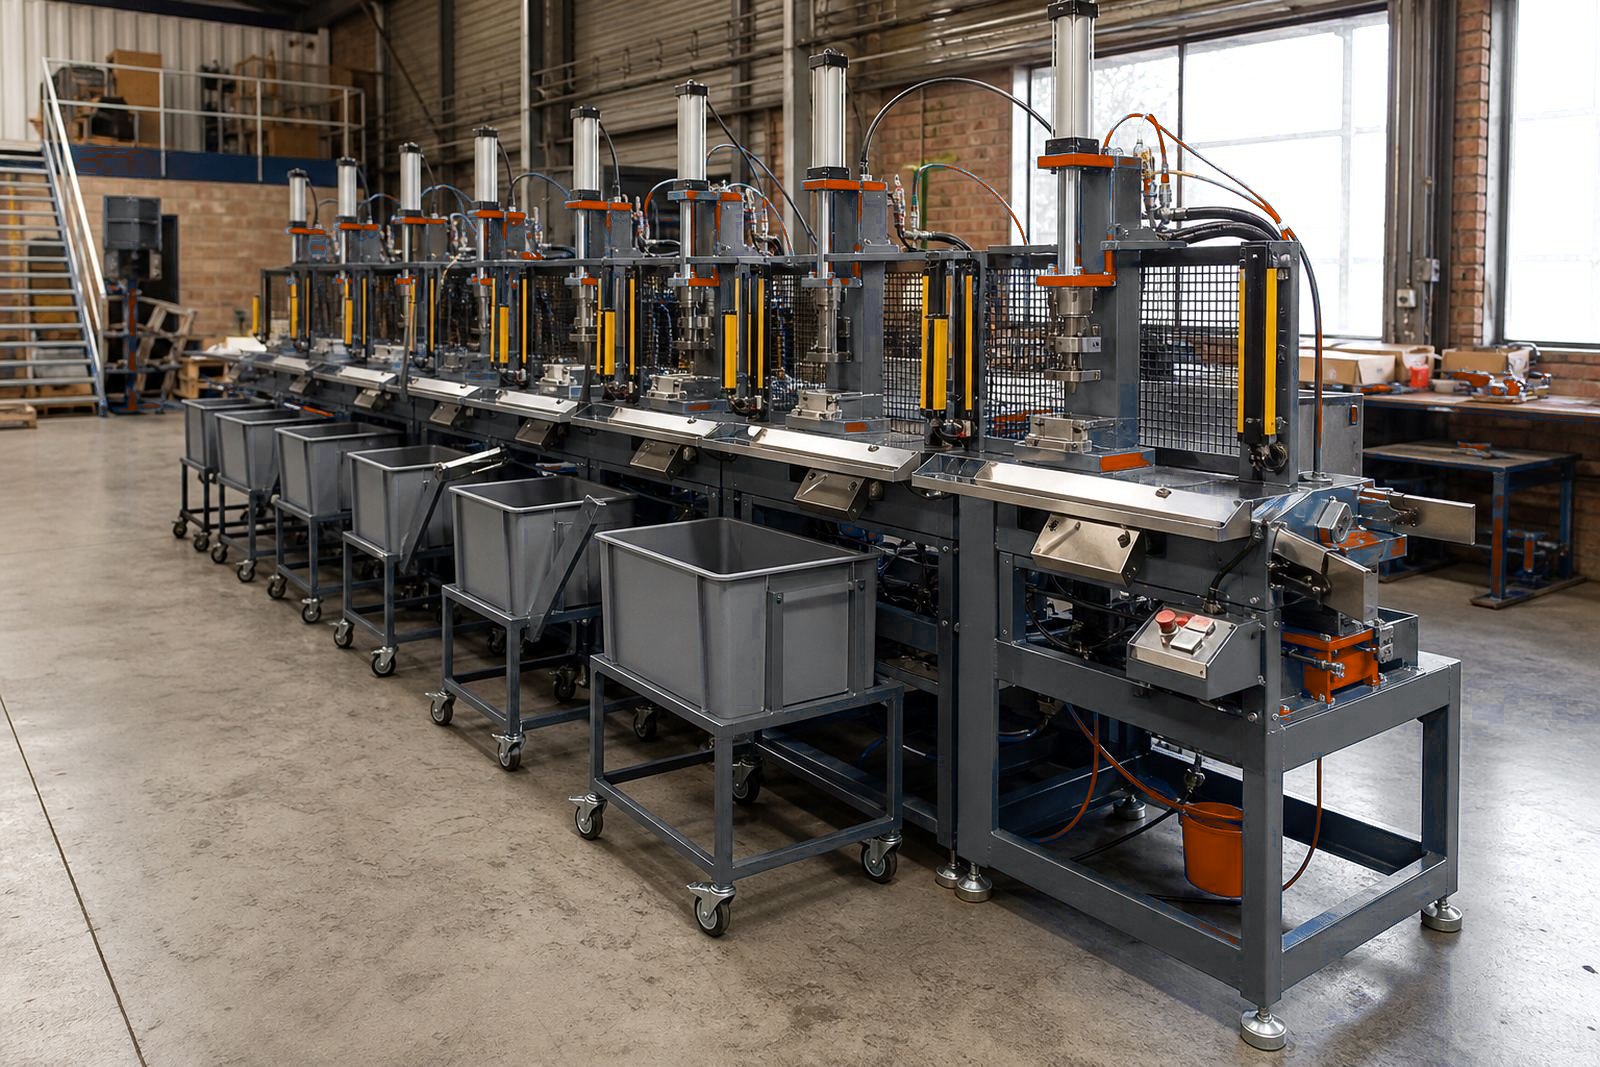
Multi-station pneumatic presses are rarely set up once and forgotten. The stroke, air pressure, dwell and tool height need to work together. If the cylinder reaches the rivet too fast, the part can shift before the lower support settles it. If the stroke is short, the rivet may not form fully. If the pressure is too high, the part can deform around the support face.
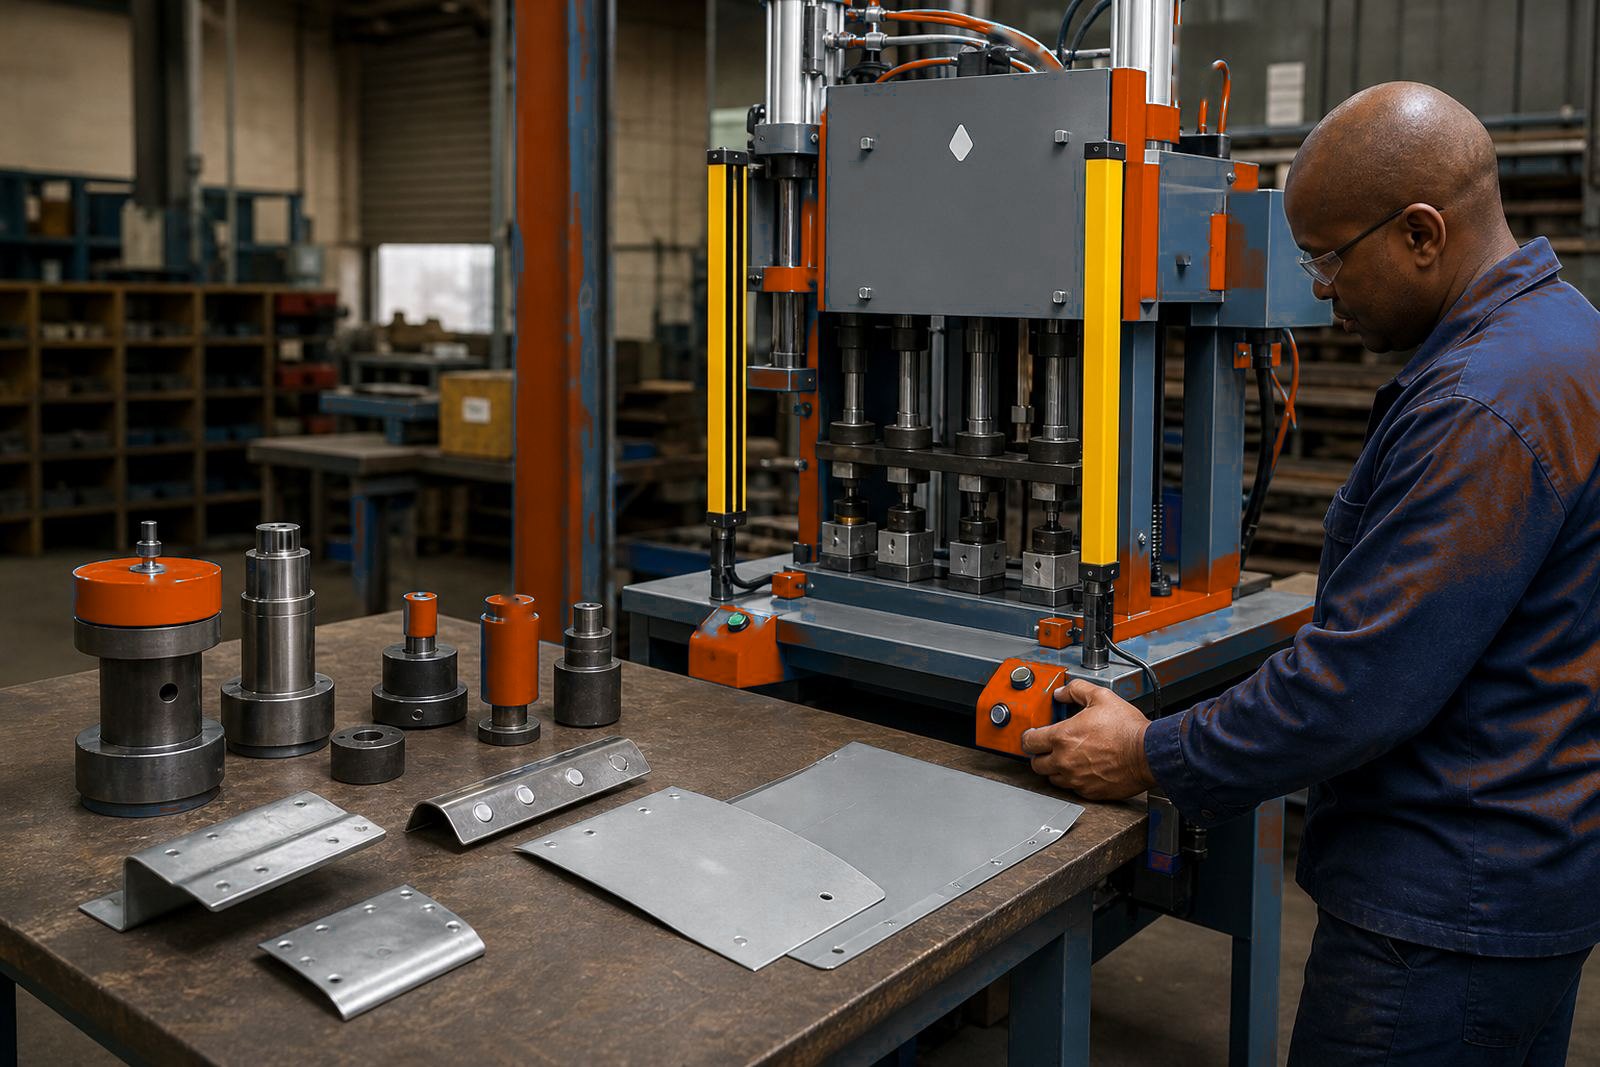
Tool design has to follow the part drawing and the actual job on the floor. Some jobs need a flat lower anvil with a small pocket. Others need a shaped nest that supports a flange or a folded edge. On certain assemblies, the support tool must leave a small escape path so displaced material can move without binding the joint.
- Measure the part in its real loaded state, not only from the drawing.
- Check where the rivet head lands when the operator closes the station.
- Allow for small part variation and sheet spring-back.
- Keep the tool height consistent across all stations on the press.
- Set the air pressure so the joint forms cleanly without crushing the component.
That is where tooling changes and stroke setting become part of the same job. The lower anvil cannot be treated as a separate add-on. It is part of the press behaviour, and it needs to sit inside the same setup logic as the guarding, two hand controls and light curtains around the machine.
Isando workshop riveting setup
In Isando, a local team running a repetitive riveted assembly line may be dealing with mixed part thicknesses, frequent handling, and operators who need to load fast in the right position. A fixed flat table can work for a while, then the line starts showing scuffed edges and uneven heads. That is usually the point where a shaped support tool starts paying its way.
On one typical setup, the lower support is machined to match a bracket profile, with a locator at one end and a relief cut where the rivet forms. The operator places the part, closes the two-hand control, and the cylinder travels through the same stroke every cycle. Because the support tool matches the part, the rivet forms with less side movement and the station does not need constant correction.
Once the tooling is right, commissioning and operator training matter just as much. The team must know where the stop faces are, how the air line setup affects pressure, and what a worn support surface looks like. A station that runs clean on day one can drift if the tool is treated like a simple block of metal.
What the support tool should be checked against before production
Support tools do not need glamour. They need the right dimensions, the right finish and enough thought behind the fixing points. A short check before production saves rework, especially where riveting sits in the same line as crimping, staking or pack sealing operations.
- Part thickness across the full batch.
- Rivet length and head form.
- Press stroke and cylinder travel.
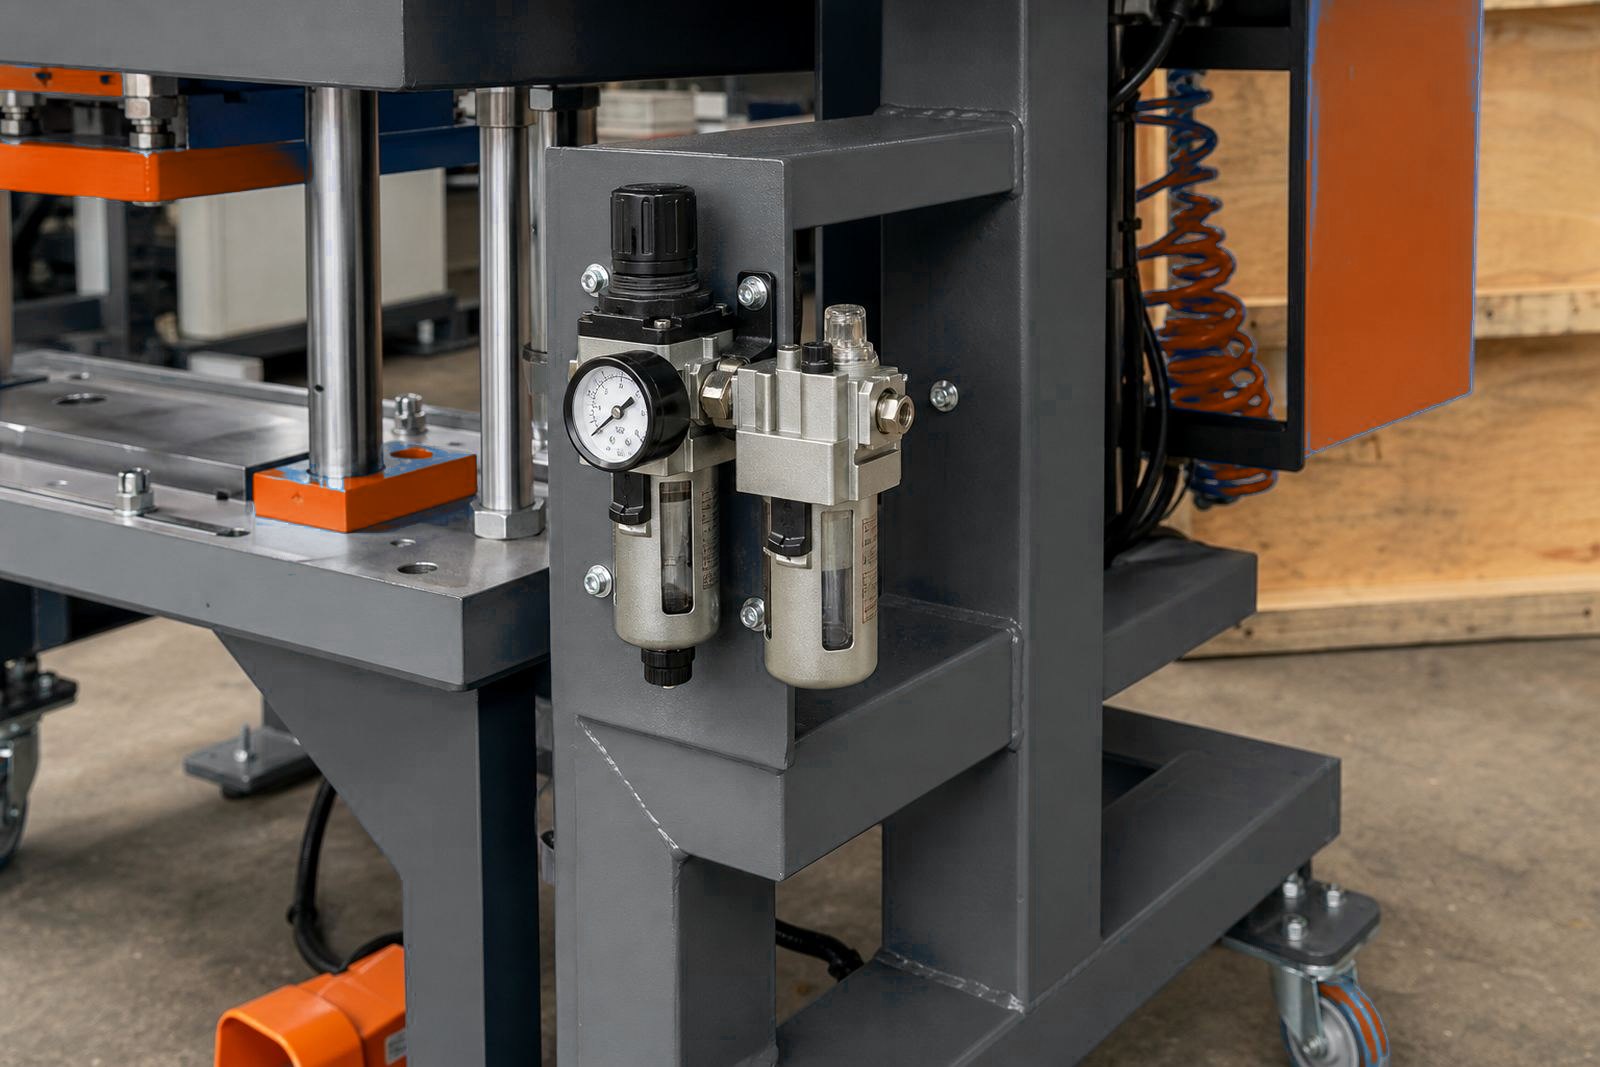
- Air pressure available at the station.
- Guarding clearance and operator access.
- Tool wear points, especially on the contact face.
- Cleaning method and how often the tool is cleared.
When a tool wears, the warning signs are usually plain enough. The joint starts looking uneven, the operator begins nudging the part into place, or the press sounds different at the bottom of the stroke. Those signs should not be ignored. A support tool is not just there to hold the work. It keeps the station repeatable, and repeatability is what keeps the batch honest.