Start at the air supply and the controls
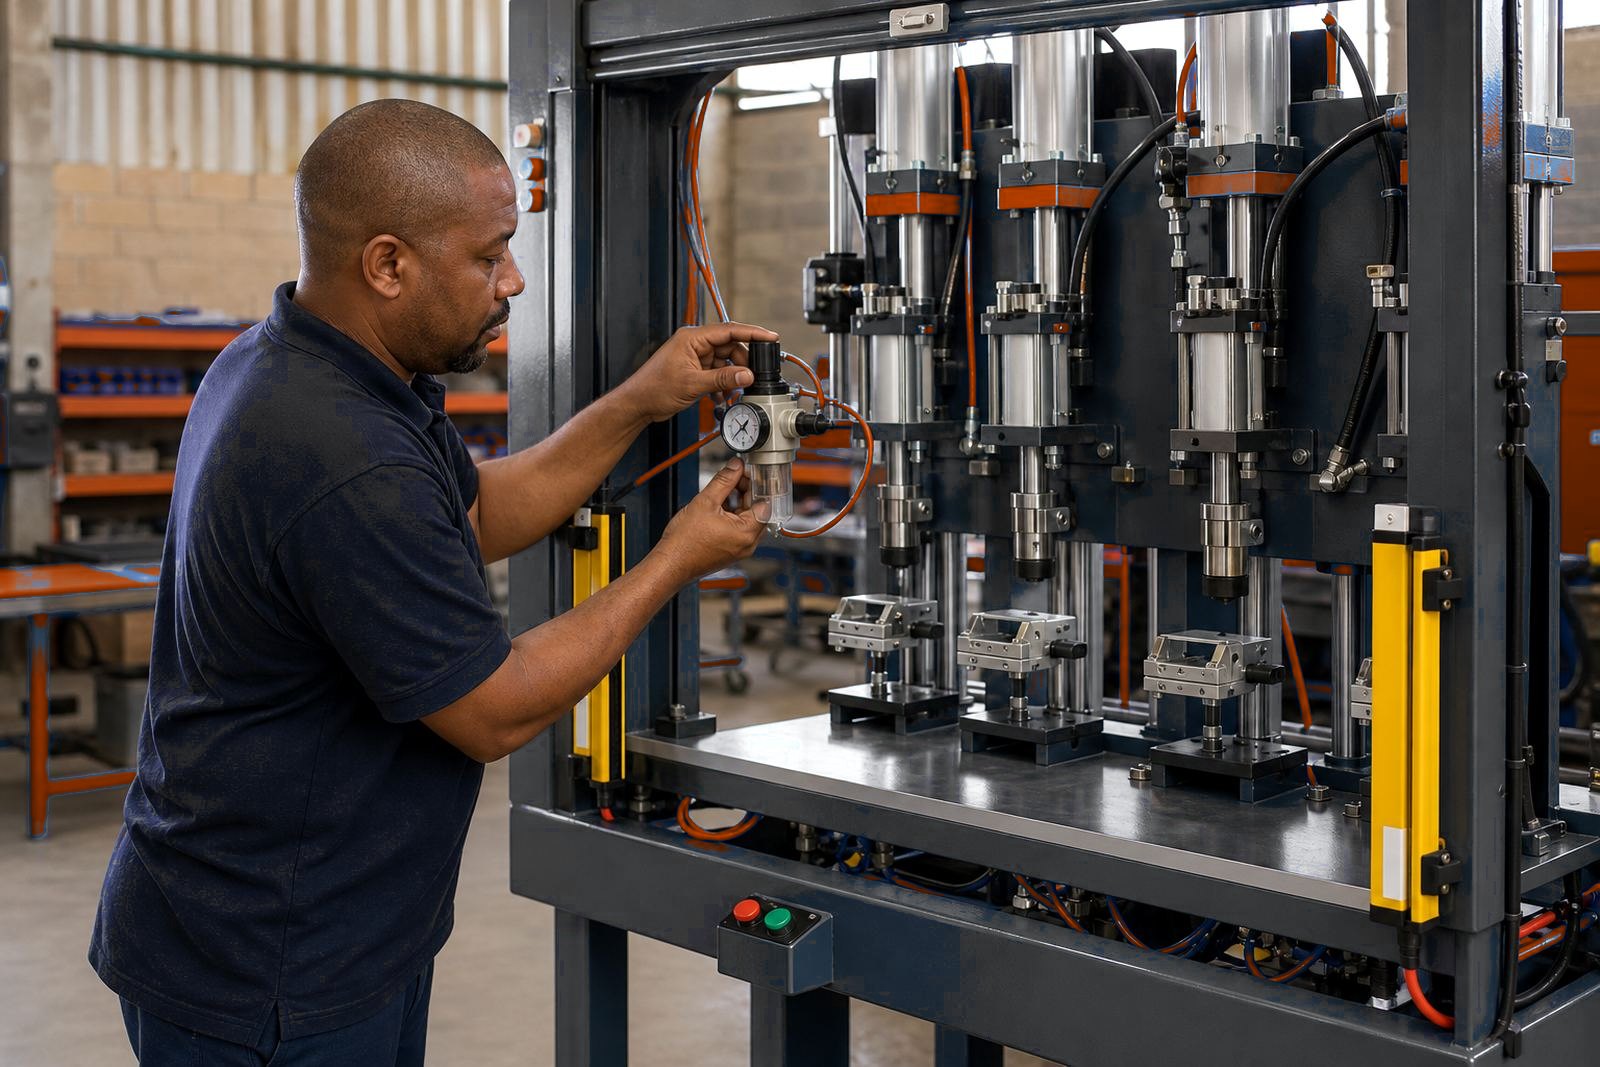
Before the first cycle, walk to the air line and check that the press has clean, dry air at the pressure set for the job. A pneumatic press depends on stable air volume, so listen for leaks at fittings, hoses and cylinders, and make sure the regulator, gauges and drain points are in place.
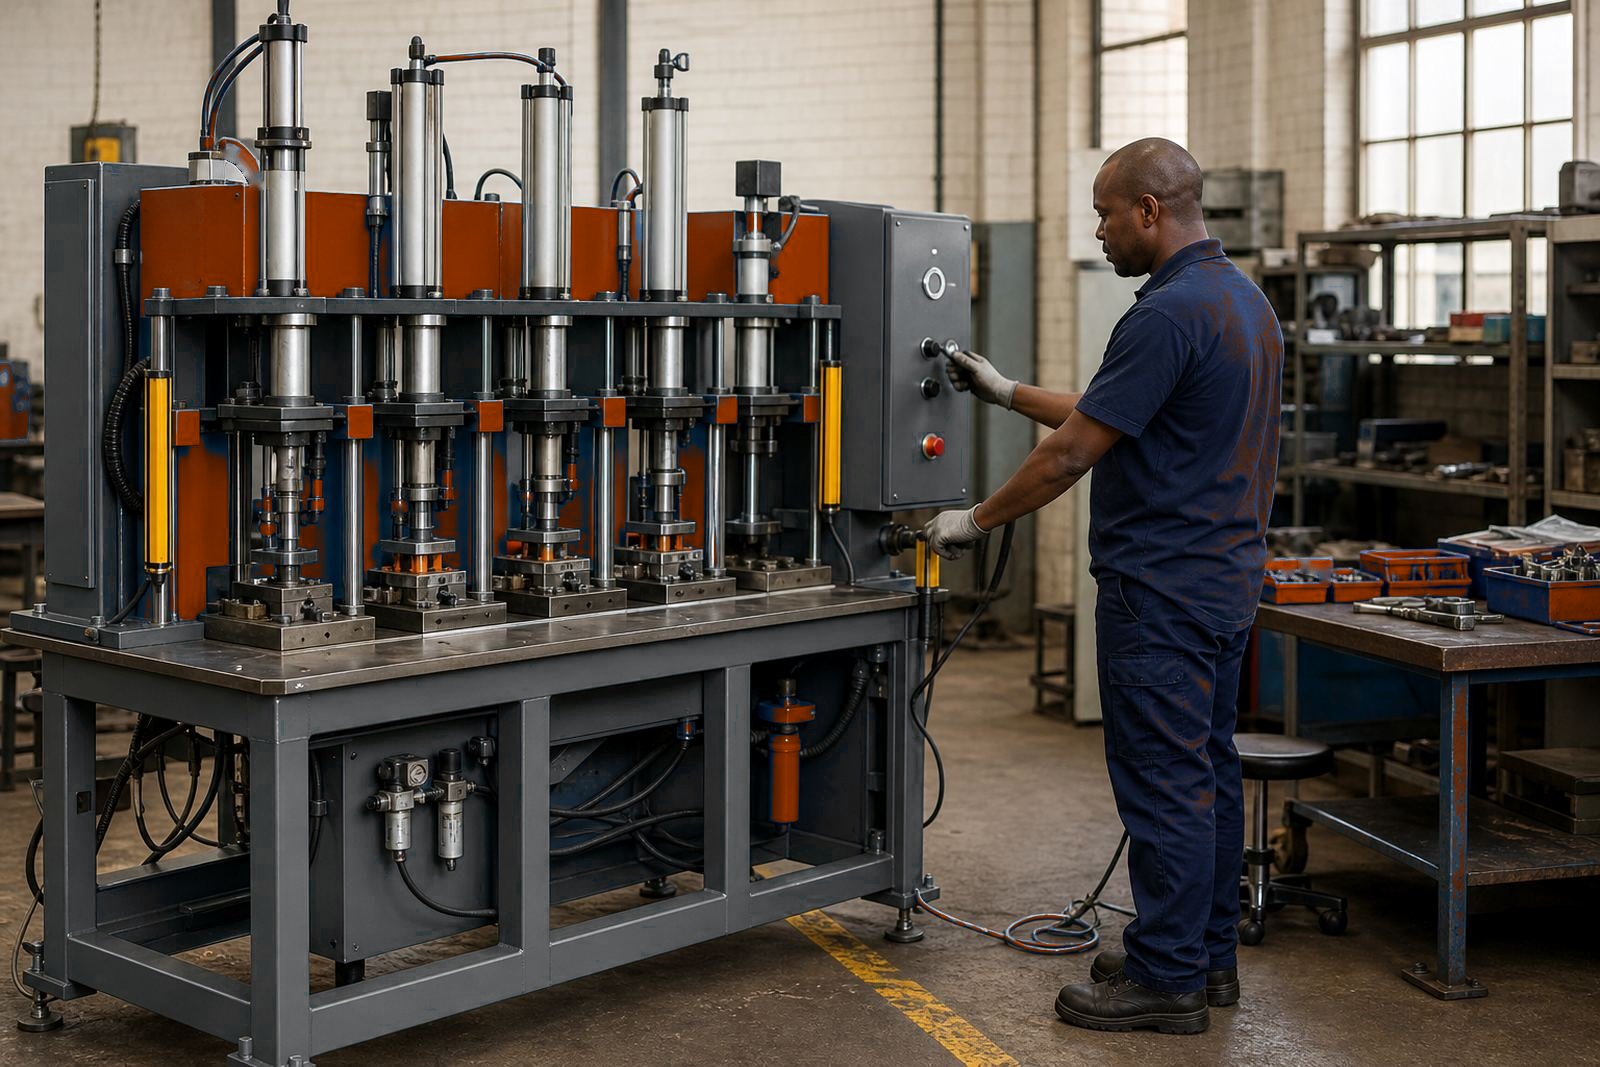
After that, test the control set. Two-hand controls must work together, not one button at a time, and the start signal should not be possible with a hand near the tooling. If the panel uses a selector for jog, single cycle or set-up mode, confirm the correct position before any stroke is allowed.
- Check the main air isolation valve is open and stable.
- Look for hissing at hoses, cylinder ports and couplers.
- Read the pressure gauge and compare it with the job setting.
- Test both palm buttons and the reset sequence.
Clear the tool station before any stroke
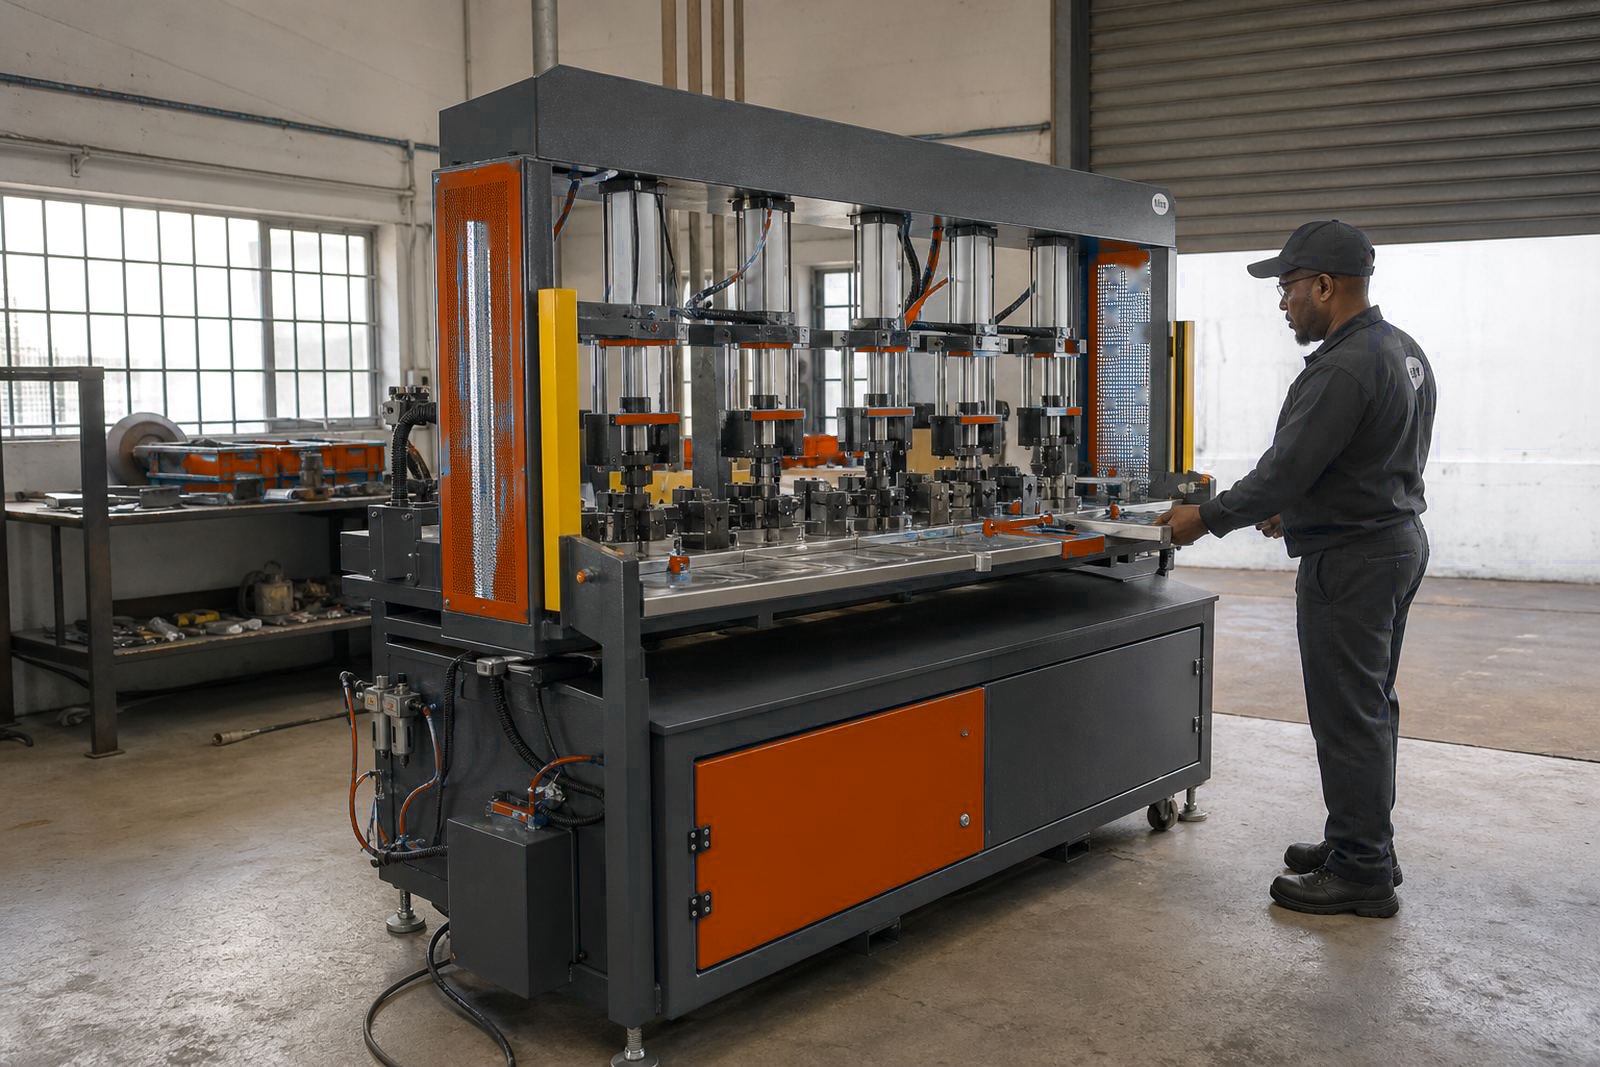
A clean die area saves time and protects the tooling. Remove offcuts, packed dust, broken rivets, loose sleeves and any part left from the last shift. On a multi-station press, each station should be empty, aligned and ready for the part path that follows.
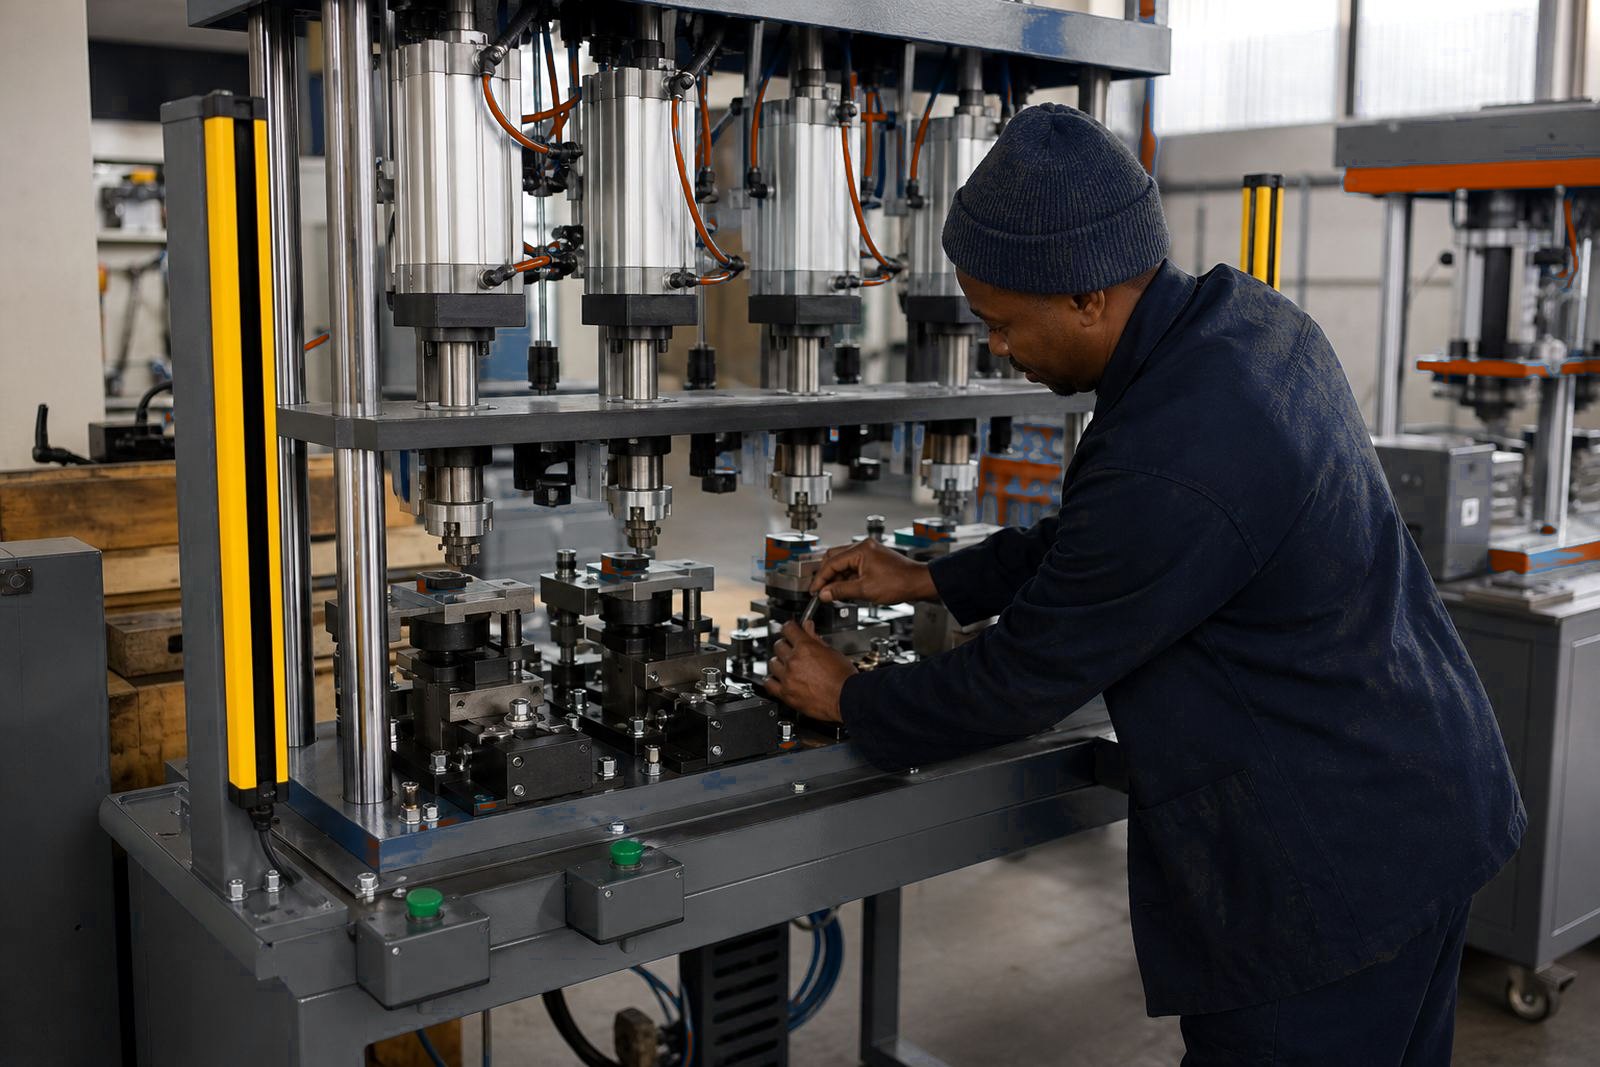
Check that the top and bottom tooling sit square, with fasteners tight and locating pins seated. Where the job uses crimping, riveting, staking or pack sealing, the tooling faces must match the part profile, because a small offset can mark the product or close the joint unevenly.
- Wipe down the tool faces and guides.
- Confirm bolts, clamps and set screws are tight.
- Check the part locators and stops are in place.
- Remove any loose item that can enter the press area.
Check guarding, light curtains and hand clear zones
Guarding is not decoration, it forms part of the working system. Verify that fixed guards sit where they should and that access doors, interlocks or fencing are closed before the press is allowed to run. If the line uses a light curtain, make sure the beam path is clear and the reset method is known to the operator.
The clearance around the die area must suit the job. Hands, tools and loose clothing should stay outside the danger zone while the ram is ready. If the press has a two-hand control, the operator should be able to stand square to the front of the machine without leaning into the station.
- Inspect guards for damage or loose hinges.
- Check the light curtain lenses are clean and aligned.
- Make sure the emergency stop buttons are visible and free.
- Keep packaging, gloves and cloths out of the pinch area.
Set stroke, dwell and part height correctly
Stroke setting matters on every shift, especially where parts vary a little from batch to batch. Set the ram travel so the tooling reaches the job without crushing the part or bottoming out the cylinder. If the machine uses a dwell or hold function, use only the setting called for by the process, not extra pressure from habit.
For assembly or sealing work, check part height and nesting before production starts. On crimping and riveting jobs, a short trial run can show whether the joint closes fully. On staking, the formed area should look even, with no split edges or bruised material.
- Verify the stroke stop is locked at the job setting.
- Check the first cycle in slow or set-up mode.
- Inspect the first sample for height, mark and closure.
- Adjust only after the machine is fully isolated and safe.
Run the first parts with a slower eye
The first parts of the shift tell the truth. Watch the part feed, the station alignment, the ram return and the ejection path. A press can sound normal and still be out by a small amount, so the operator should keep the first few cycles under close control before opening the output pace.
Look for scuffing, uneven pressure marks, trapped scrap and parts that sit proud in the nest. If a packed seal is not closing evenly, or a rivet head is leaning, stop and check the tooling before more parts move through the line. Small faults grow fast once production starts moving.
Keep a sample part nearby as a visual reference for the shift. If the job has more than one station, compare the parts from each stage, not just the finished piece.
Hand over the line with useful notes
At changeover or shift end, leave the machine ready for the next operator. Record the pressure used, stroke setting, tool changes, any guard movement and anything unusual heard or seen during the run. This keeps the press closer to the same result from shift to shift.
A clean handover also means the area is left safe. Isolate the air supply where required, clear the worktable, remove loose parts and put the tooling back in its marked place. In a busy plant, a neat station is easier to start than a rushed one, and the press is less likely to begin the next shift with hidden trouble.
- Note the job number and station sequence used.
- Record any pressure change or stroke adjustment.
- List worn parts, loose fixings or guard issues.
- Leave samples and setup notes with the line file.