Start With The Tooling On The Bench
Lay out every part of the change set before anything moves toward the press. A missing clamp plate, worn guide pin or wrong insert size can slow the whole station and make the setup harder than it should be. Check that the nest, punch, support tool and any spacer or locator piece match the job card and the last approved sample.
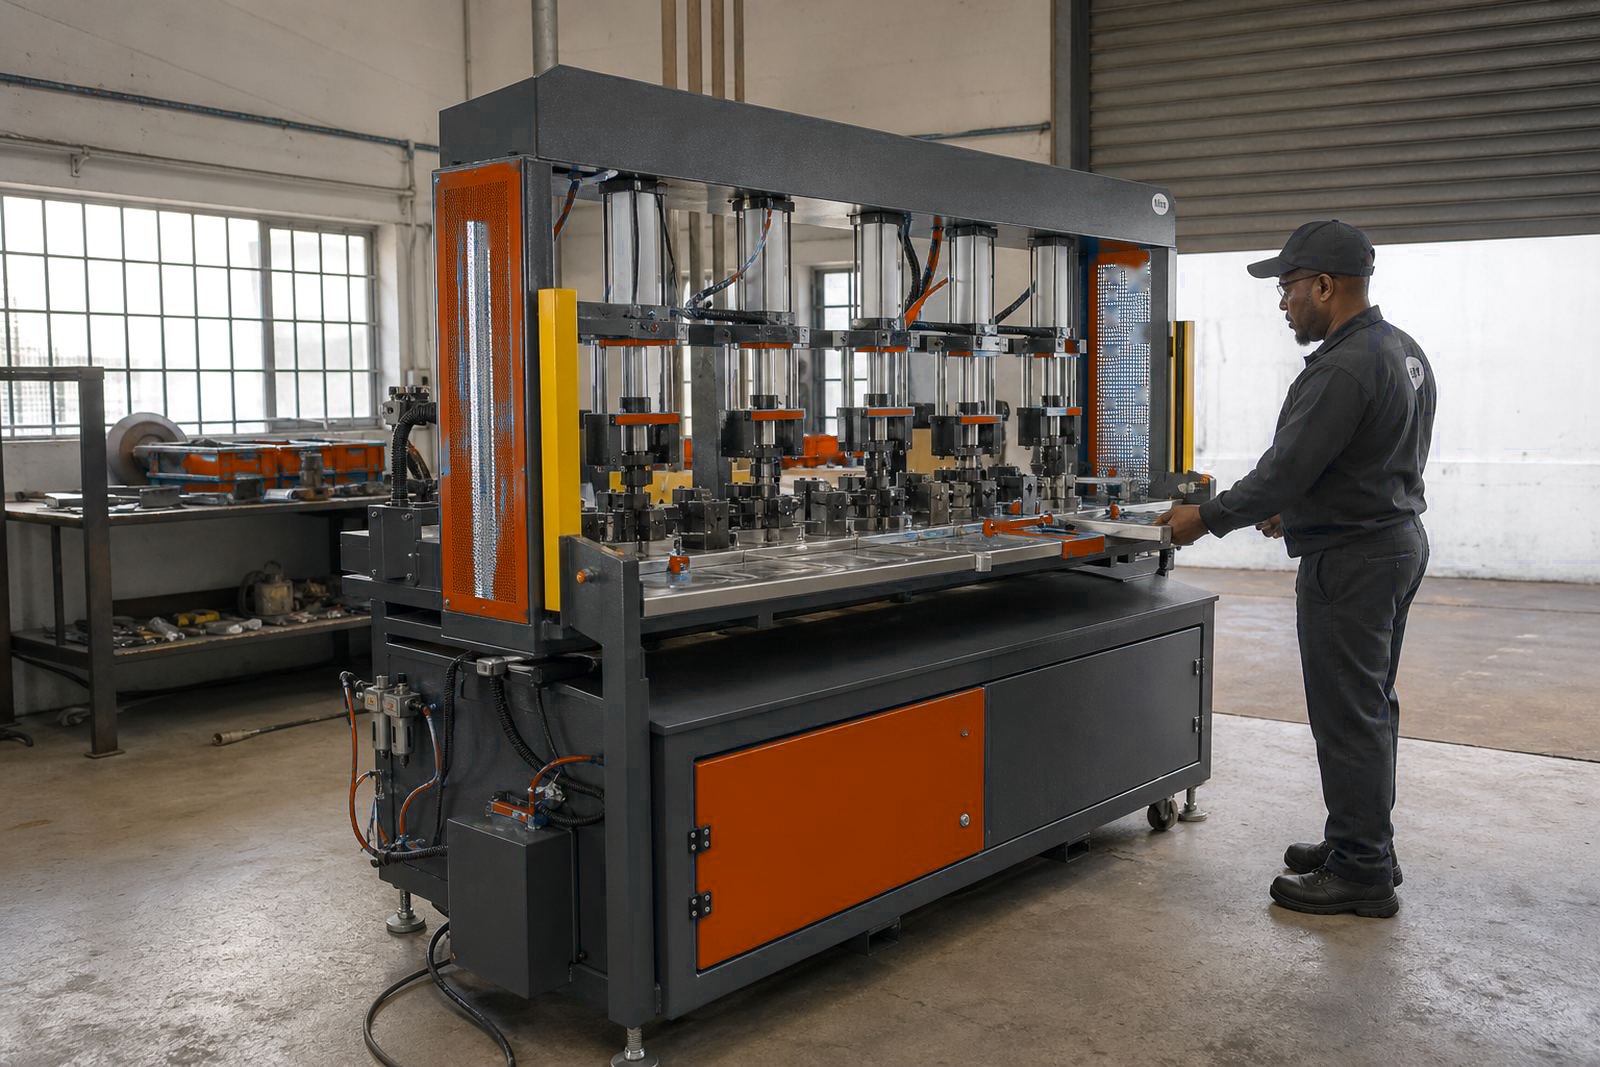
On a multi-station pneumatic press, each station can behave a little differently even when the frame looks identical. A punch that seats well on one side may sit high on another, especially if a support block has been machined for a different part thickness. Keep the old parts beside the new ones and compare contact faces, hole positions and tool height before fitting anything.
- Confirm the correct nest, punch and support tool for each station.
- Look for burrs, dents, cracked corners or worn locating faces.
- Check fasteners, dowels and retainers for matching size and thread.
- Separate parts that belong to different station depths or part variants.
Check Press Settings Before The First Cycle
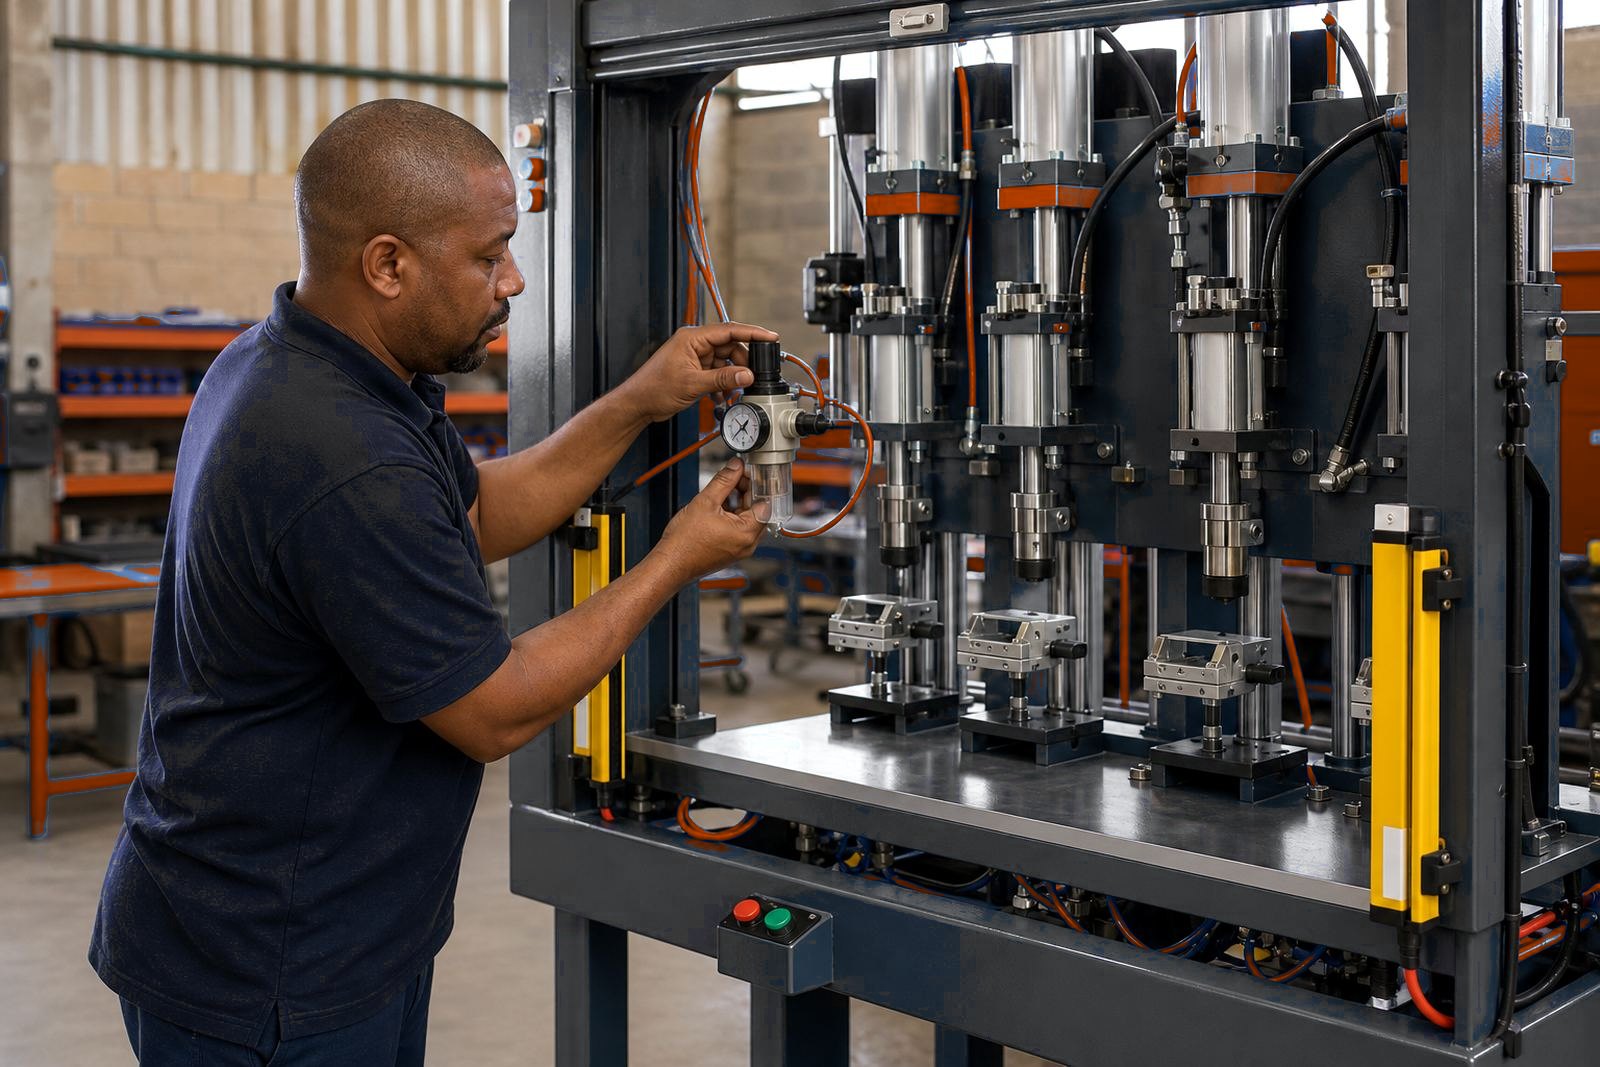
Before the tooling goes in, verify the stroke setting, air pressure and dwell if the job uses a controlled hold. Pneumatic presses depend on a steady air supply, and even a small shift in pressure can change the finish on a crimp, rivet or stake. If the line uses a regulator at the press, read it with care and make sure the value suits the tooling, not just the last job.
Stroke length matters just as much as pressure. A press that comes down too far can damage a nest or flatten a formed edge, while a short stroke may leave a loose crimp or a shallow stake. If the setup uses adjustable stops, set them one station at a time and test with a sample part before full production starts.
- Read the air pressure at the press and not only at the compressor room.
- Set the stroke for full engagement without over-travel.
- Check return action, guided movement and any stop blocks.
- Record the approved setting once the sample is correct.
Guarding, Two-Hand Controls And Light Curtain Checks
Tool changes must never be treated as a tooling-only job. Guards, two-hand controls and light curtains need to suit the new setup, especially when the part height or reach into the station changes. A support tool that sits higher may bring fingers closer to the working area, so the safe zone should be checked again rather than assumed.
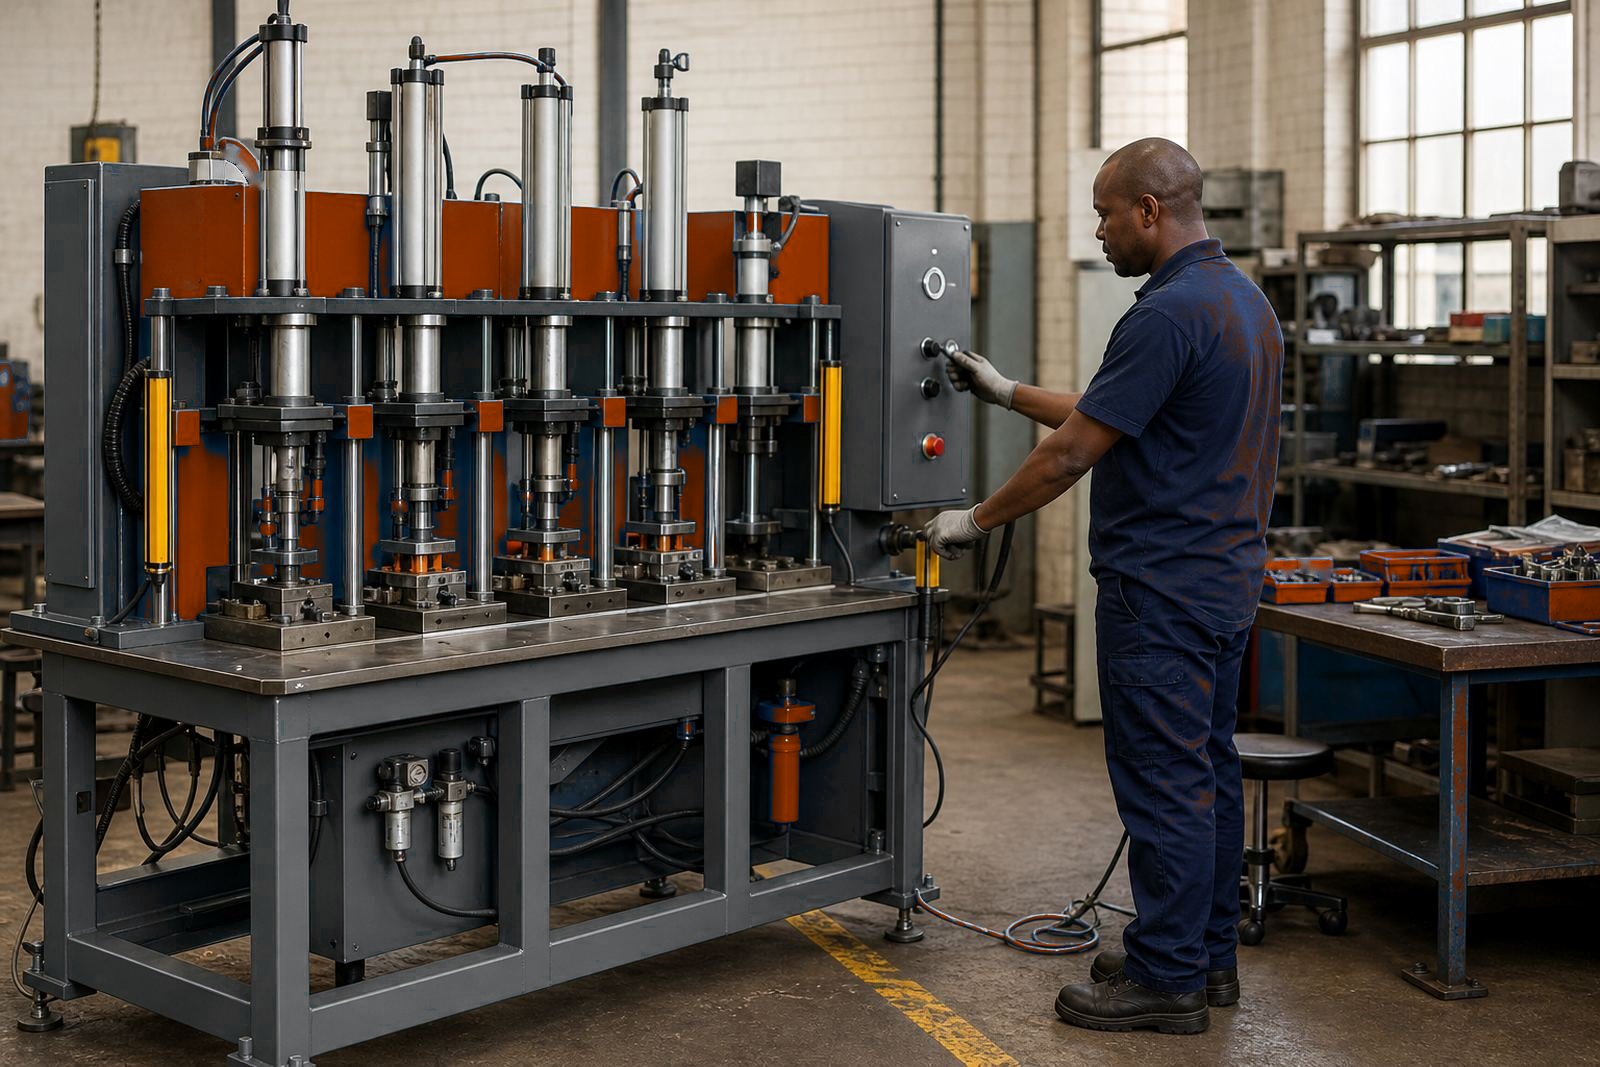
Make sure the guarding opens and closes cleanly after the change. If the press uses a light curtain, confirm the beam path is clear and the mounting does not get knocked during the tool fit. Two-hand controls should require a clean, deliberate press from both sides and should not be bridged or held by an unsafe workaround.
- Test the guard movement with the new tool fitted.
- Confirm the light curtain position, height and beam coverage.
- Check two-hand buttons for even travel and proper reset.
- Keep hands clear while testing the first empty cycle.
Fit The New Tooling Without Forcing It
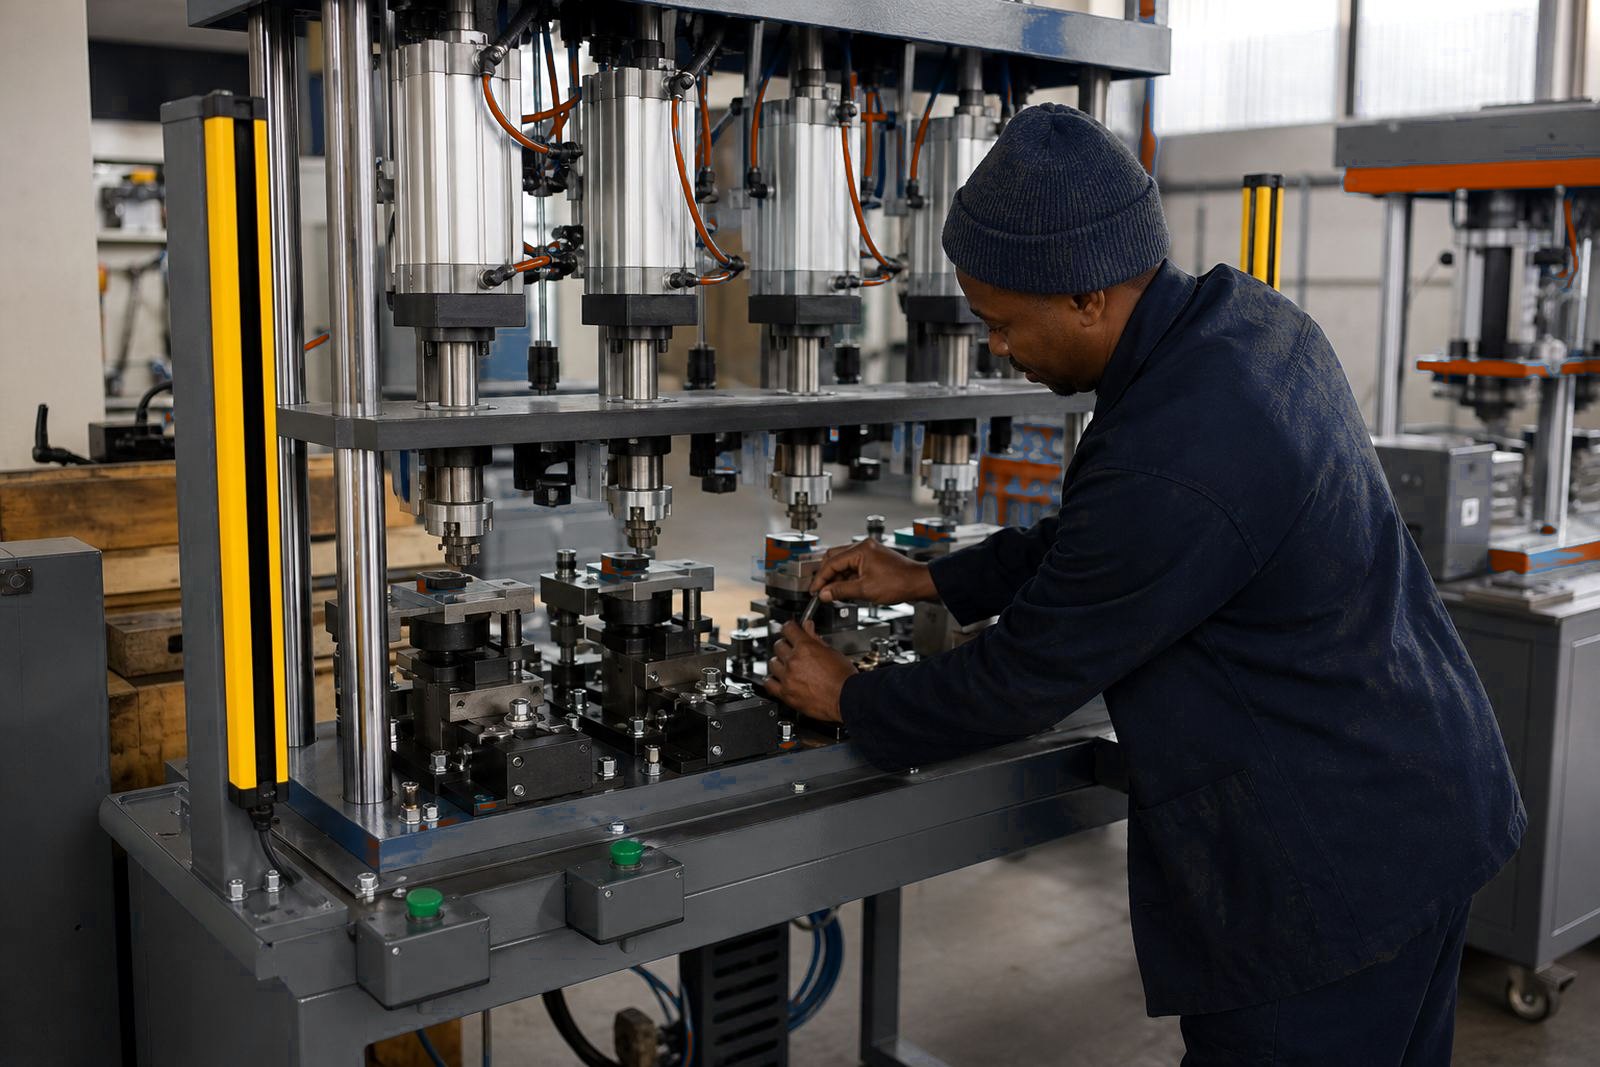
Tooling should seat with light, even contact, not with hammering or side pressure. If a nest needs force to sit square, something is out of line and it will usually show up later as wear, chatter or uneven part finish. Clean the mounting faces, wipe away swarf and inspect the locating surfaces before tightening down.
Check the alignment from several angles on the press. A support block can look correct from the front and still lean slightly at the back, which changes the way the punch meets the part. Tighten in stages, then cycle the press by hand or in a slow test mode if the machine allows it. Listen for rubbing, knocking or a dry metal scrape.
- Clean the bed, platen and mounting faces before fitting.
- Seat the tool square, then tighten in stages.
- Check alignment from front, side and above.
- Inspect for rubbing marks after the first slow cycle.
Sample Parts Tell You More Than The First Good Hit
The first part off the press is only the start. Use several sample pieces and compare them against the approved target for the job. On crimping and riveting work, check that the formed area is even, the joint is sound and there is no distortion near the edges. For staking, look for clean deformation with no split or tilt. For pack sealing, check that the seal line is continuous and that the pressure is spread evenly across the contact area.
If the part moves in the nest, mark it as a setup fault before production begins. Small movement can come from worn support faces, incorrect clamp height or a locator that no longer grips properly. When the sample shows a mixed result across stations, do not chase the issue at the last station only. Work back through each station and find where the change first appears.
Hand Over The Setup With Notes That Mean Something
A good handover is more than saying the job is ready. The next operator or setter needs the stroke value, air pressure, any special tool height, guard notes and the sample part used to approve the run. Write down which station uses which tool, because multi-station presses often carry different heads, guides or support pieces in one frame.
Keep the notes practical and short. If a punch needed a shim or a nest needed a deeper stop, record it where the team will find it during the next change. That is where repeat mistakes are prevented. A clear handover also helps when the same press runs different parts in the same shift.
- List the fitted tooling for each station.
- Record stroke, air pressure and any stop setting.
- Note guard positions, light curtain checks and two-hand test results.
- Keep the approved sample with the job notes for the press setup.
For support on tooling changes, commissioning or operator training, clients in Isando, Johannesburg, Pretoria, Durban, Gqeberha, East London, Kempton Park and Boksburg can use our contact form.