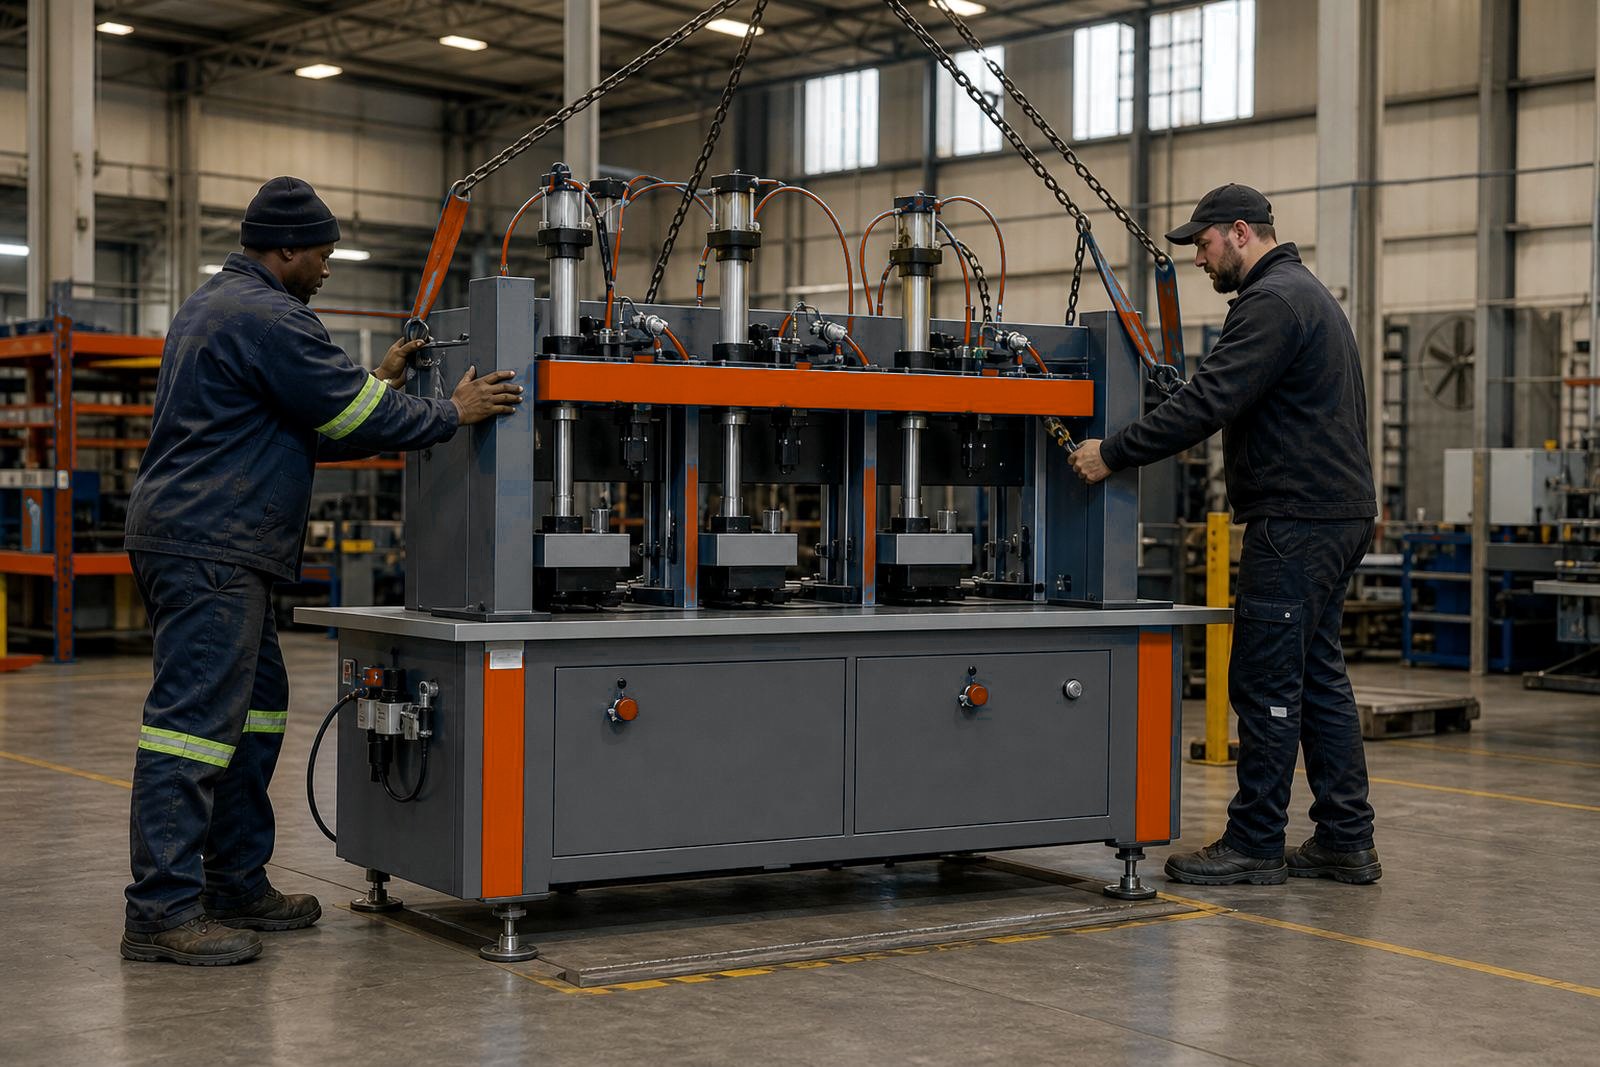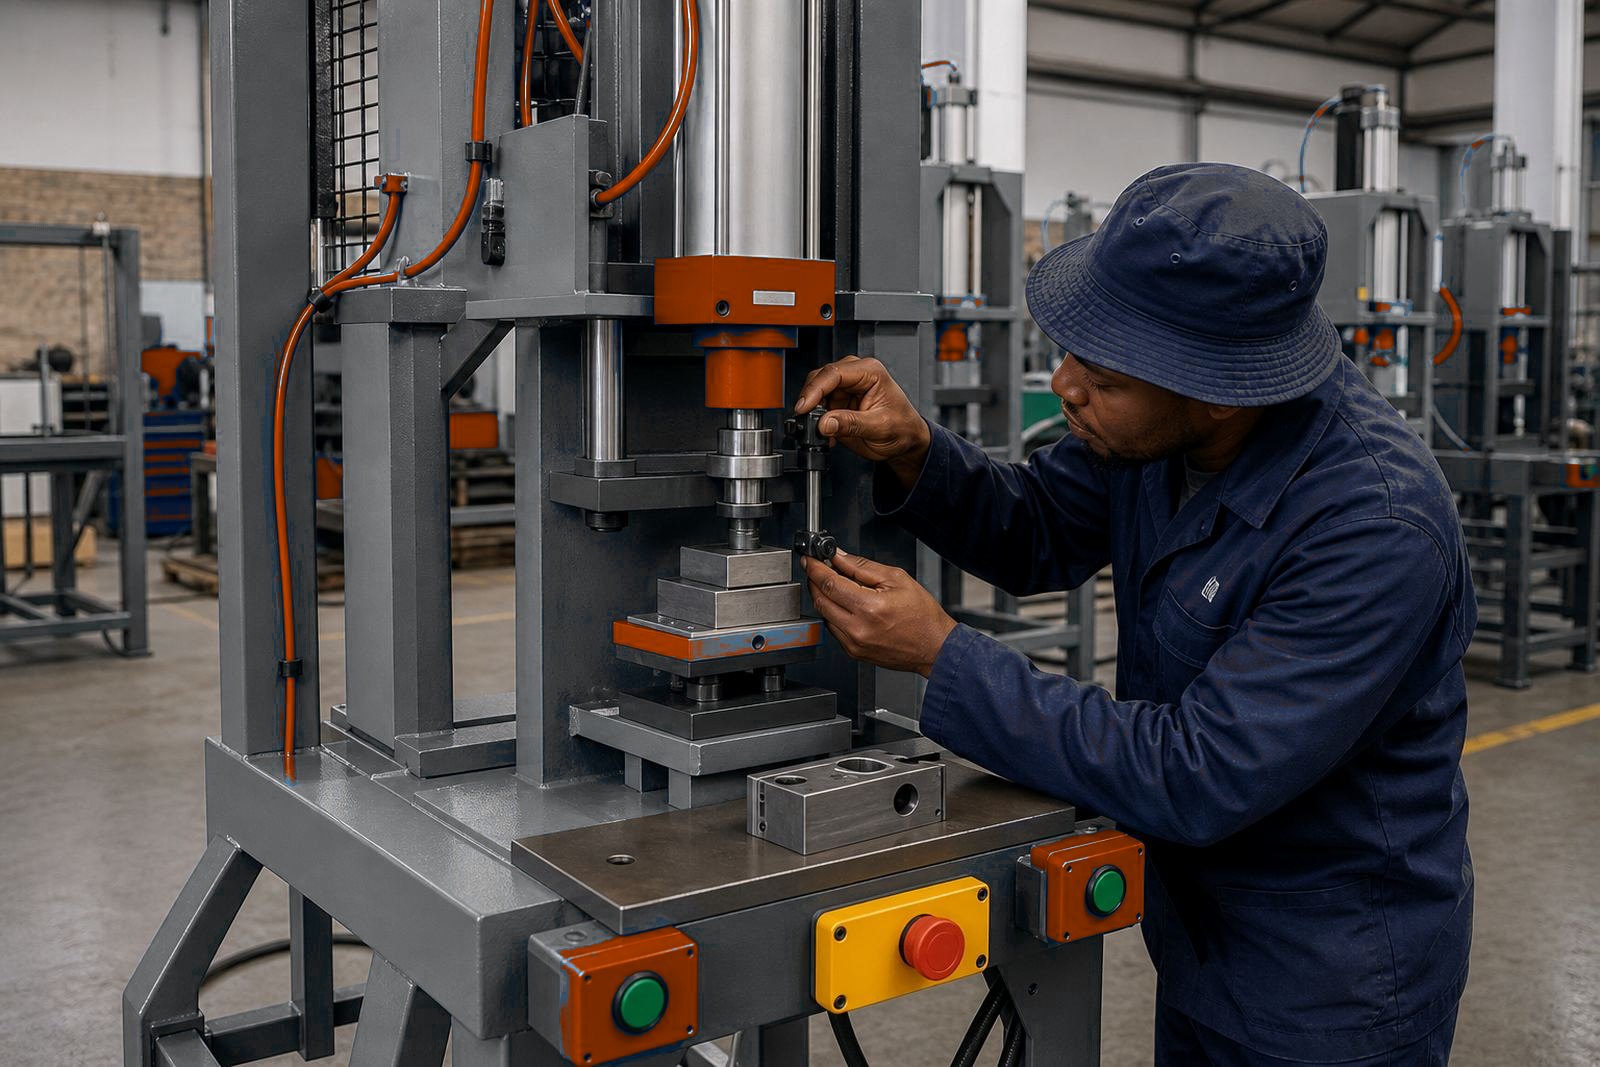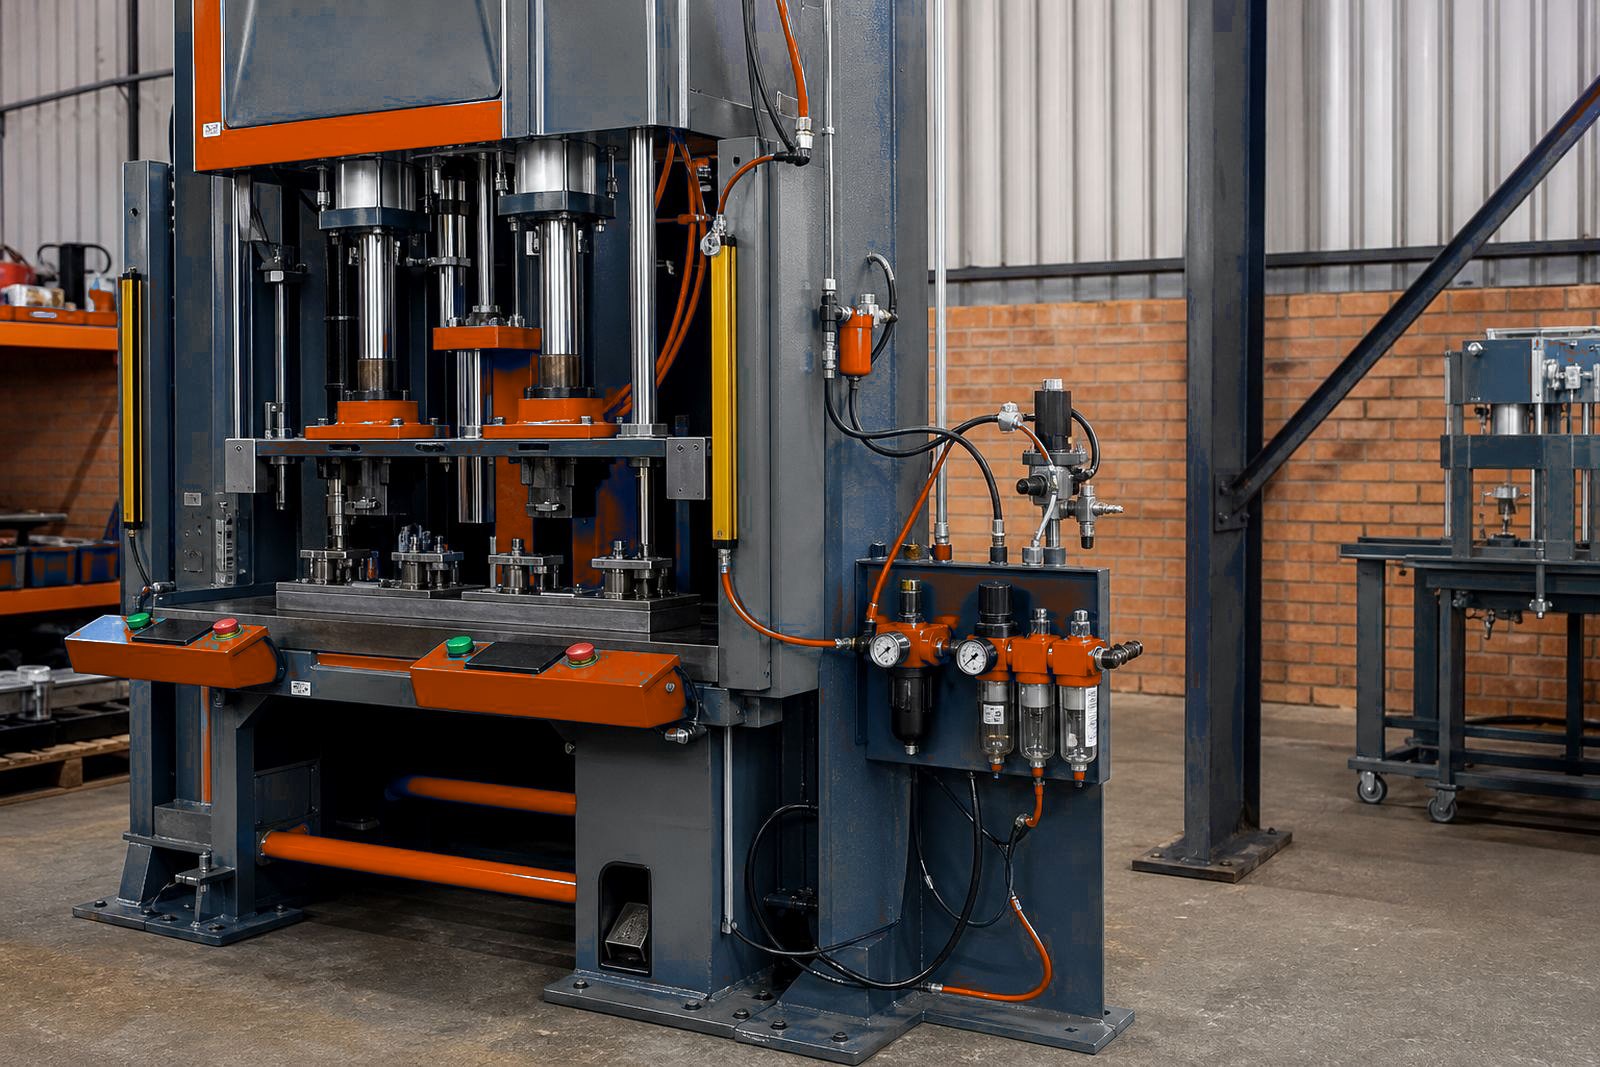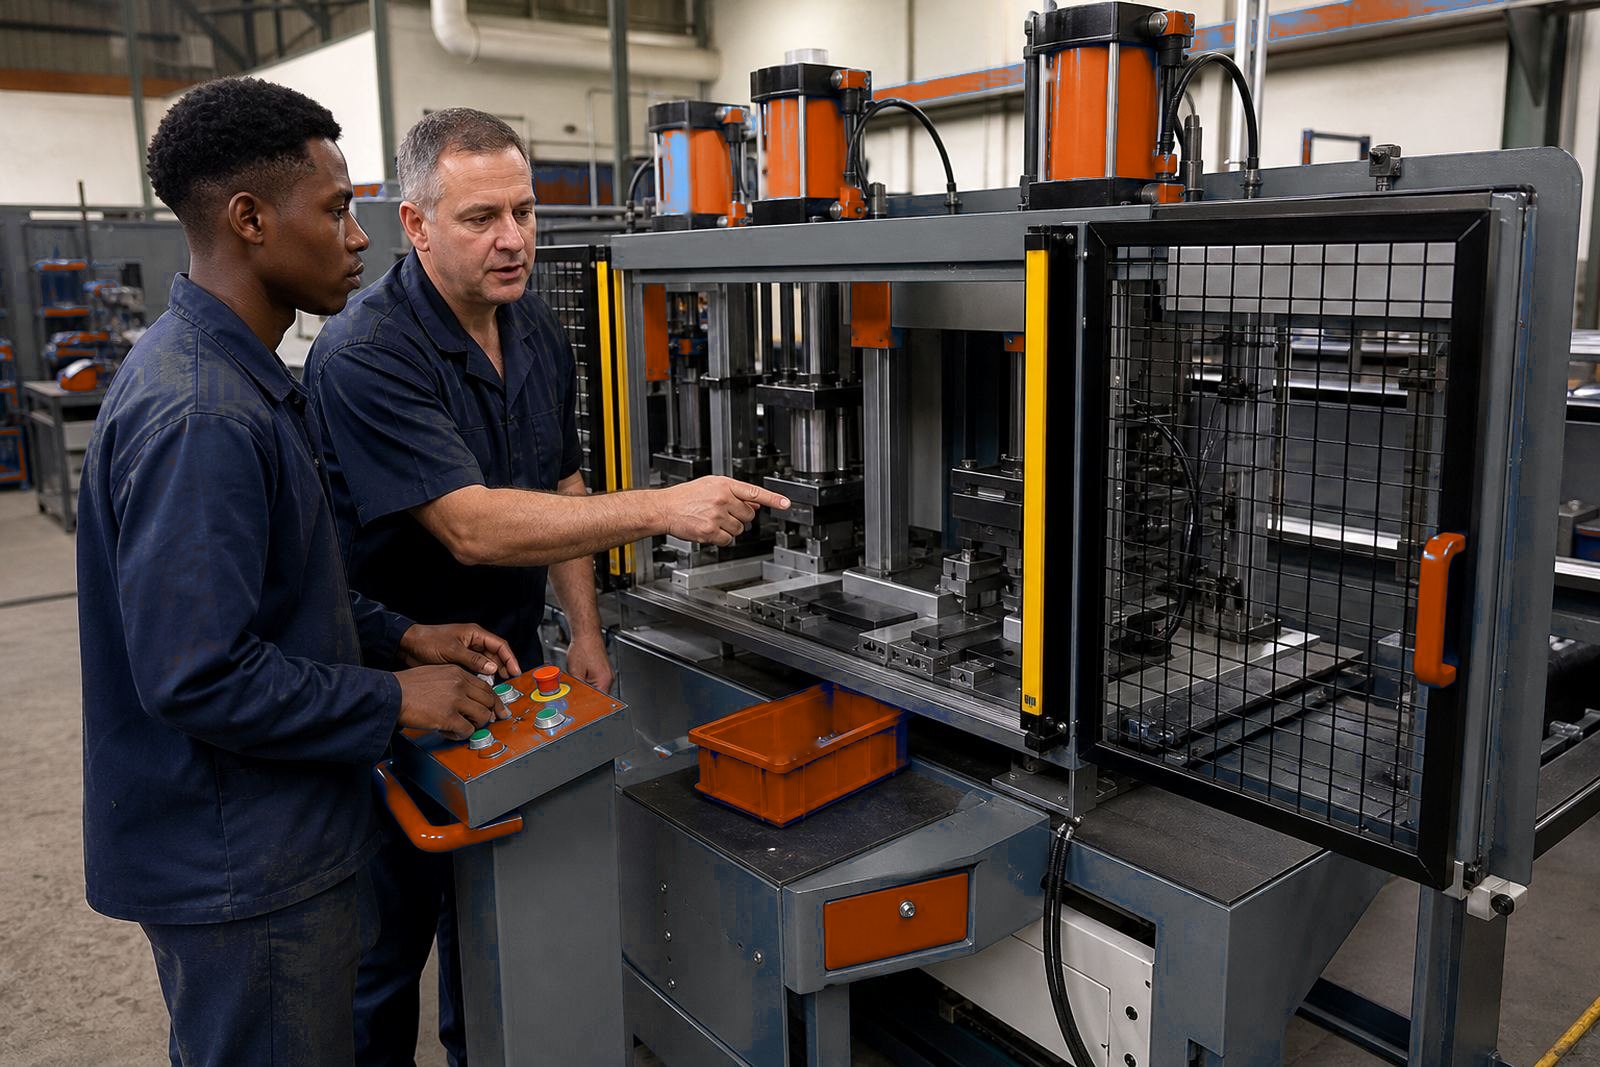
What the shop floor training covers
The session is built around the actual press layout, the tooling fitted to it and the way the line runs in your factory. We work through safe loading, part location, clamp or fixture use, and the point where the operator must stop and call for support instead of pushing on.
For multi-station pneumatic presses, the crew also needs to understand cylinder movement, air pressure reading, stroke setting and the effect of dwell time on a clean crimp or rivet. If the press is used for assembly, staking or pack sealing, we cover the motion pattern for each job so the operator knows what good looks like before production starts.
- Loading and unloading without reaching into the danger zone
- Two-hand control use and reset discipline
- Guarding awareness, light curtain checks and interlock behaviour
- Stroke setting, part changeover and basic visual checks
How the operator session is structured
Training usually starts with the machine layout, the control box and the air line path. We then move into the practical run, using the fitted tooling and the actual workpiece so the operators see how the press behaves at full cycle speed and at slower setting speed.
After that, we step through the routine checks that matter on a busy shift: air pressure stability, cylinder action, tool alignment, guarding condition and whether the finished part matches the sample set. Where the line has more than one station, we show the sequence between stations so the crew understands handoff from one press point to the next.
- Start-up checks before the first cycle
- Run checks during changeover and setup
- Part inspection points for crimping, riveting and staking
- Clear stop points for faults, jams or guard trips
Press features we train around
Our training is matched to the equipment, because a 2-station unit with short stroke settings behaves very differently from a longer-stroke 4-station frame. We train on the real controls, real tooling and real guarding fitted to the machine.
Where a press uses two-hand controls, we show the correct hand position and the reason the operator must not defeat the control sequence. Where light curtains are fitted, we explain the protected zone and the way the machine should be stopped, cleared and restarted after an interruption. If the line uses custom tooling, we cover tool location, wear signs and the handling needed to keep parts square through the cycle.
Training flow from first visit to production handover
The process begins with a review of the job, the press type and the station count. From there, we prepare the training around the product being made, whether it is a small assembly, a crimped connector, a riveted bracket or a sealed pack line. This keeps the session practical and tied to the actual output expected in your factory.
Once the team has worked through the machine in a controlled setting, we move to production handover. That means the operators, setter and supervisor understand the routine checks, the warning signs and the steps to follow if the press starts to drift out of set-up. We also brief the team on the handover notes that should stay with the machine for future shifts.
- Job review and machine familiarisation
- Tool and guard walkthrough
- Practical operation with the installed press
- Production handover with notes and sign-off
Turnaround, scope and pricing approach
Training time depends on the station count, the product mix and whether the operators are new to pneumatic presses or already working on similar equipment. A single job with one fitted tool takes less time than a line with multiple stations, several guards and more than one setting sequence, so the scope is agreed around the machine and the task.
Pricing is shaped by the press size, the number of operators in the session, the level of tooling changeover involved and whether training is done during installation, after commissioning or as a separate visit. Where there are site rules, shift patterns or restricted access in Isando, Kempton Park, Boksburg or other industrial areas, those details are built into the plan before the visit starts.
Aftercare for the team after sign-off
After training, the crew still needs a clear point of reference for the machine. We leave practical guidance about loading position, guard use, stroke setting and the basic checks that must happen before the first cycle of the day. If a tool is changed or the press is moved to another product, the handling can be reviewed against the new setup.
When a factory runs across Johannesburg, Pretoria, Durban, Gqeberha or East London, the same operating steps keep the process consistent from one site to another. The aim is not paperwork for its own sake, but fewer mistakes when the line is under pressure and the product must match the sample without drift.
- Operator notes tied to the installed press
- Support for new tool settings and product changeovers
- Guidance for supervisors managing more than one shift
- Follow-up on guarding, controls and routine checks
Key facts
| Press types | Single-station and multi-station pneumatic presses |
|---|---|
| Typical operations | Assembly, crimping, riveting, staking and pack sealing |
| Control systems | Two-hand controls with guarded cycle logic |
| Safety options | Light curtains, fixed guarding and interlocks |
| Setup items | Stroke setting, air pressure checks and tooling alignment |
| Service areas | Isando, Johannesburg, Pretoria, Durban, Gqeberha and East London |